
第4回:マッチボックス 1/64 コルベット ZR-1(2ドア・クーペ) C3、1967【タイヤ&ホイールを3Dプリントパーツに交換】 Corvette ZR-1、1990 【Wheel & Tire Swap】

『立体改造プロジェクト』第004回となります
今回は、前回のホットホイール同様、
非常に安価で入手可能な、
マッチボックス社製の、コレクターシリーズの、
1990年型、
『シボレー・コルベット
ZR-1 コンバーチブル』に
*3D-プリントパーツのタイヤ&ホイールを装着して、
*車軸位置などを微調整の上、
*【峠の王者】と呼ばれた、稀代のスポーツカーを
*『スタンス感」満点で再現してみたいです。
こんな感じで
進めていきたいです。
*このミニカーにつきまして:
*実車の資料写真:
*改造プロジェクト:
*感想:
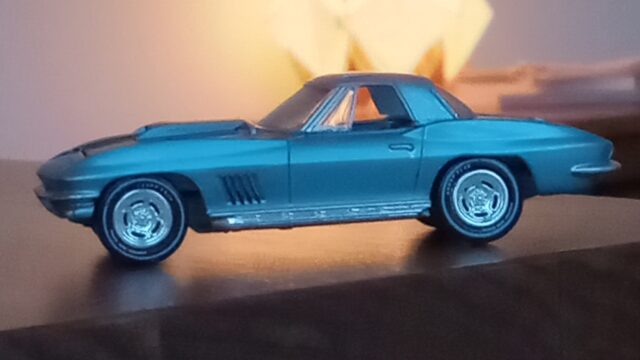
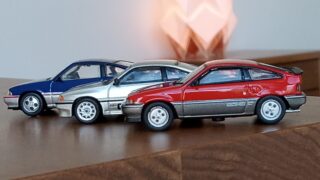
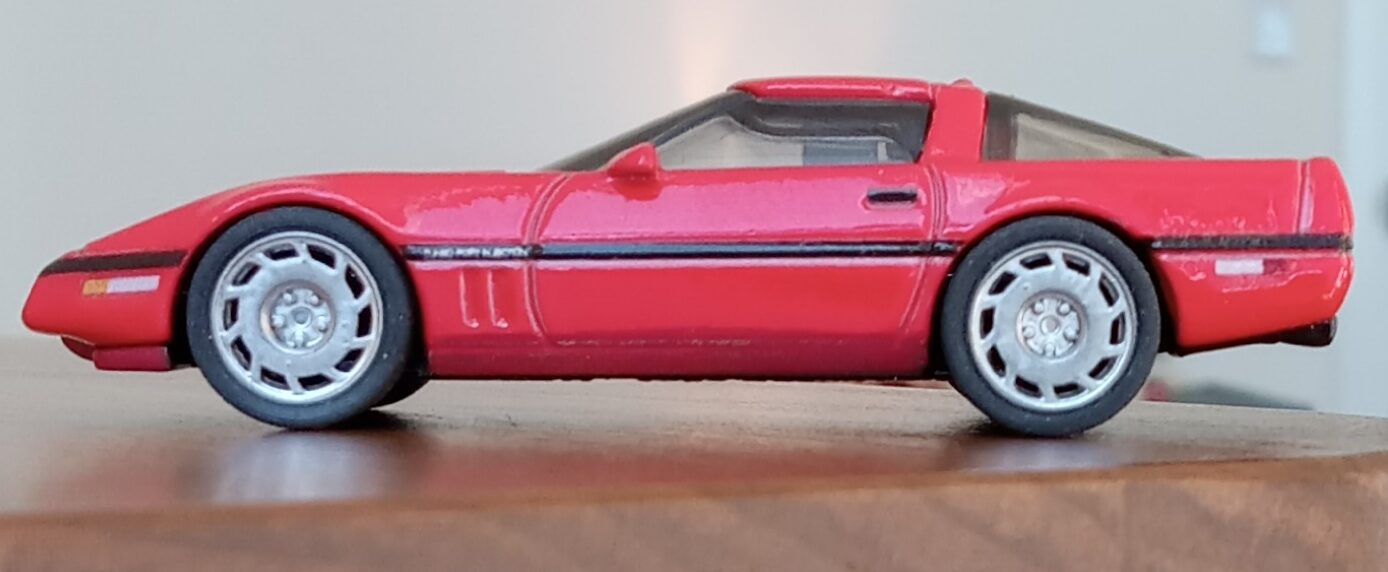
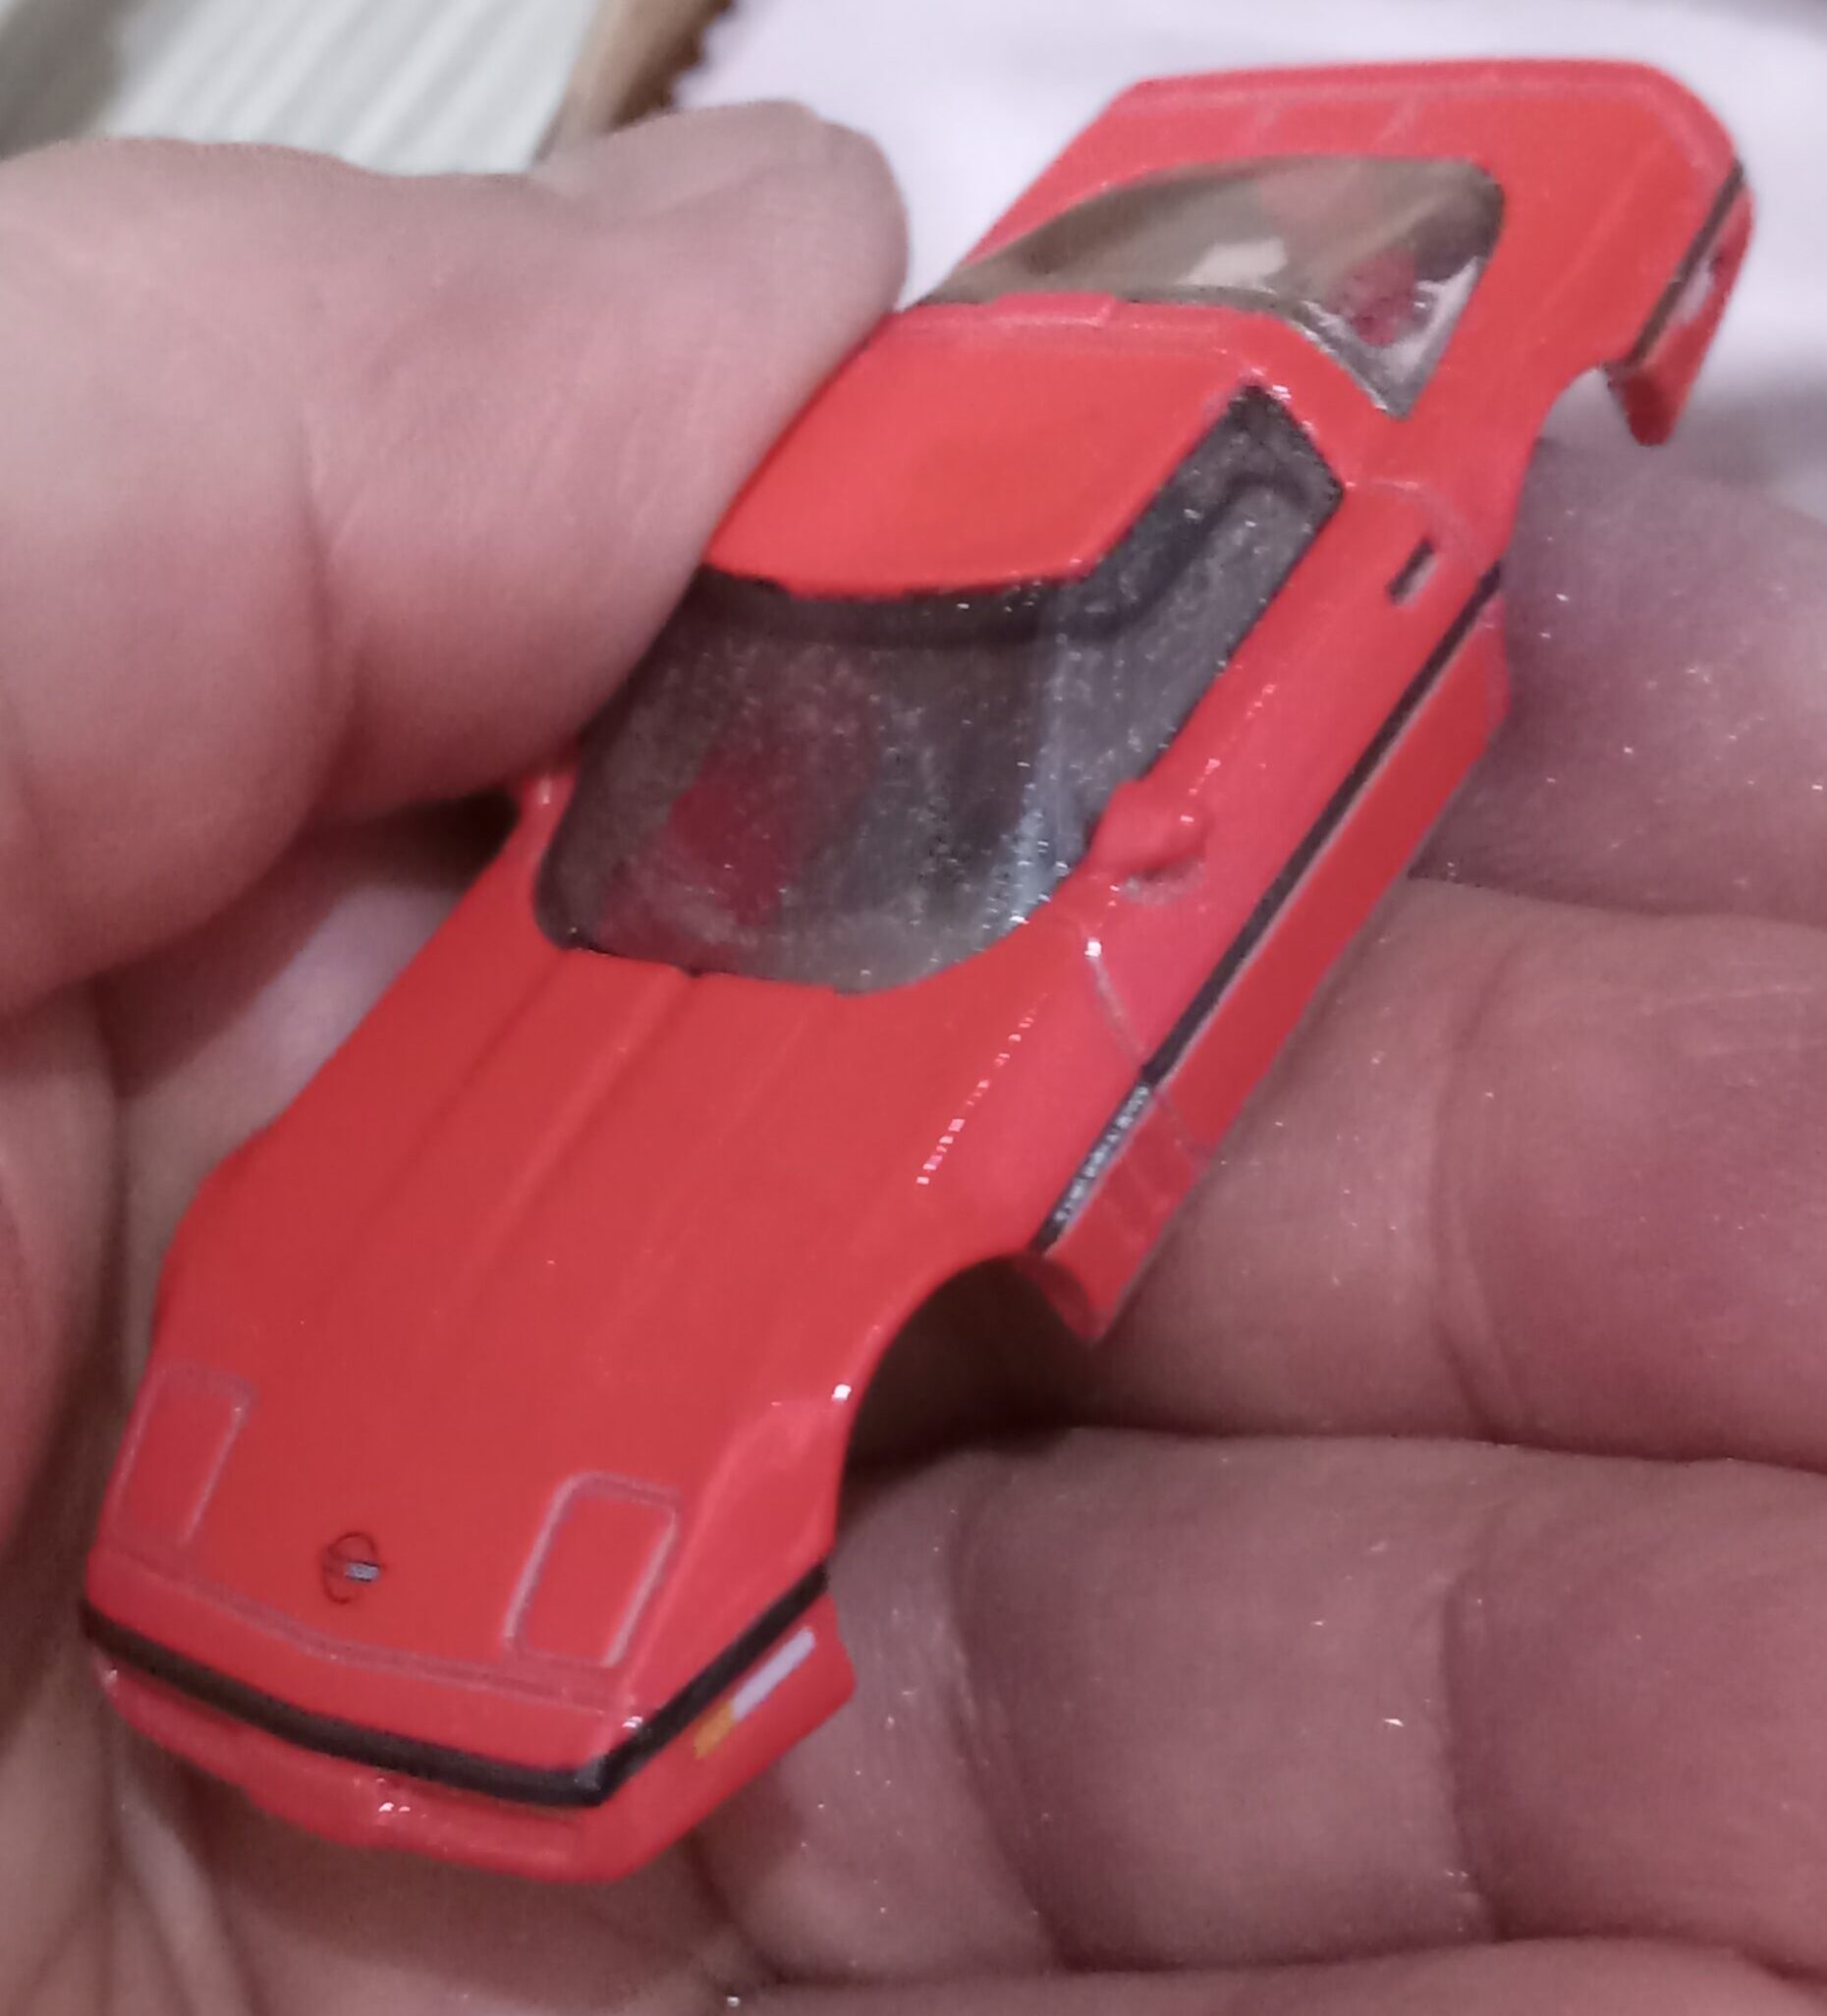
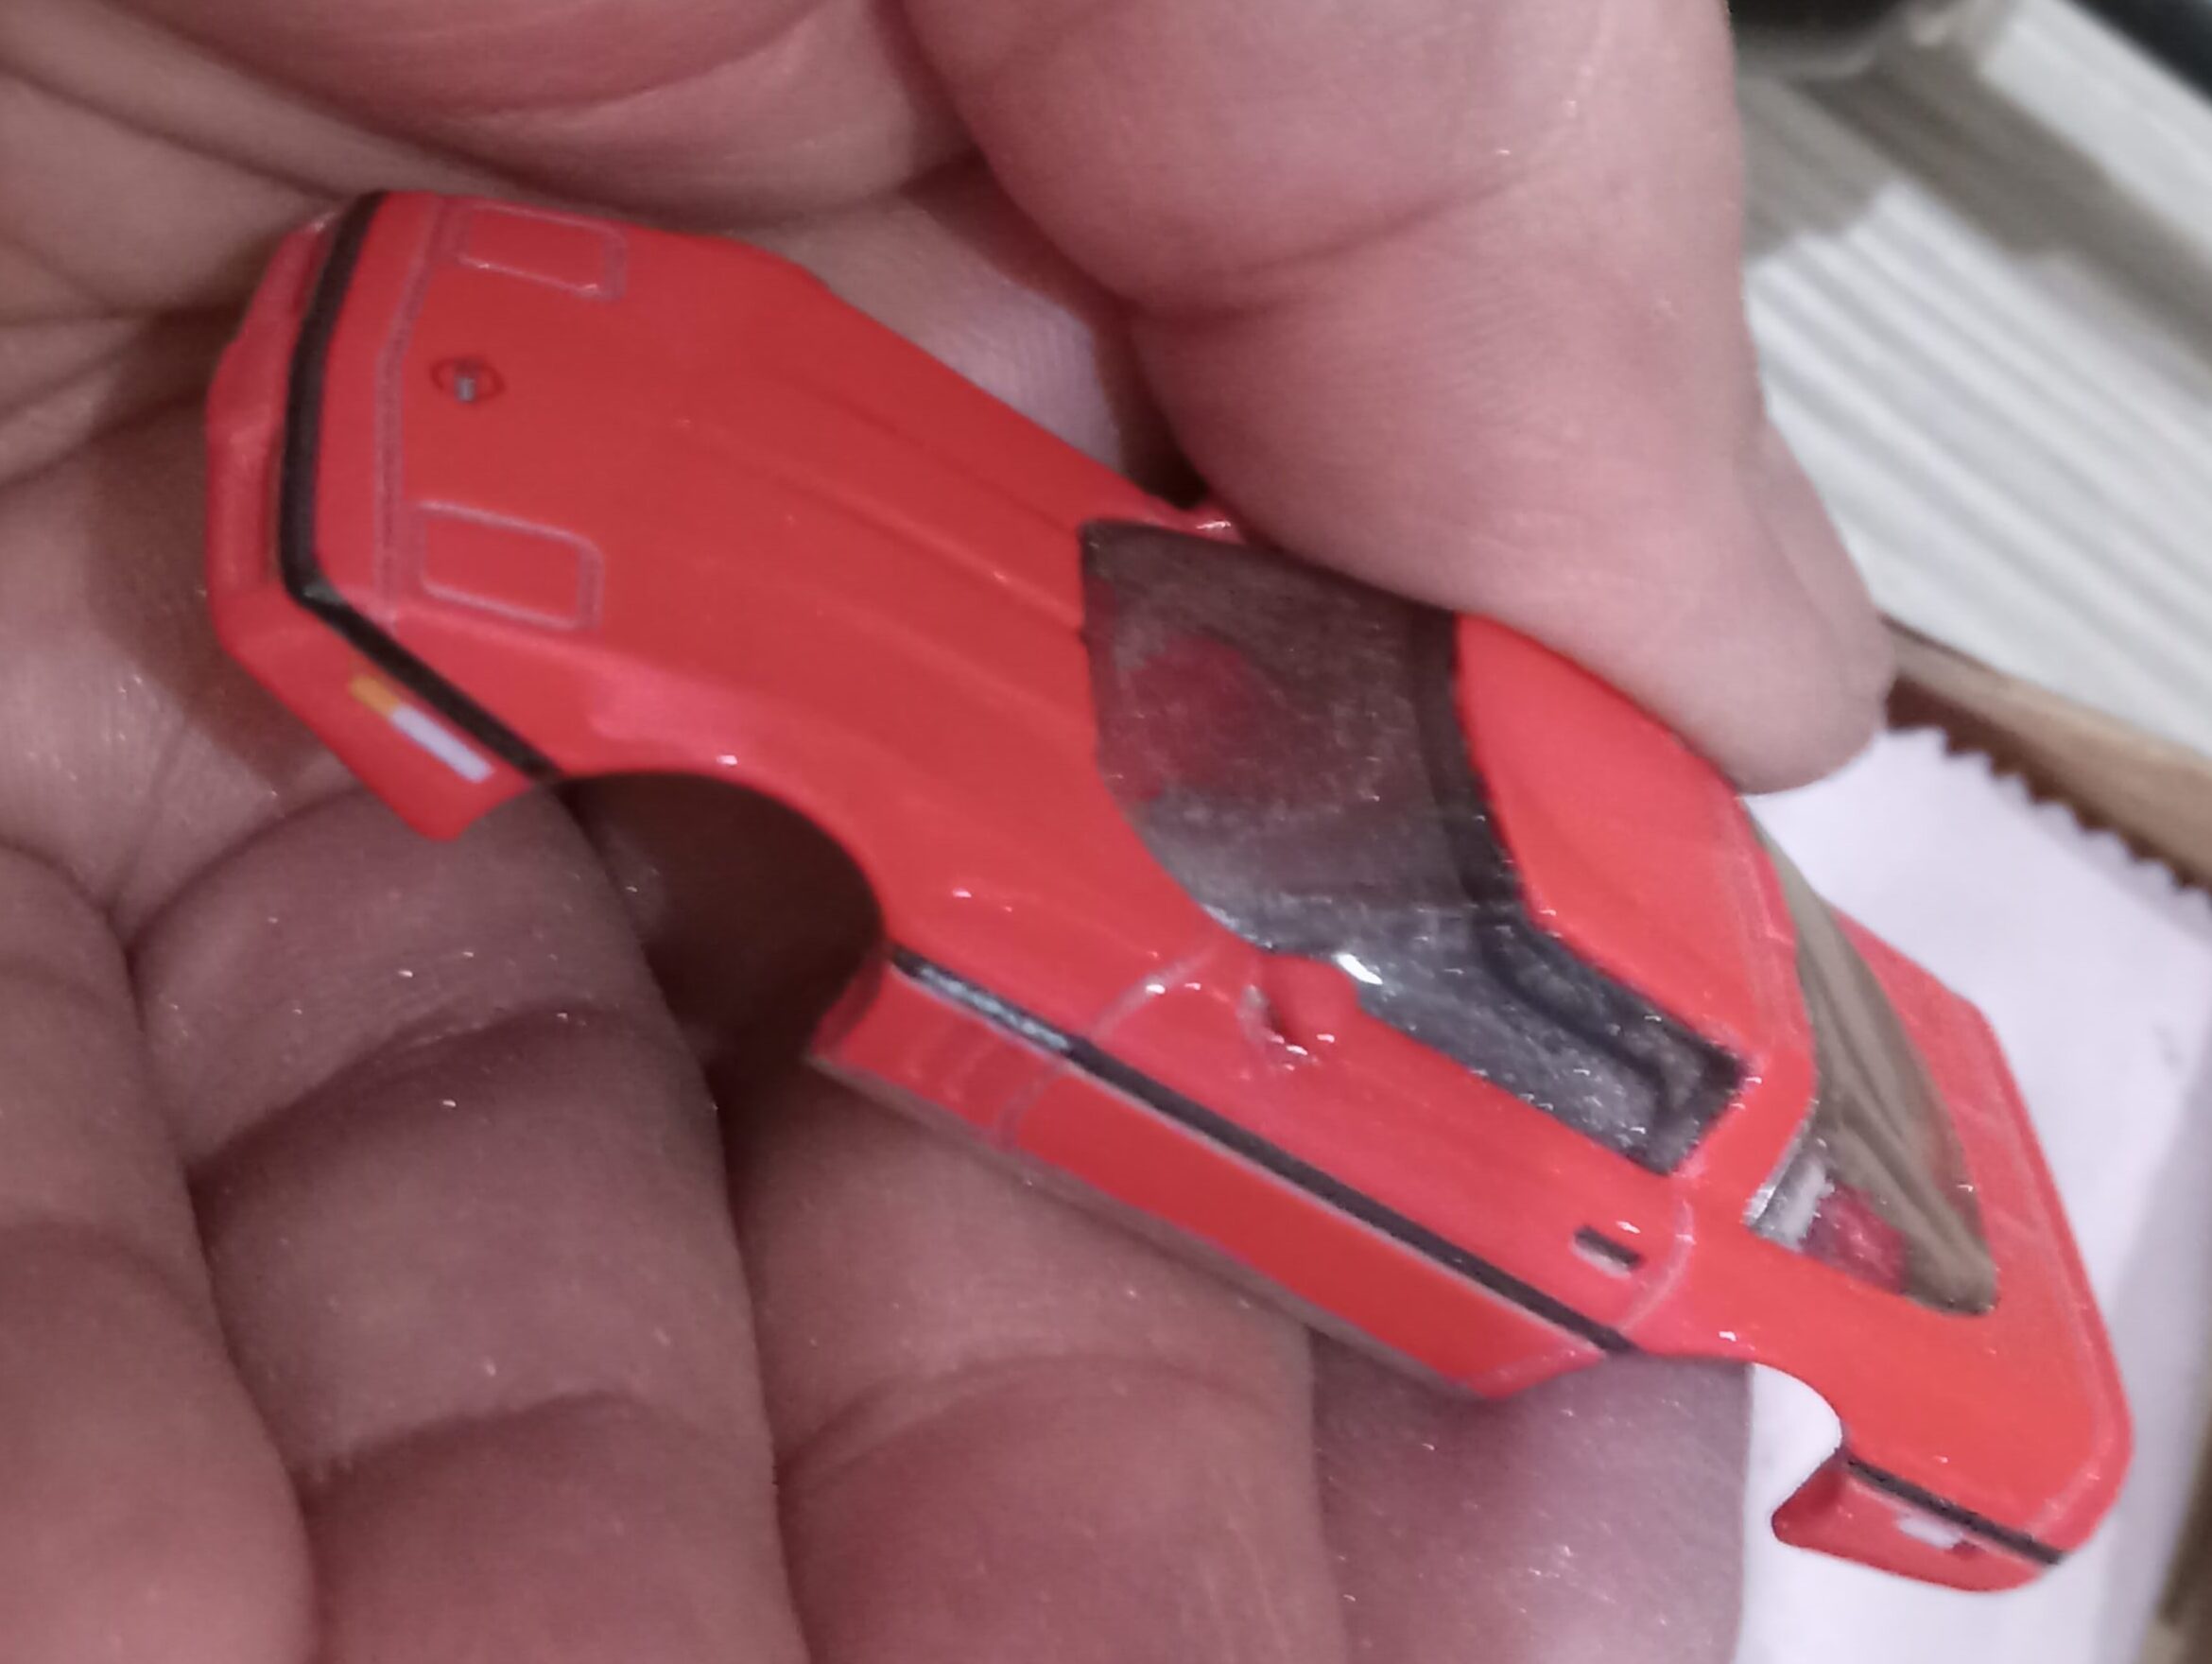
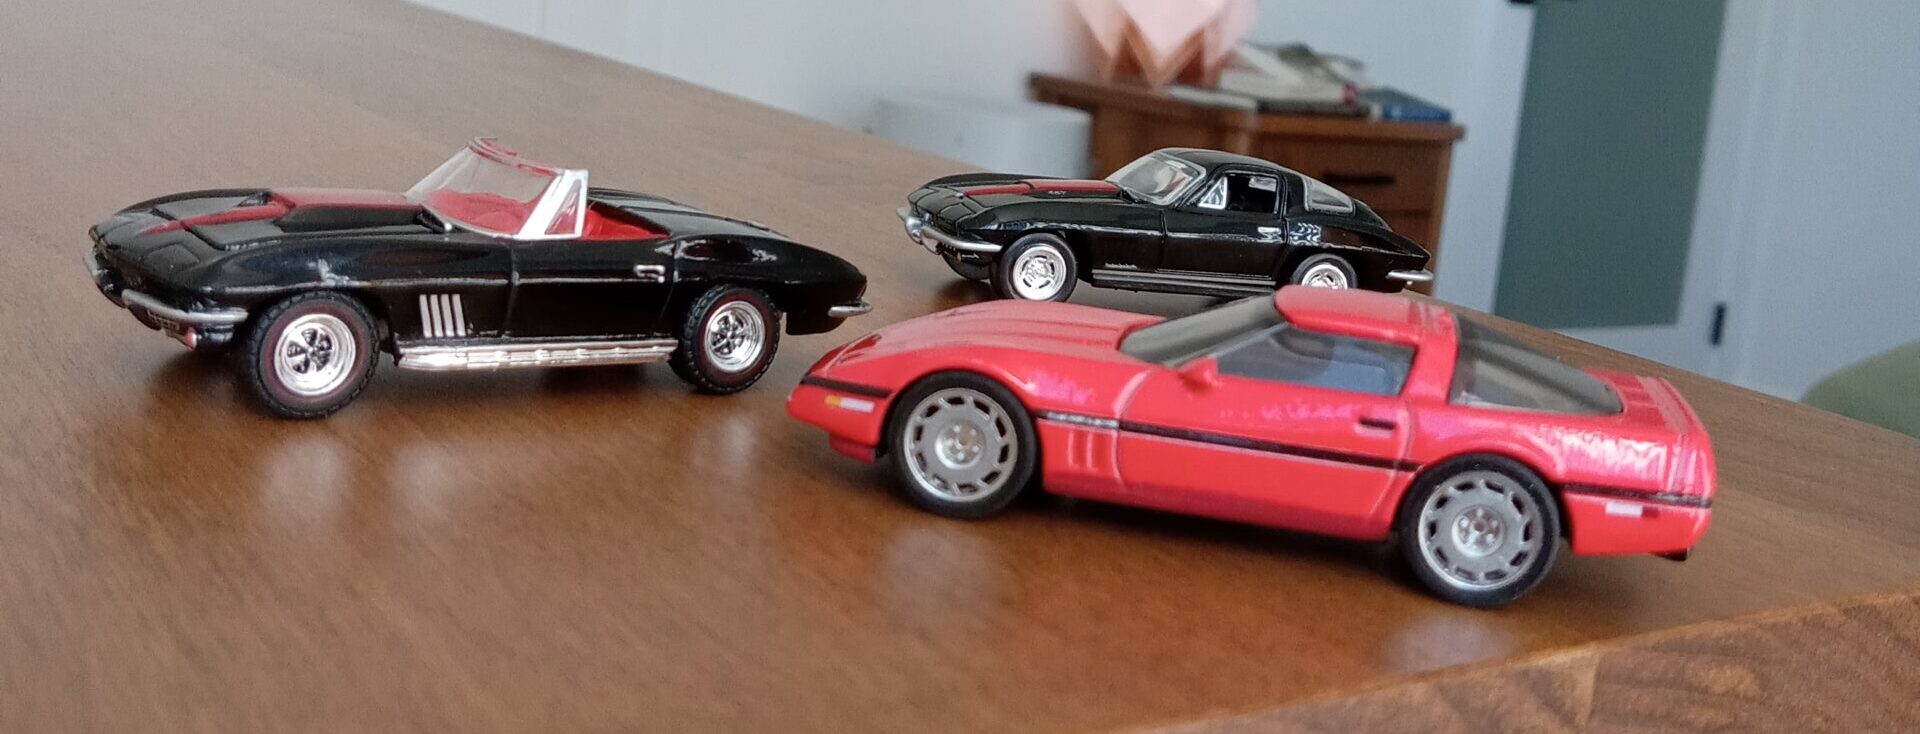
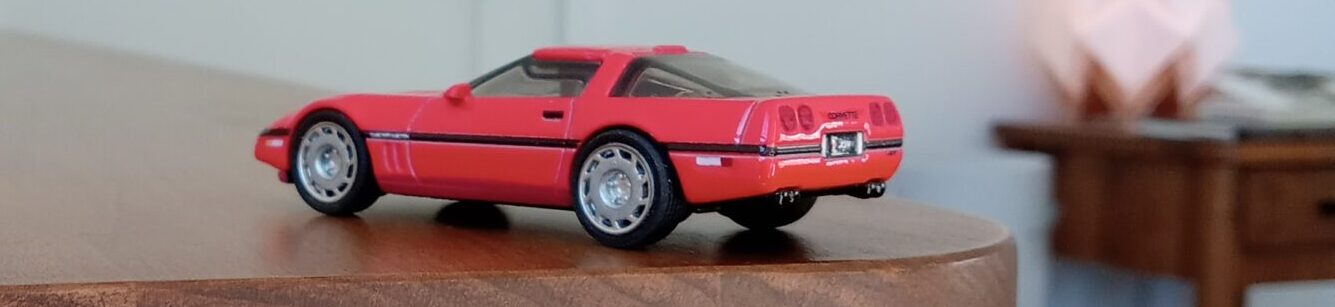
*該当ミニカーの特徴 : ずっしり重たい真っ赤なスポーツカー


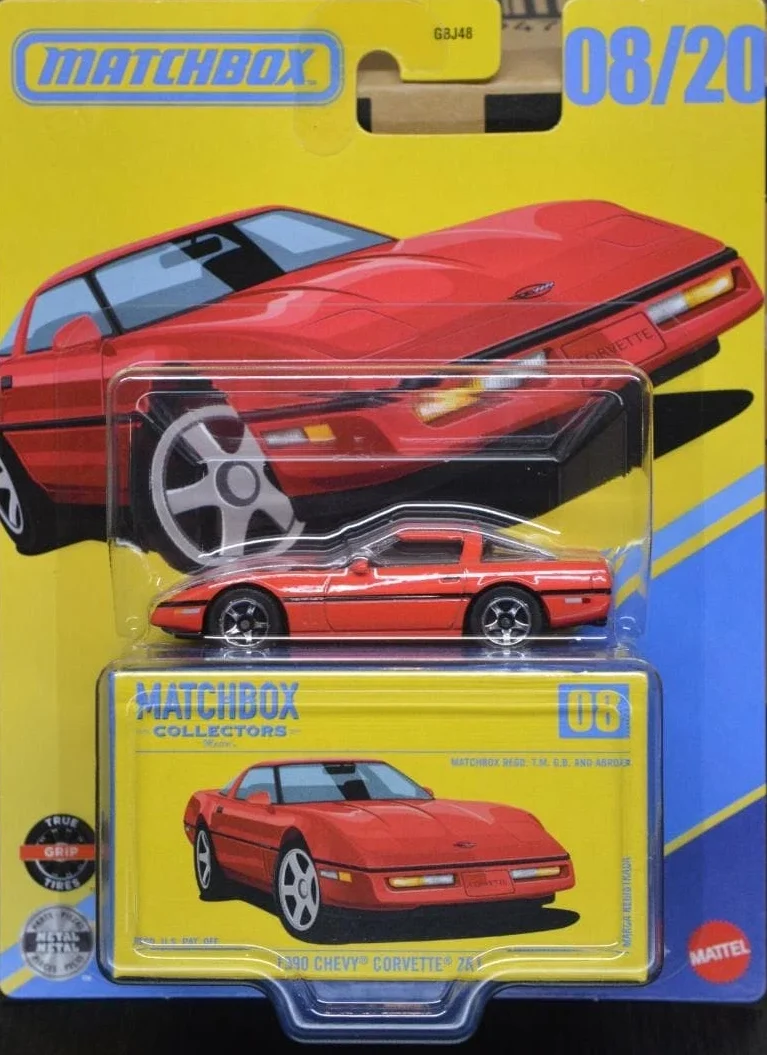
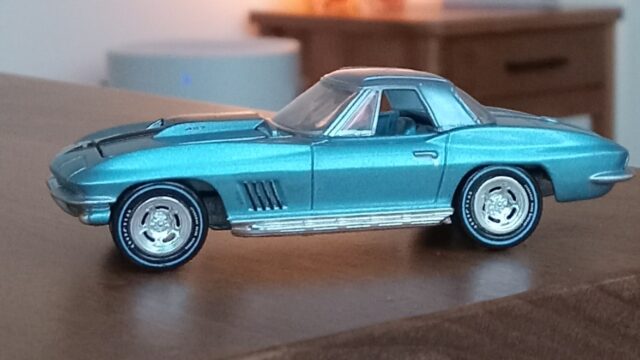
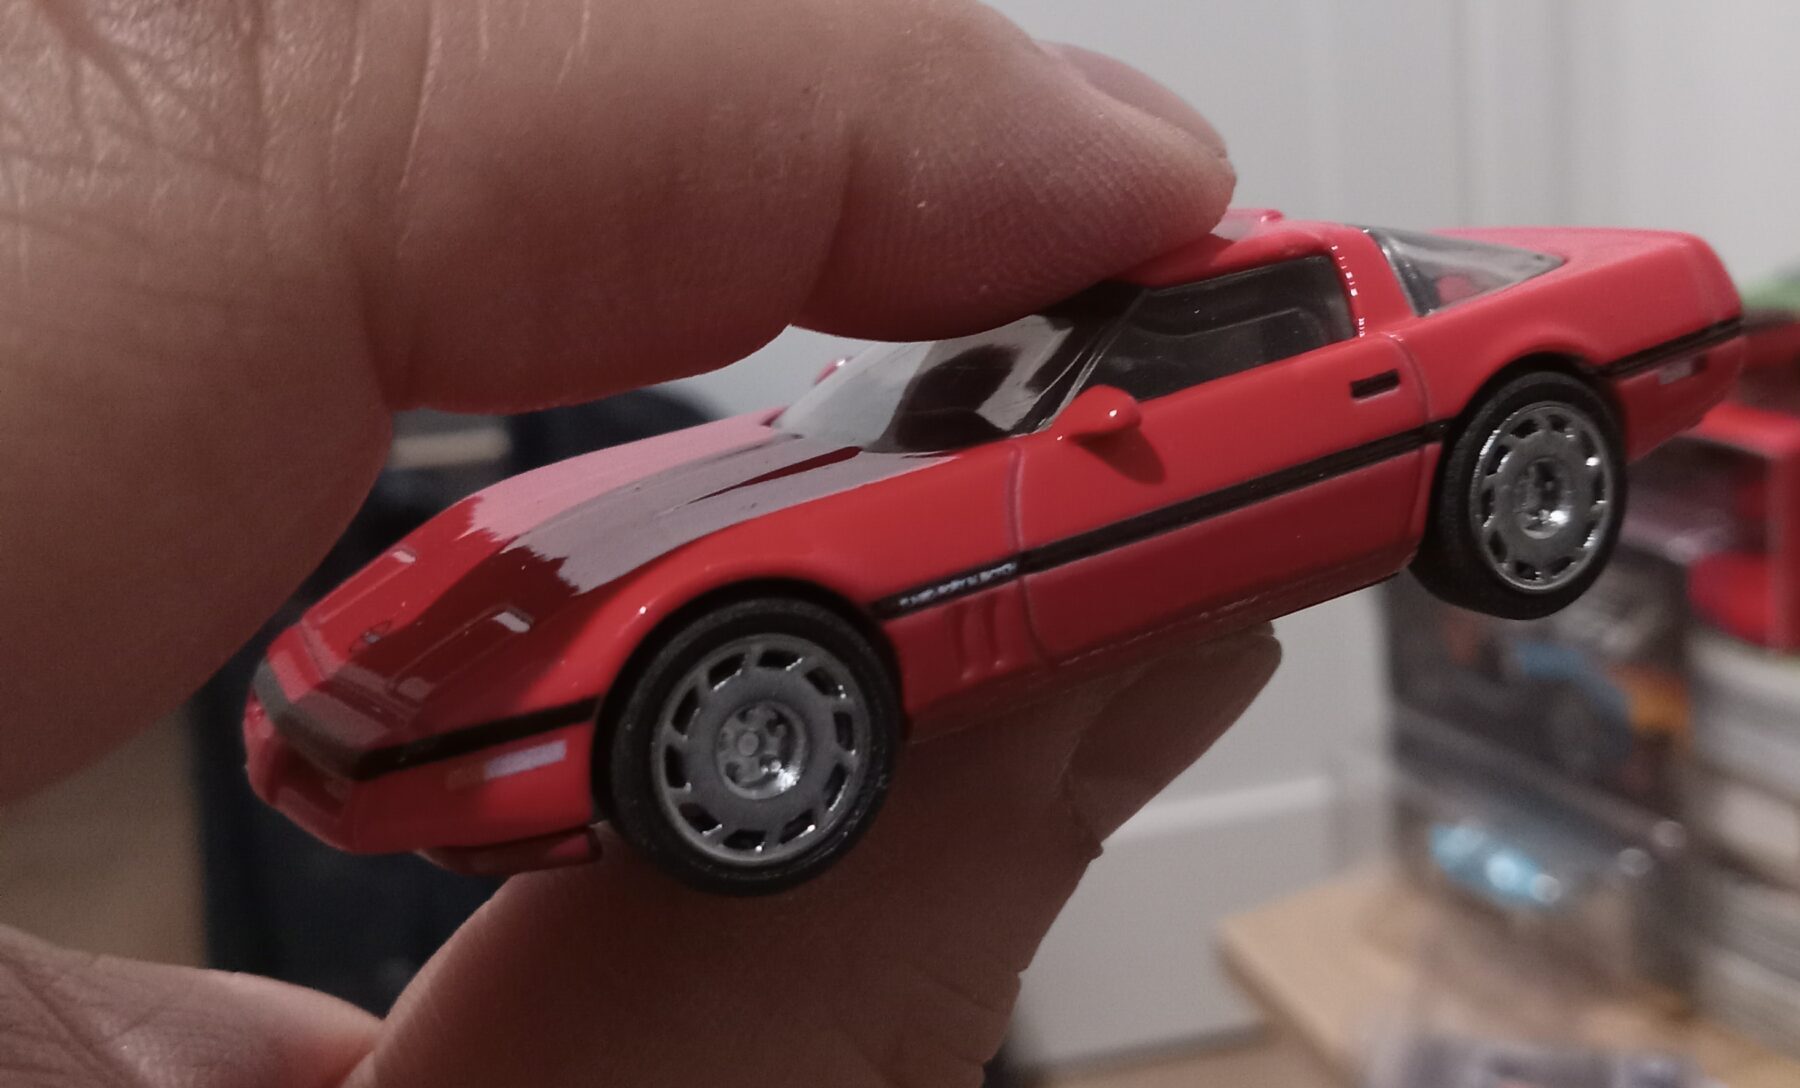
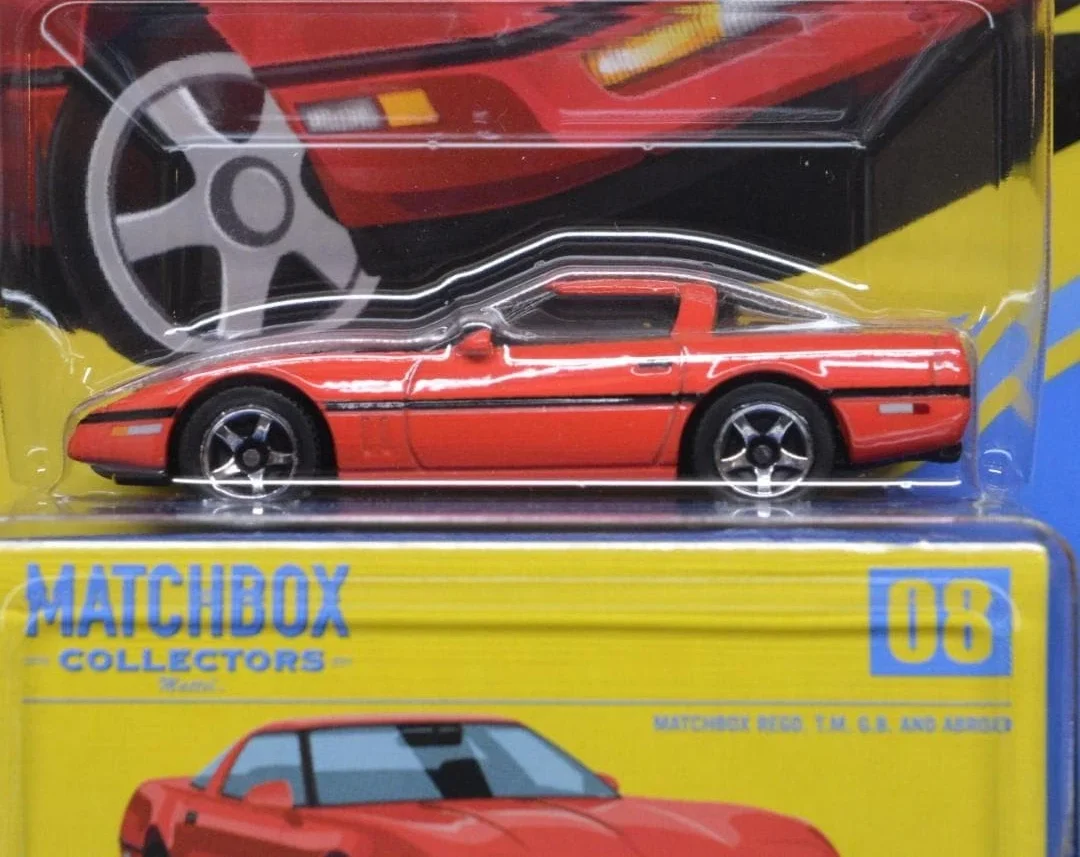 マッチボックス社製、コレクター/シリーズ 1/64 1990 シボレー・コルベット ZR-1(真紅)
#該当ミニカーの特徴:
良い点:
*全体のスケール間、プロポーションの正確さ
*最新設計の恩恵:スジボリの深さ、塗装、プリント類のシャープさ
*全体を貫く、ずっしりとした高質感
今一つな点:
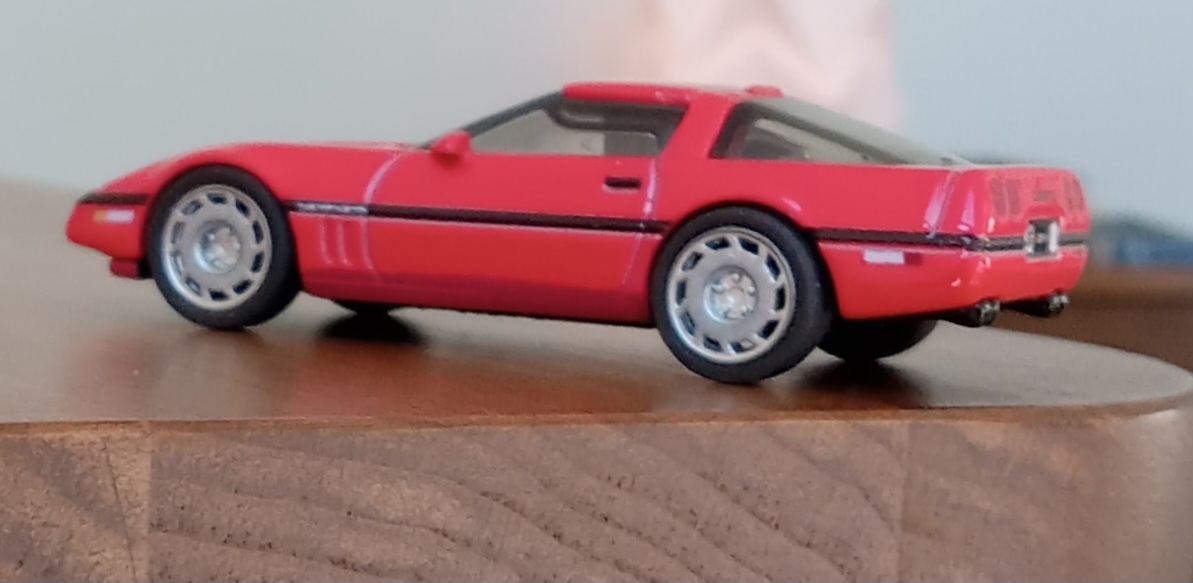
*タイヤ軸位置が少し低くく、結果として車高が高めなところ
*ホイールデザインが1990年のZR-1のものとは可なり違うところ
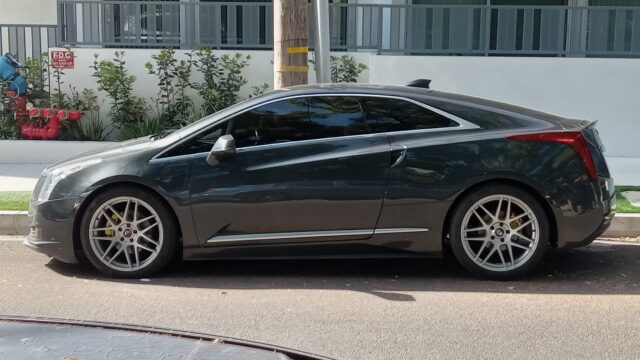
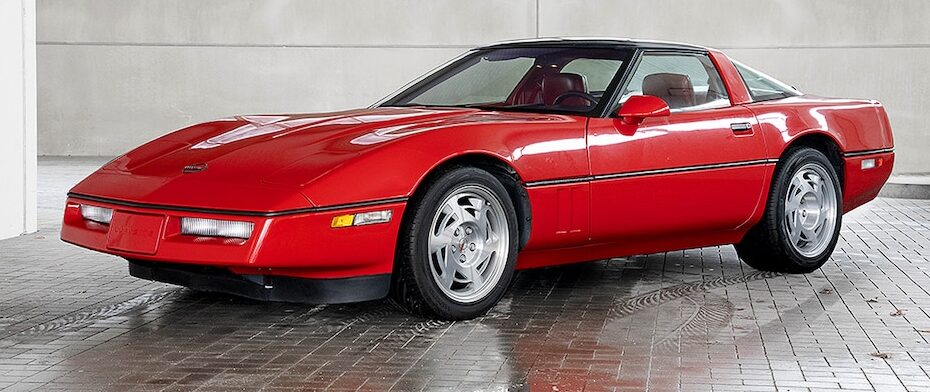
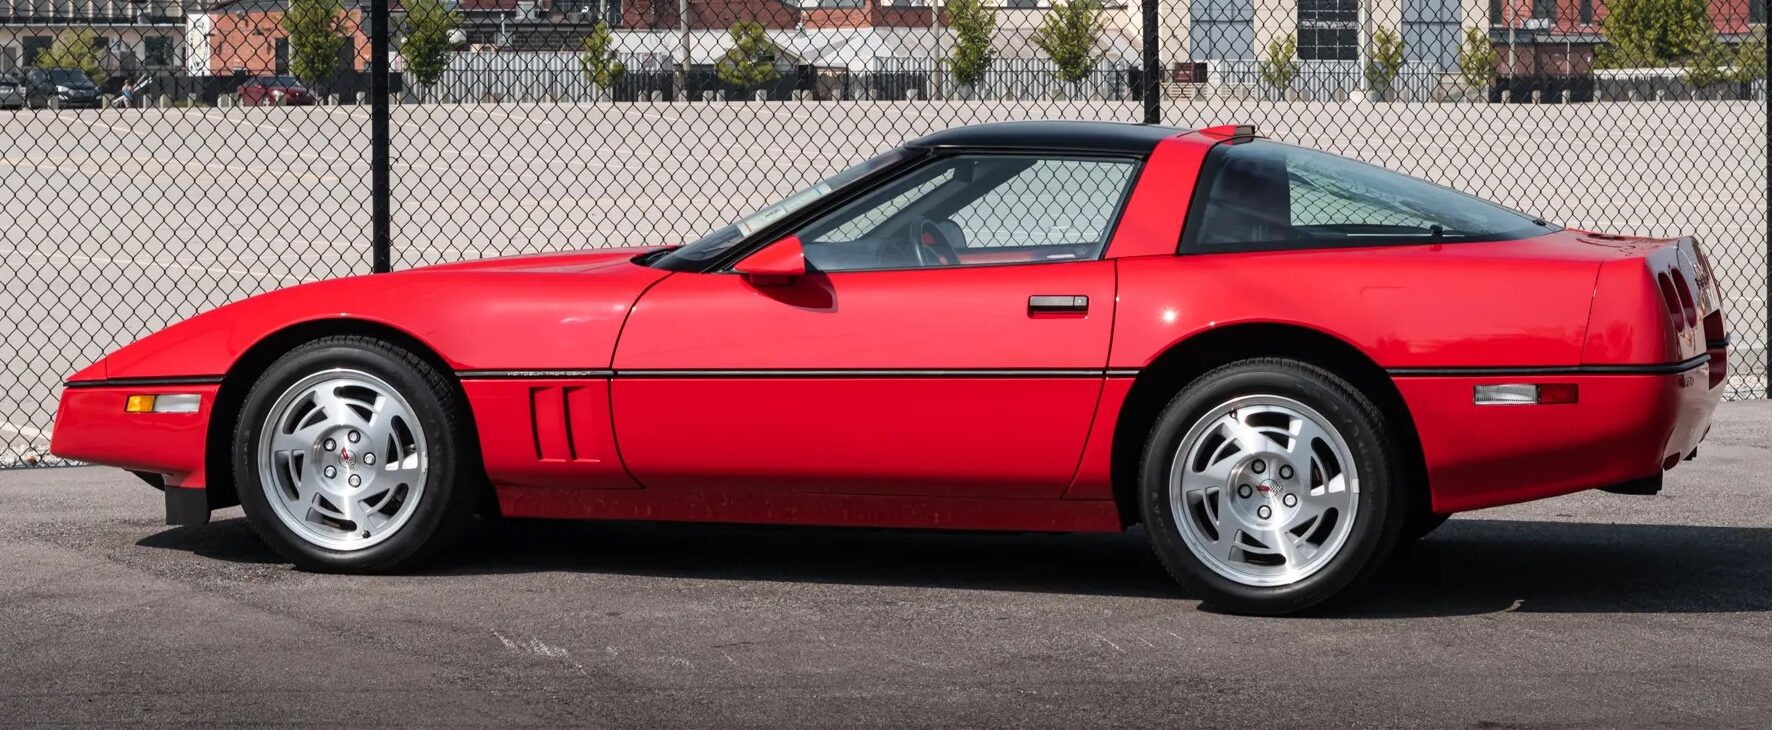
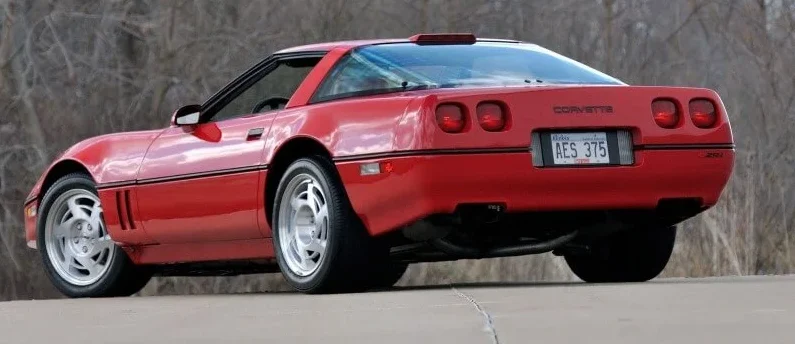
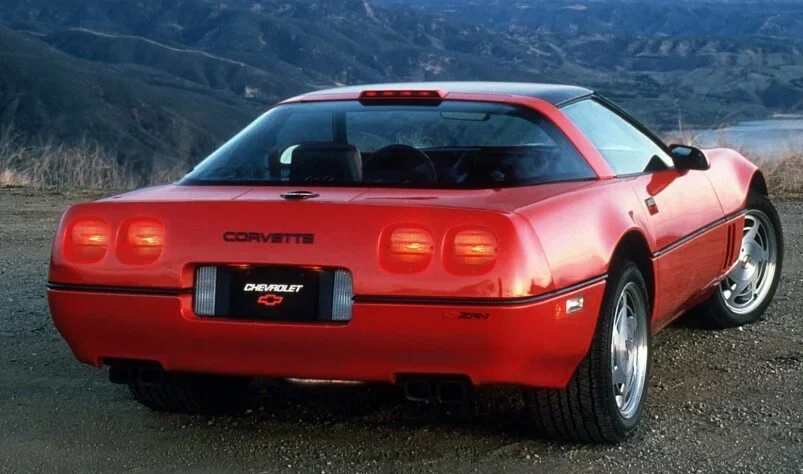
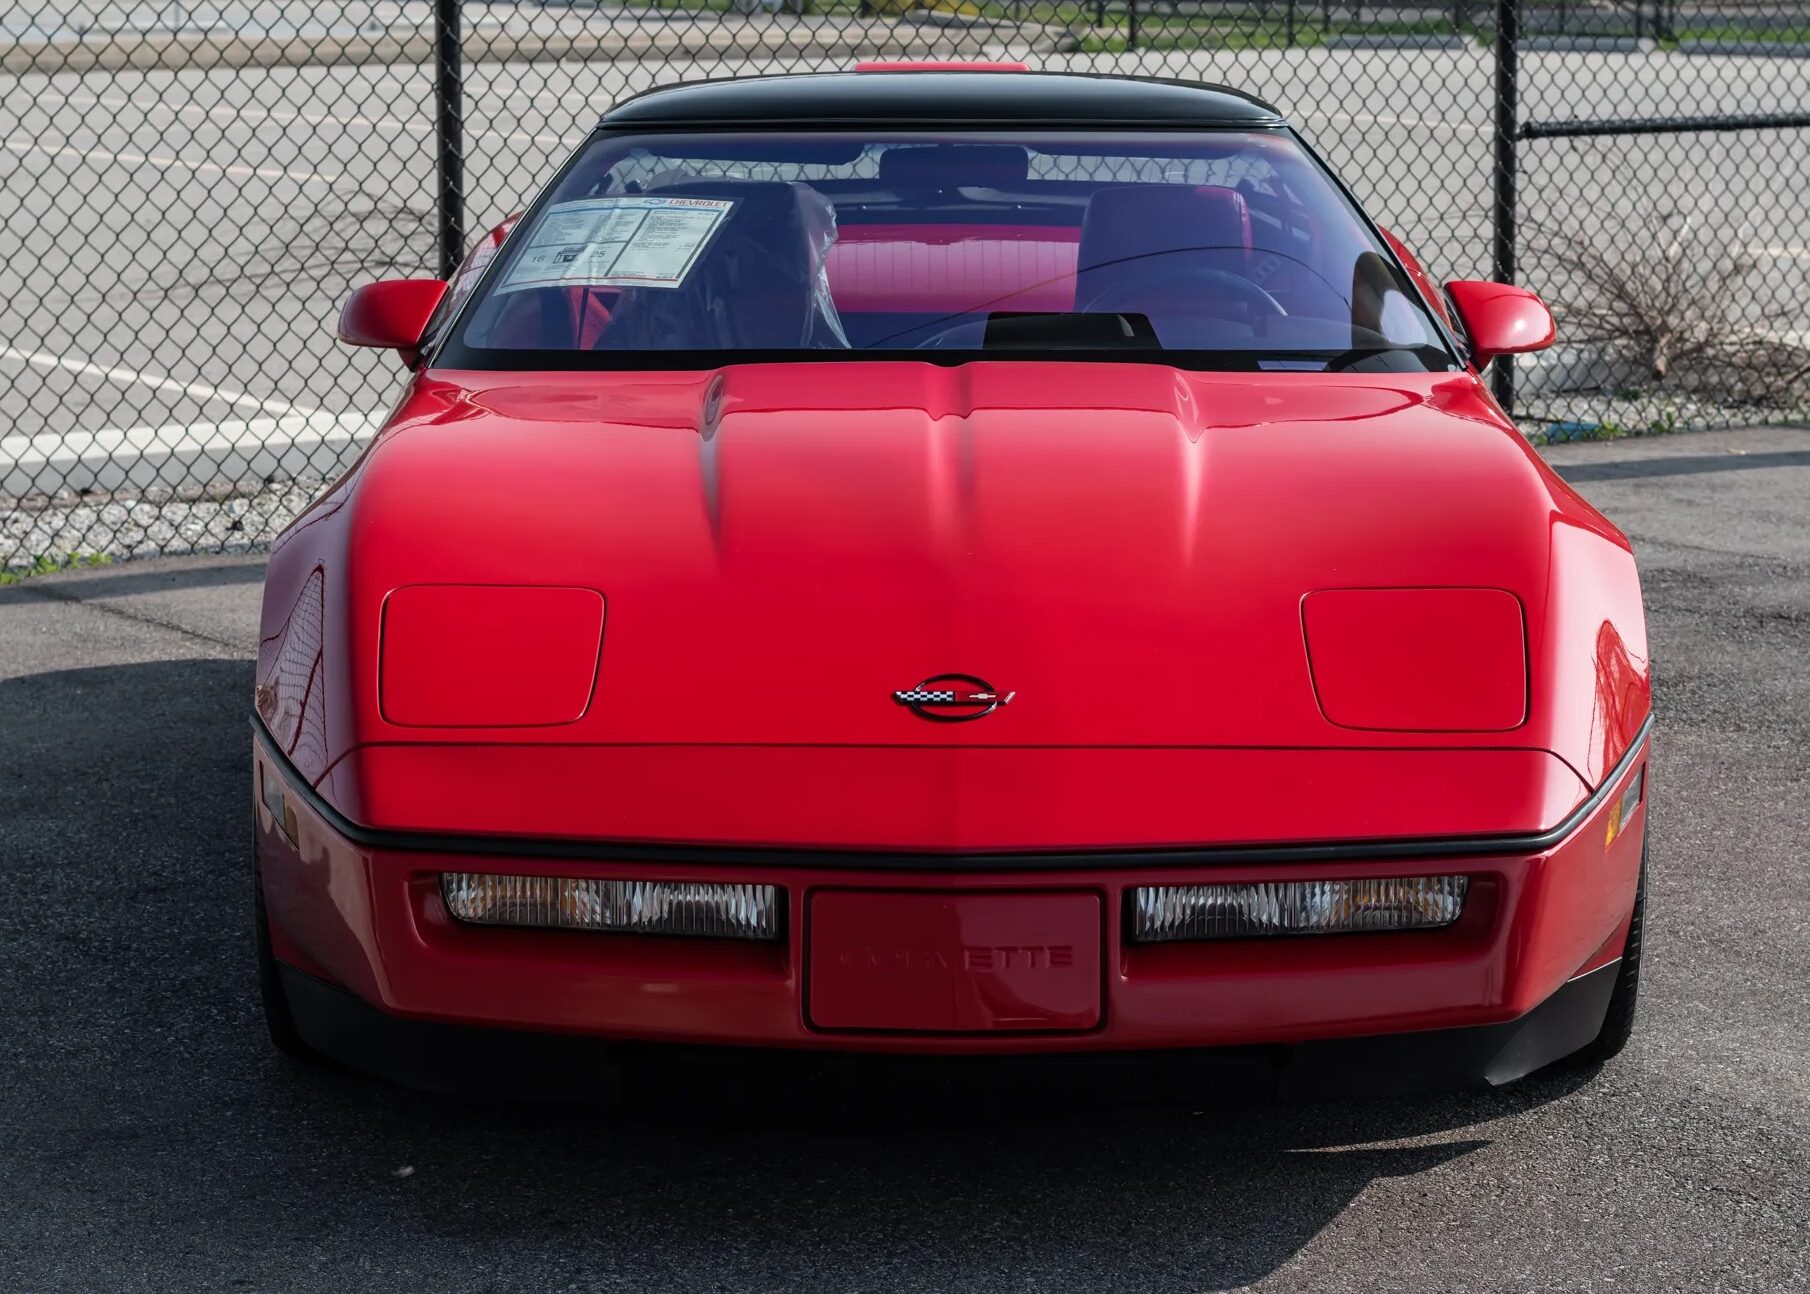
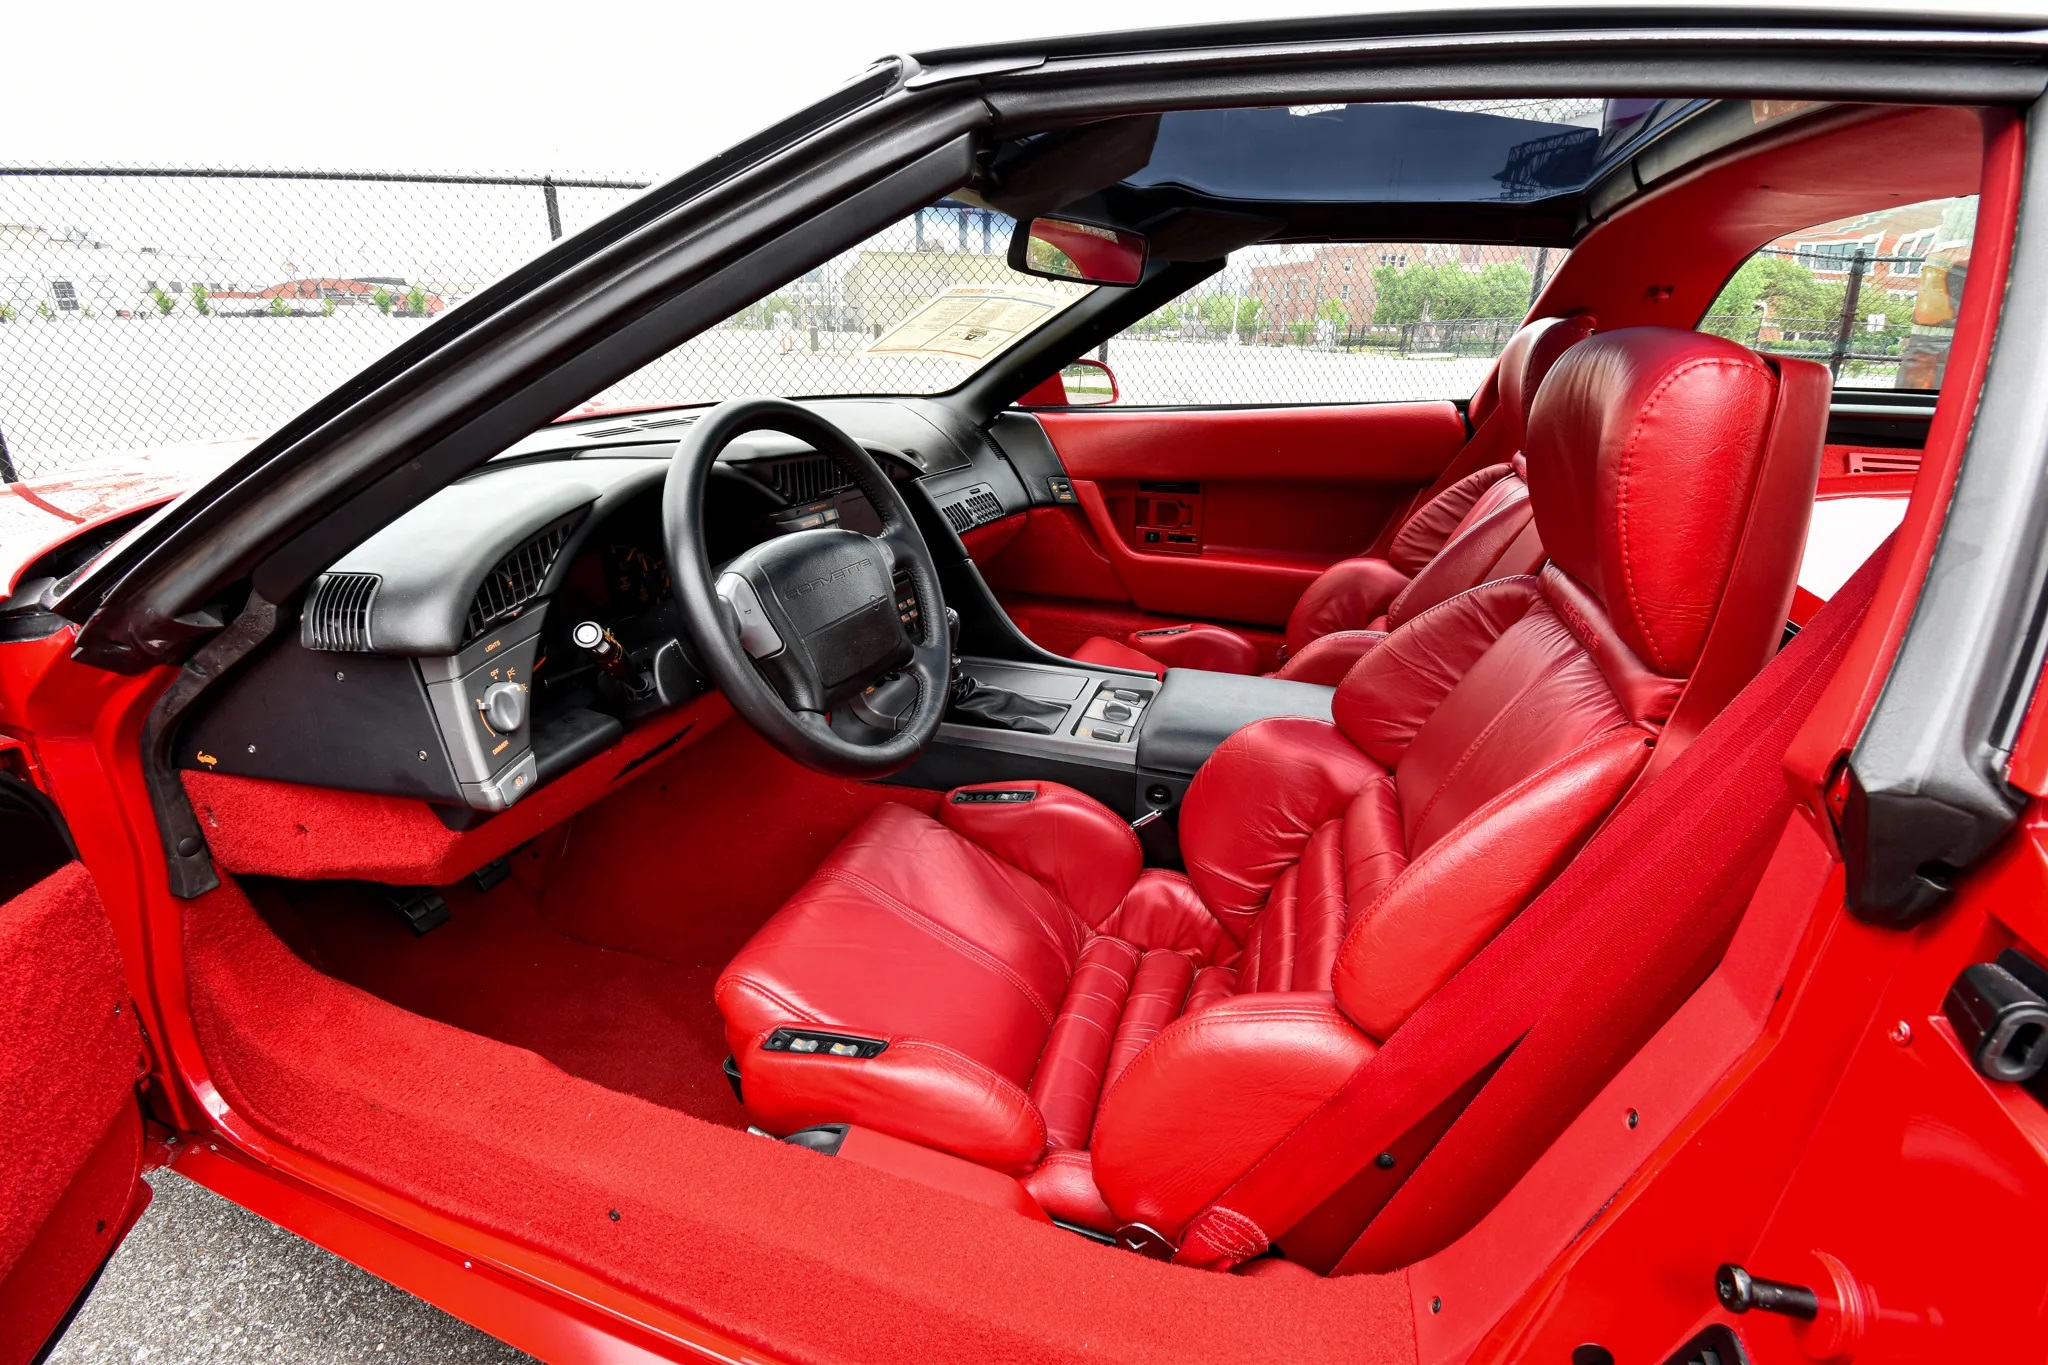
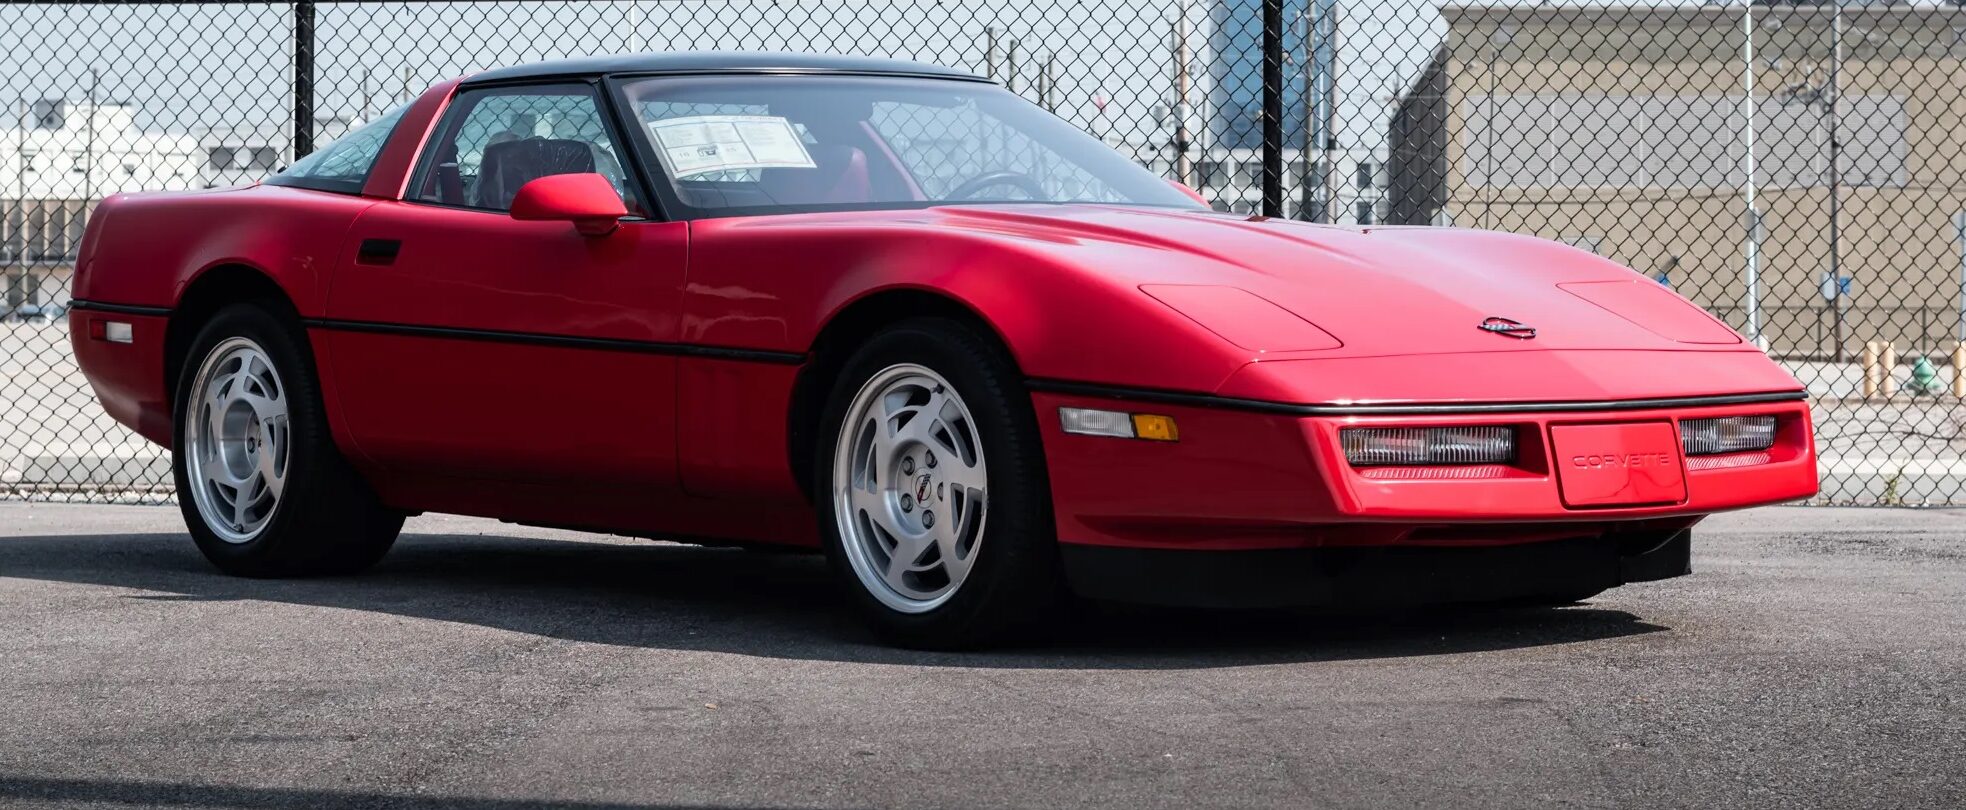
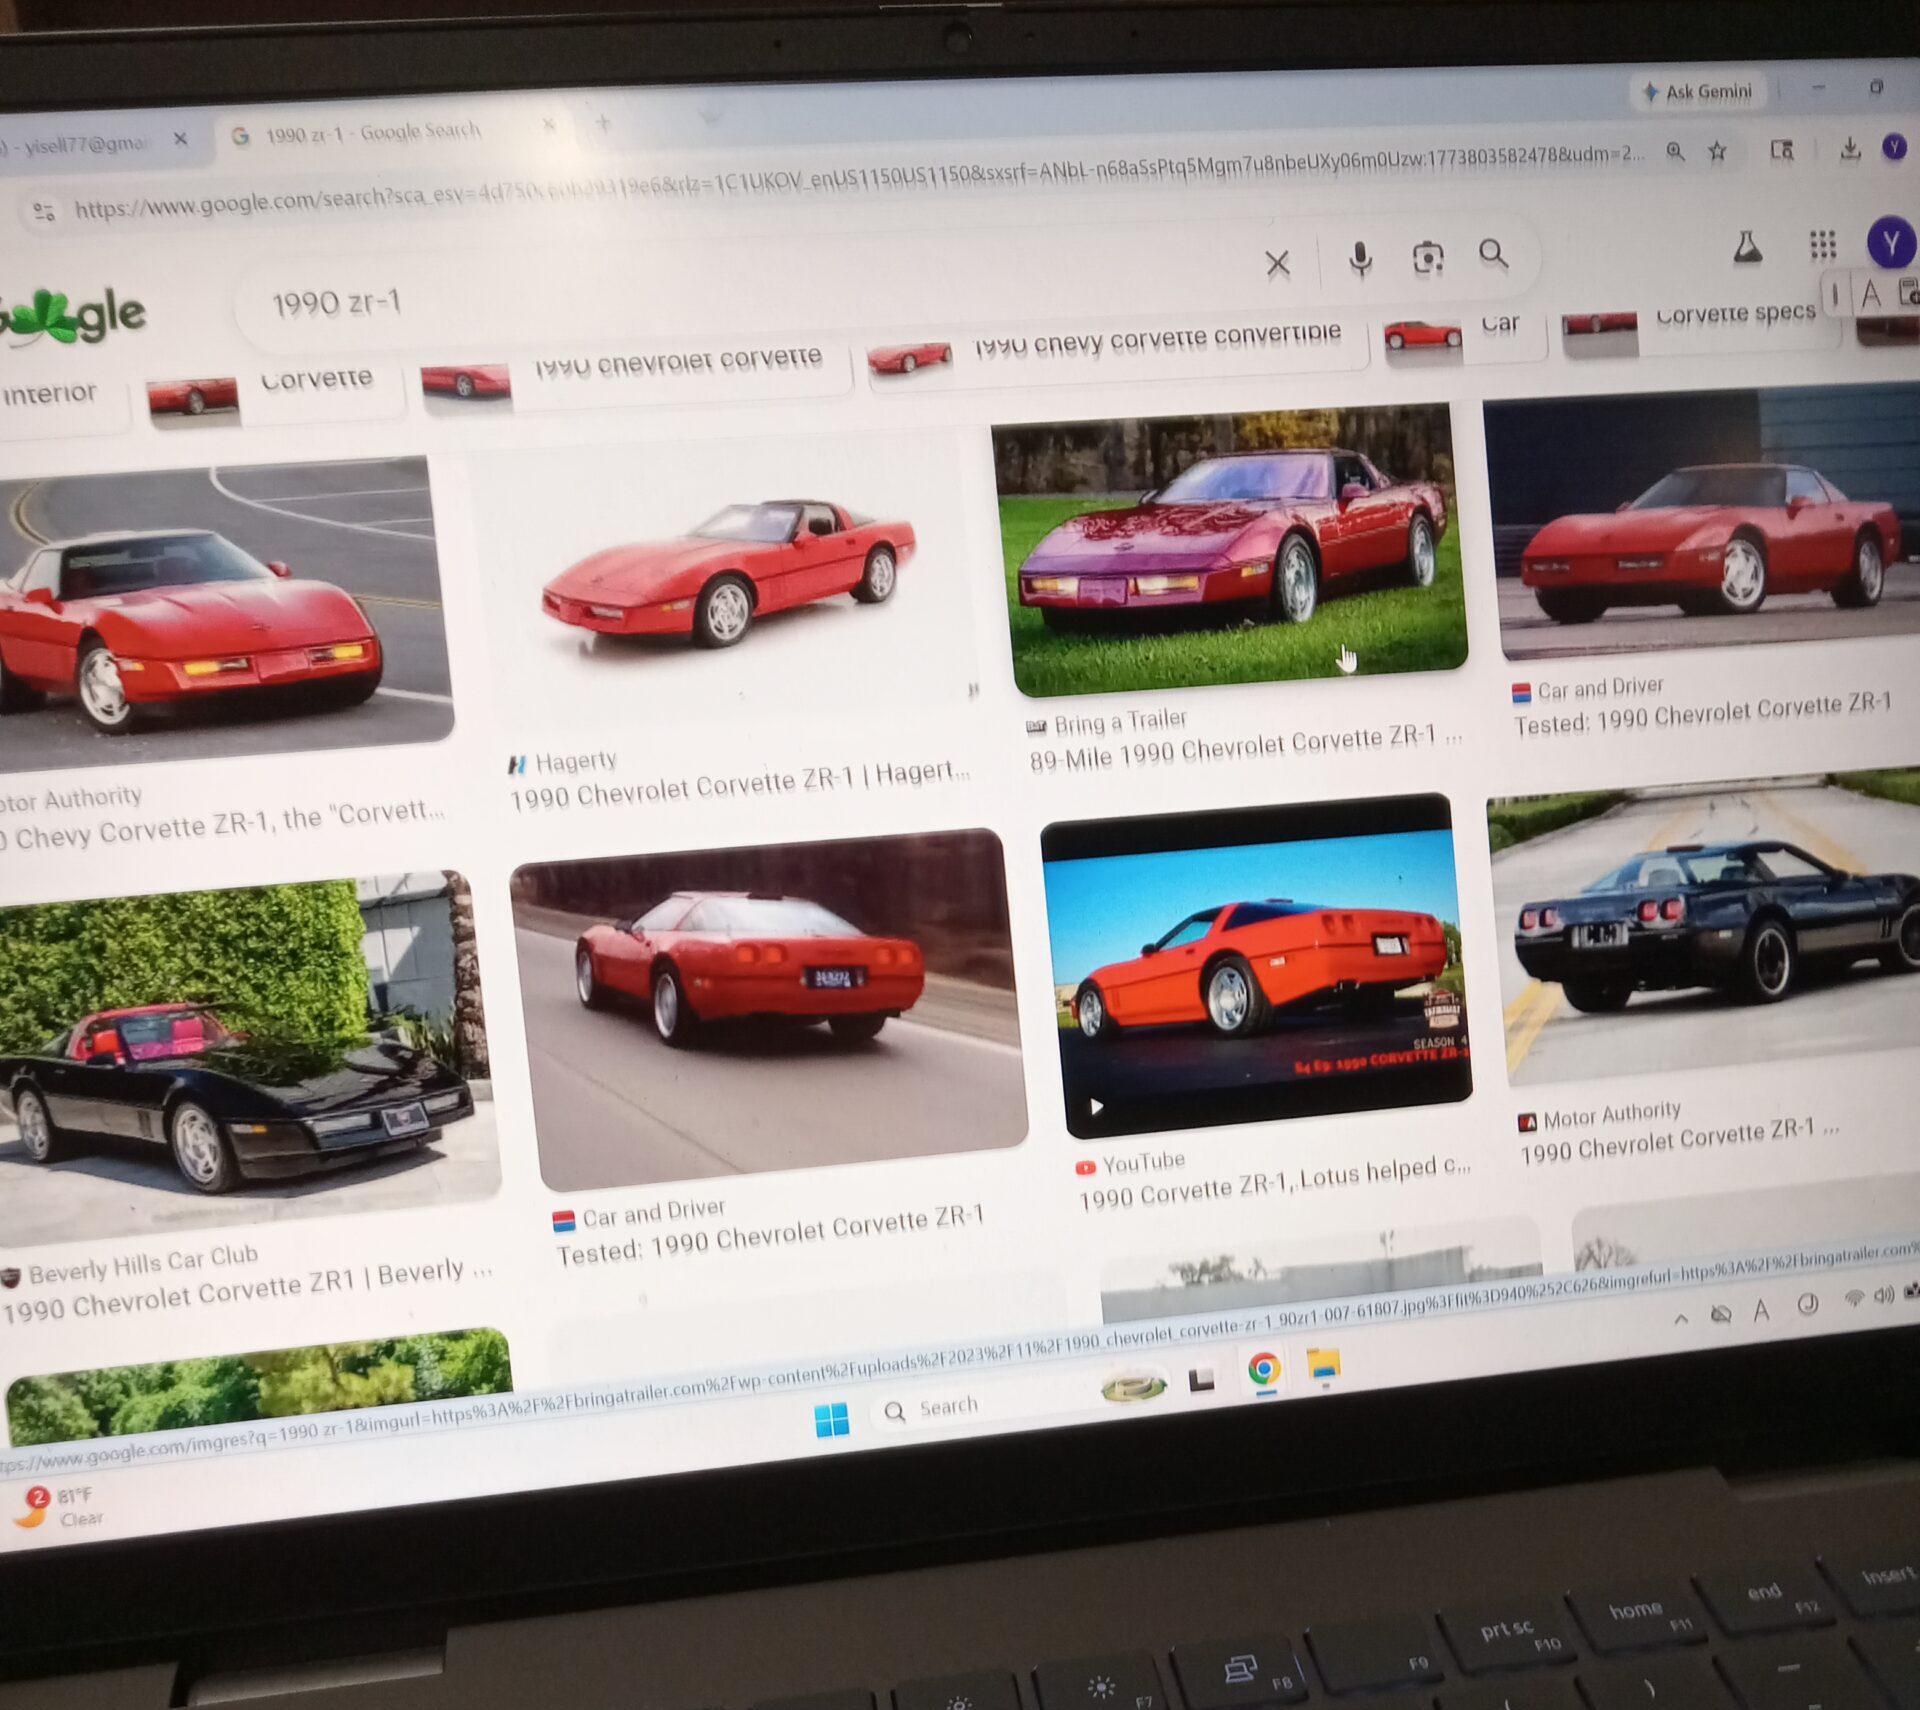
*実車の資料写真:1990年型 コルベット『ZR-1』
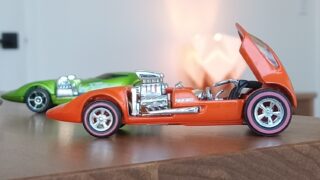
*改造開始:イーベイで見つけた3-Dプリントのタイヤ&ホイールが決め手!
ダメもとで、
だらだらと探していたら偶然見つかった
1980年台から1990年仕様の、『風車型』ホイールと超扁平タイヤが3-Dプリントで資源されたパーツを見つけ、(一応、ホットホイール用に設計してあると書いてありましたが、、、、)
このパーツを使って、
マッチボックスの
真っ赤なZR-1を
アップグレードしてみようと思います。
#3-Dプリントのホイール&タイヤ セット
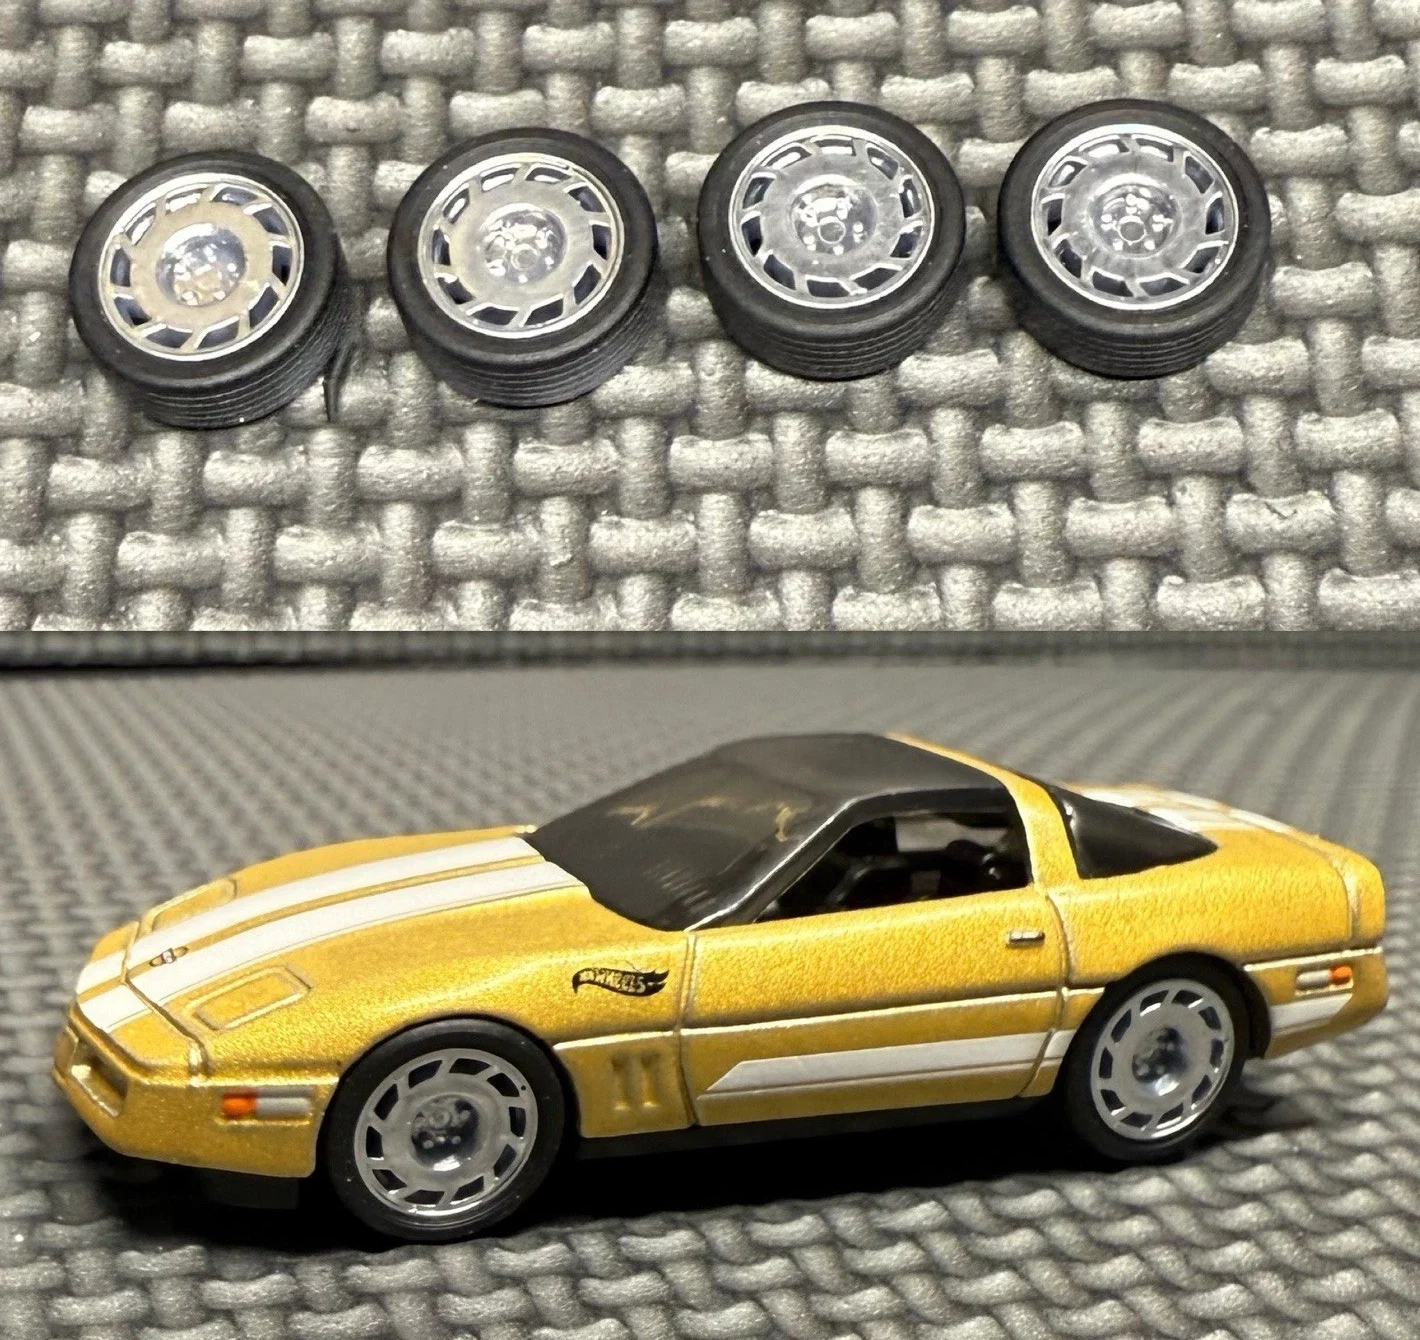

1:64x C4 Corvette wheels. 3d printed with chrome wheels and tires
by 『3DScaleParts』 on Ebay
<https://www.ebay.com/itm/146580799739?mkevt=1&mkpid=0&emsid=e11051.m43.l1123&mkcid=7&ch=osgood&euid=f659e5b82ad748b2b7f00ef20fa0474b&bu=43168566588&osub=-1%7E1&crd=20260213224624&segname=11051>
#改造プロジェクト:

#工作手順:
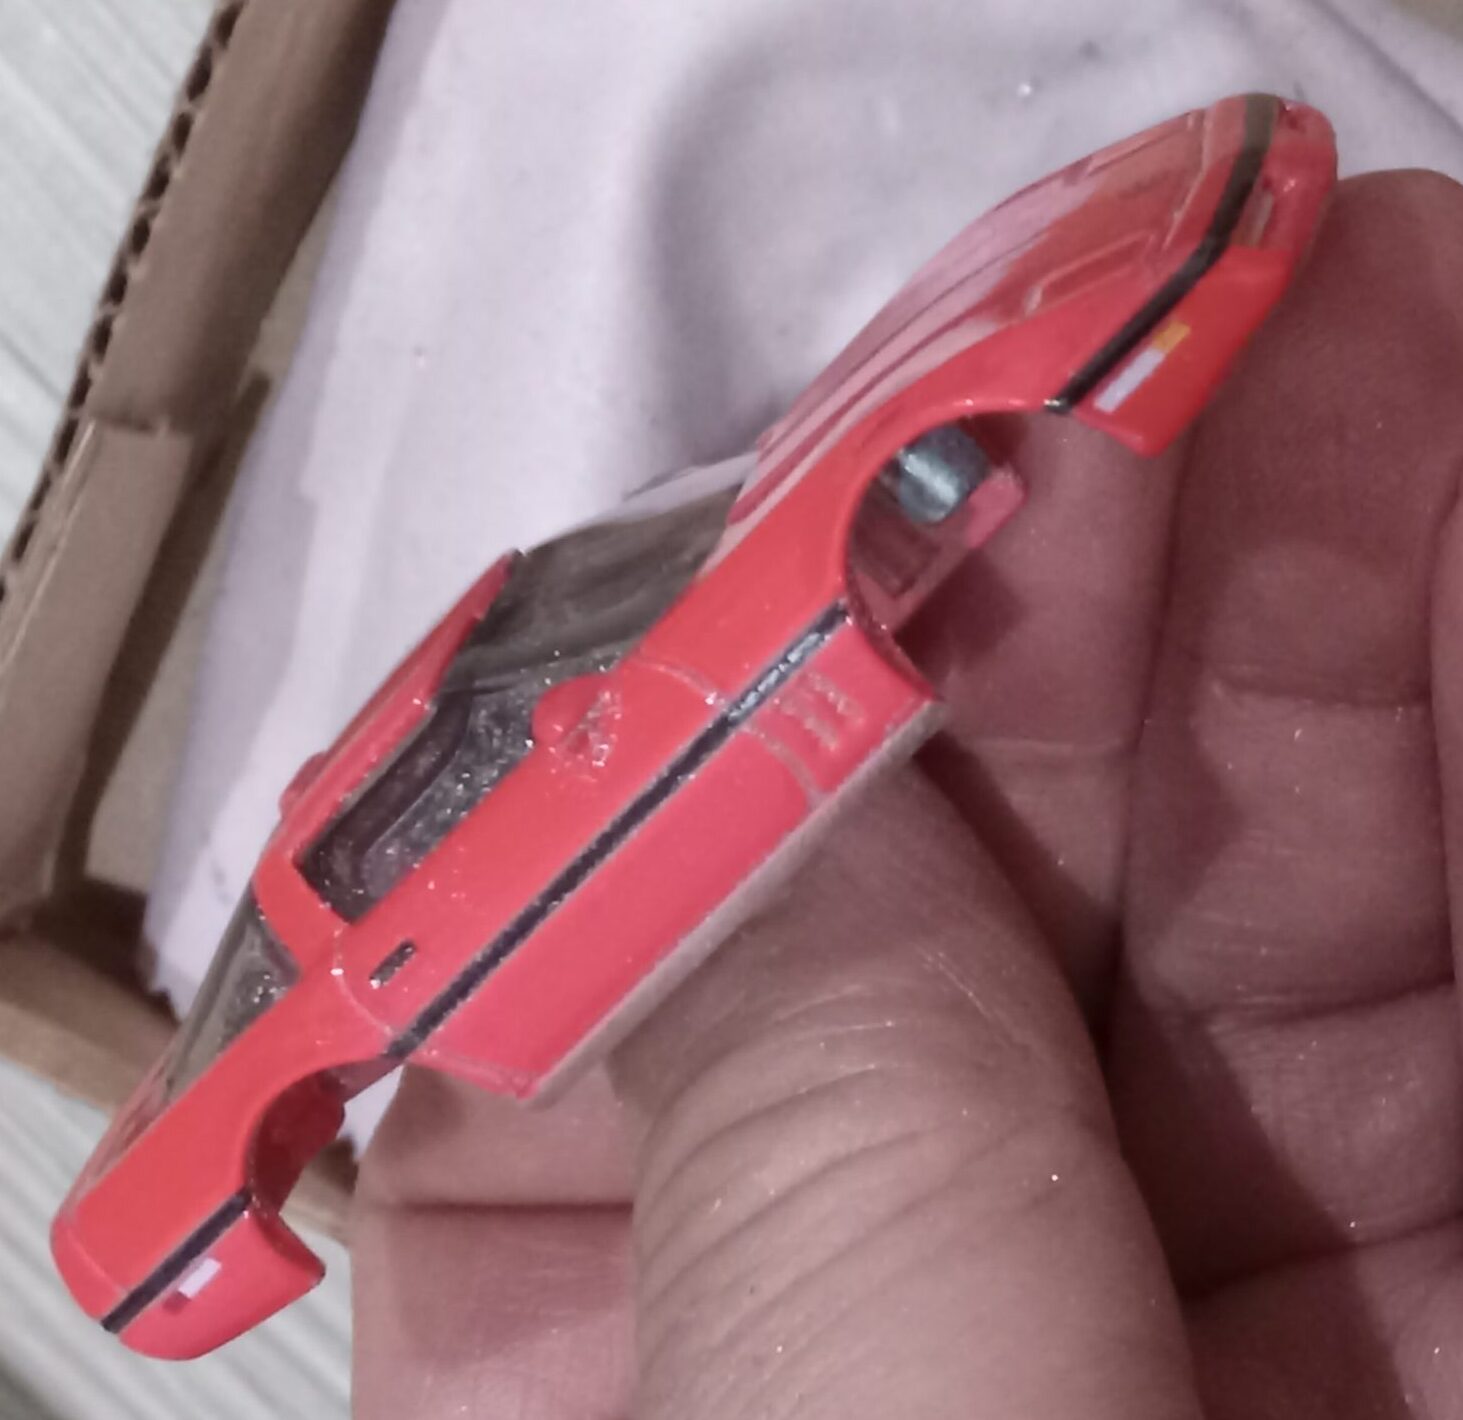
ボディー成型&塗装:
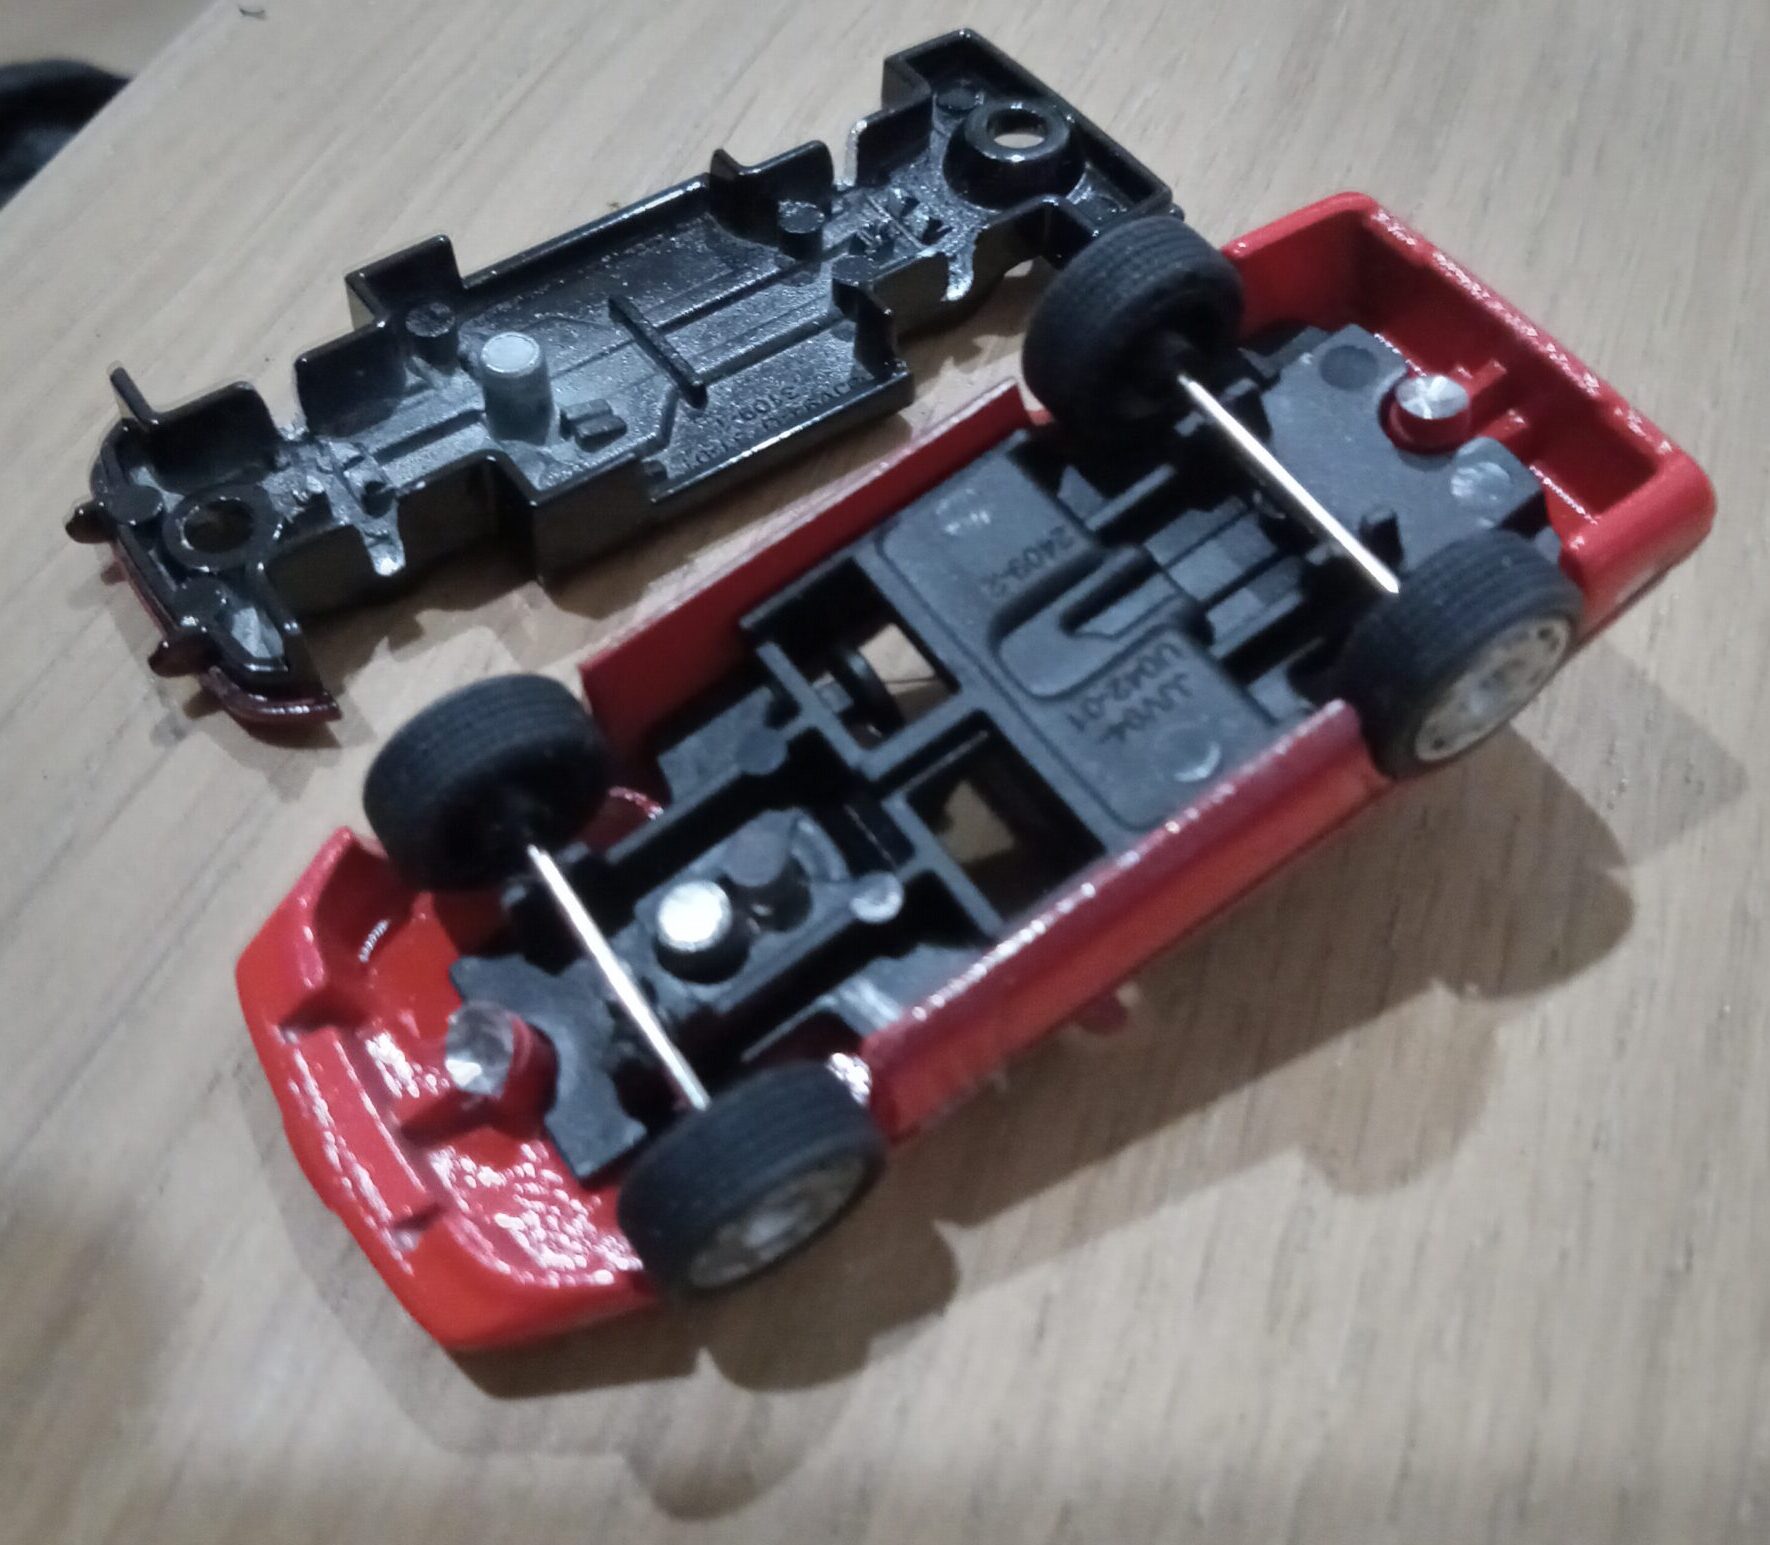
1:電動ドリルを使い、シャーシ裏面とボディーを引き離し分解します
2:ボディーサイドのドアカットラインから下を内側に15度程度金属ファイルで削り、成型
3:綺麗にやすりをかけたのち、アクリル系の色が透けないマーカーにて色塗り
3’:フロントフェンダーのボディ側、内側をドリルで薄く削りフィッティングを調整
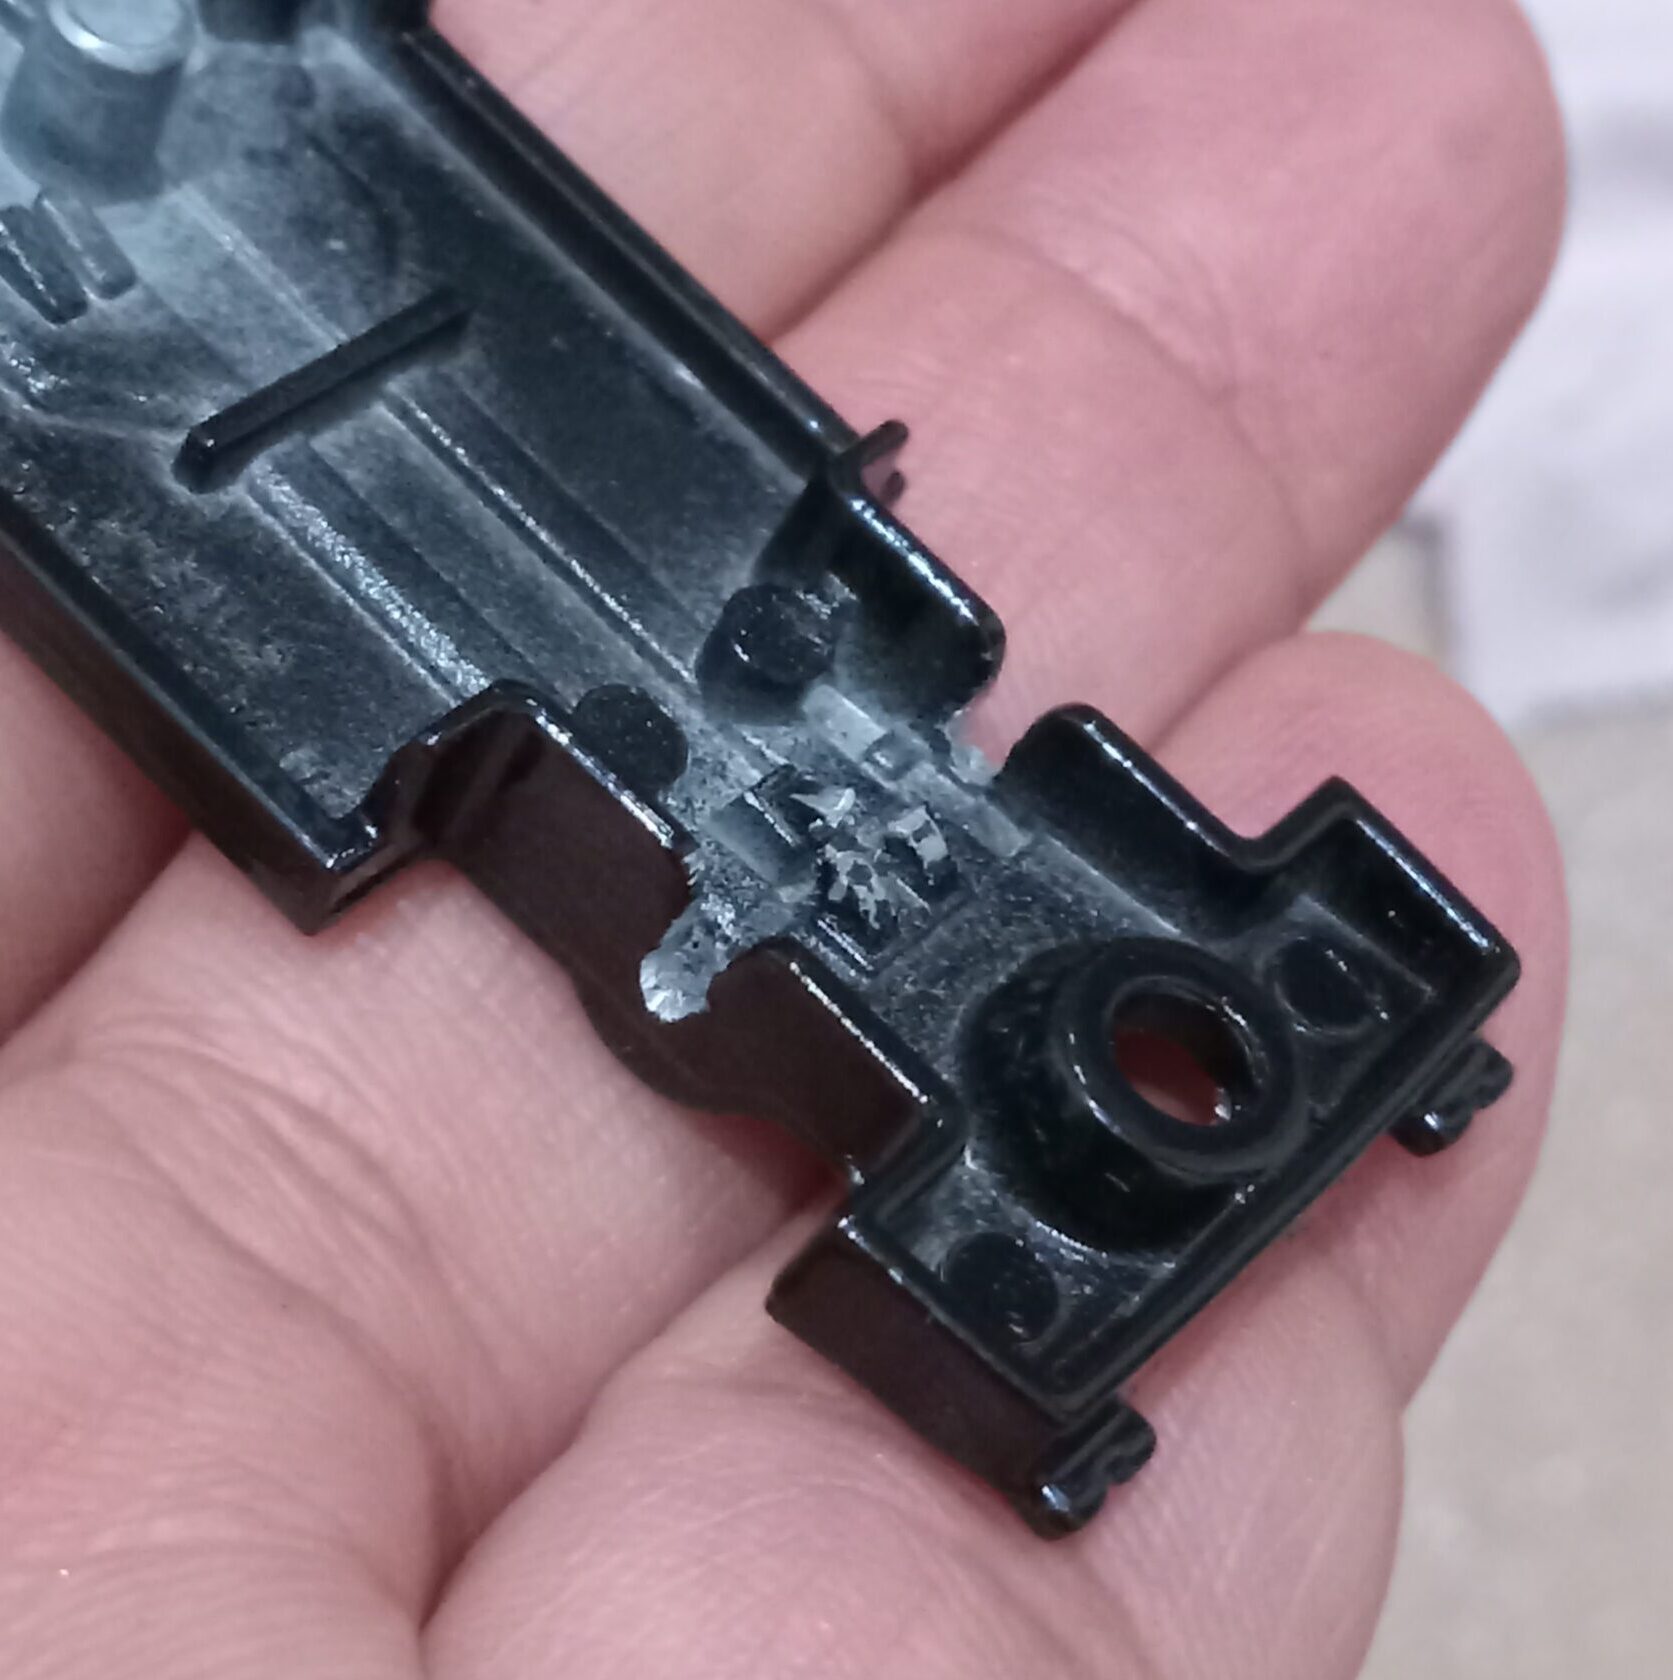
タイヤ&ホイール交換:
4:タイヤ&ホイールの固定用の金具を、金属ニッパーなどで破壊して、取り除き
5:太めのシャフトに合うように、ドリルを使って軸受け部分を大型化
6:適当な太さの金属シャフトに3-Dプリントのホイール&タイヤをはめる
7:シャフトごと軸受けにはめてみながら、軸位置を紙テープなどを使って微調整
仕上げ:
8:シャーシ側のタイヤハウス内を黒マーカーで塗装、スジボリへの墨入れ
9:タイヤ&ホイールと軸位置をシッカリ微調整の後、シャーシとボディーを接着
完成!
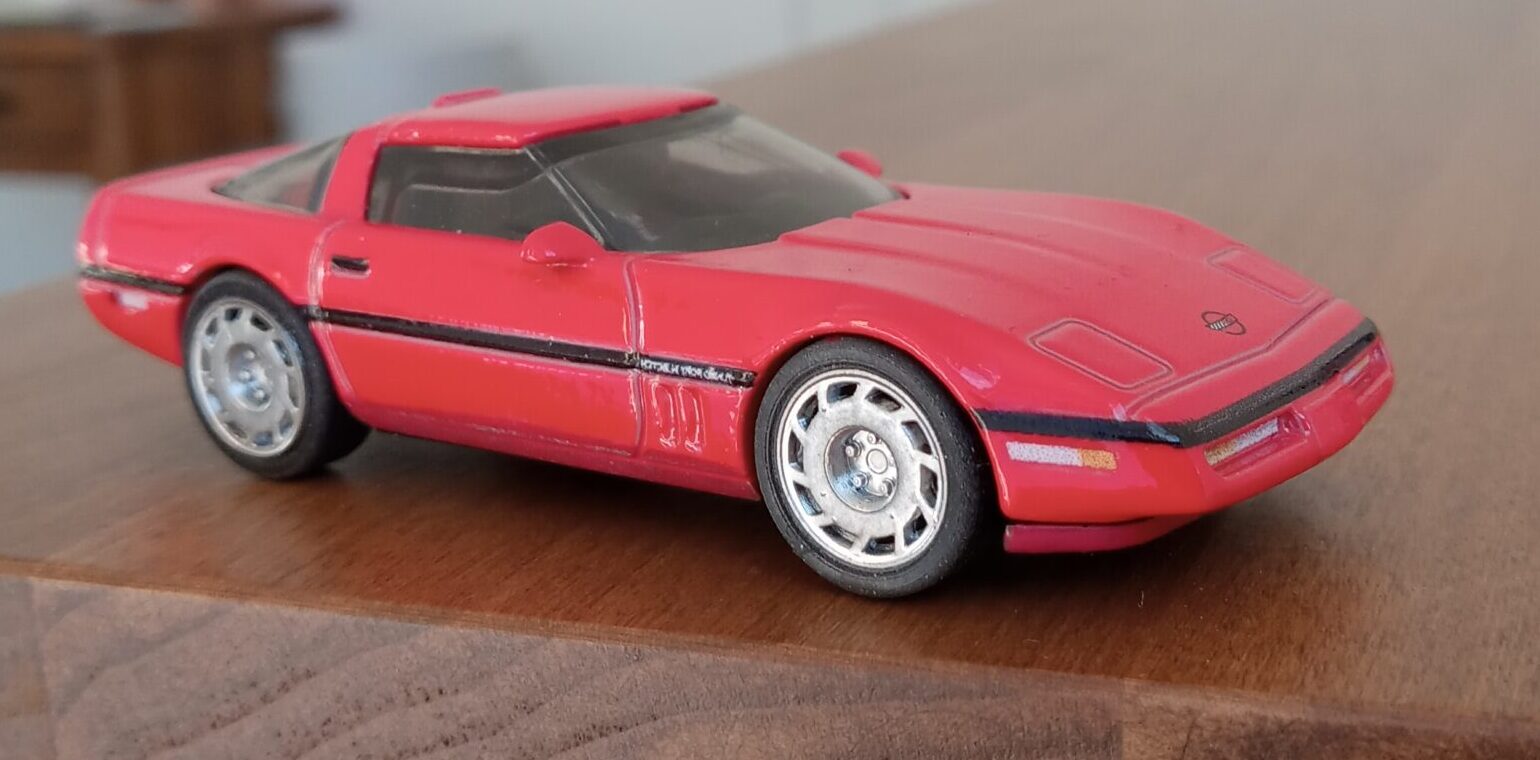
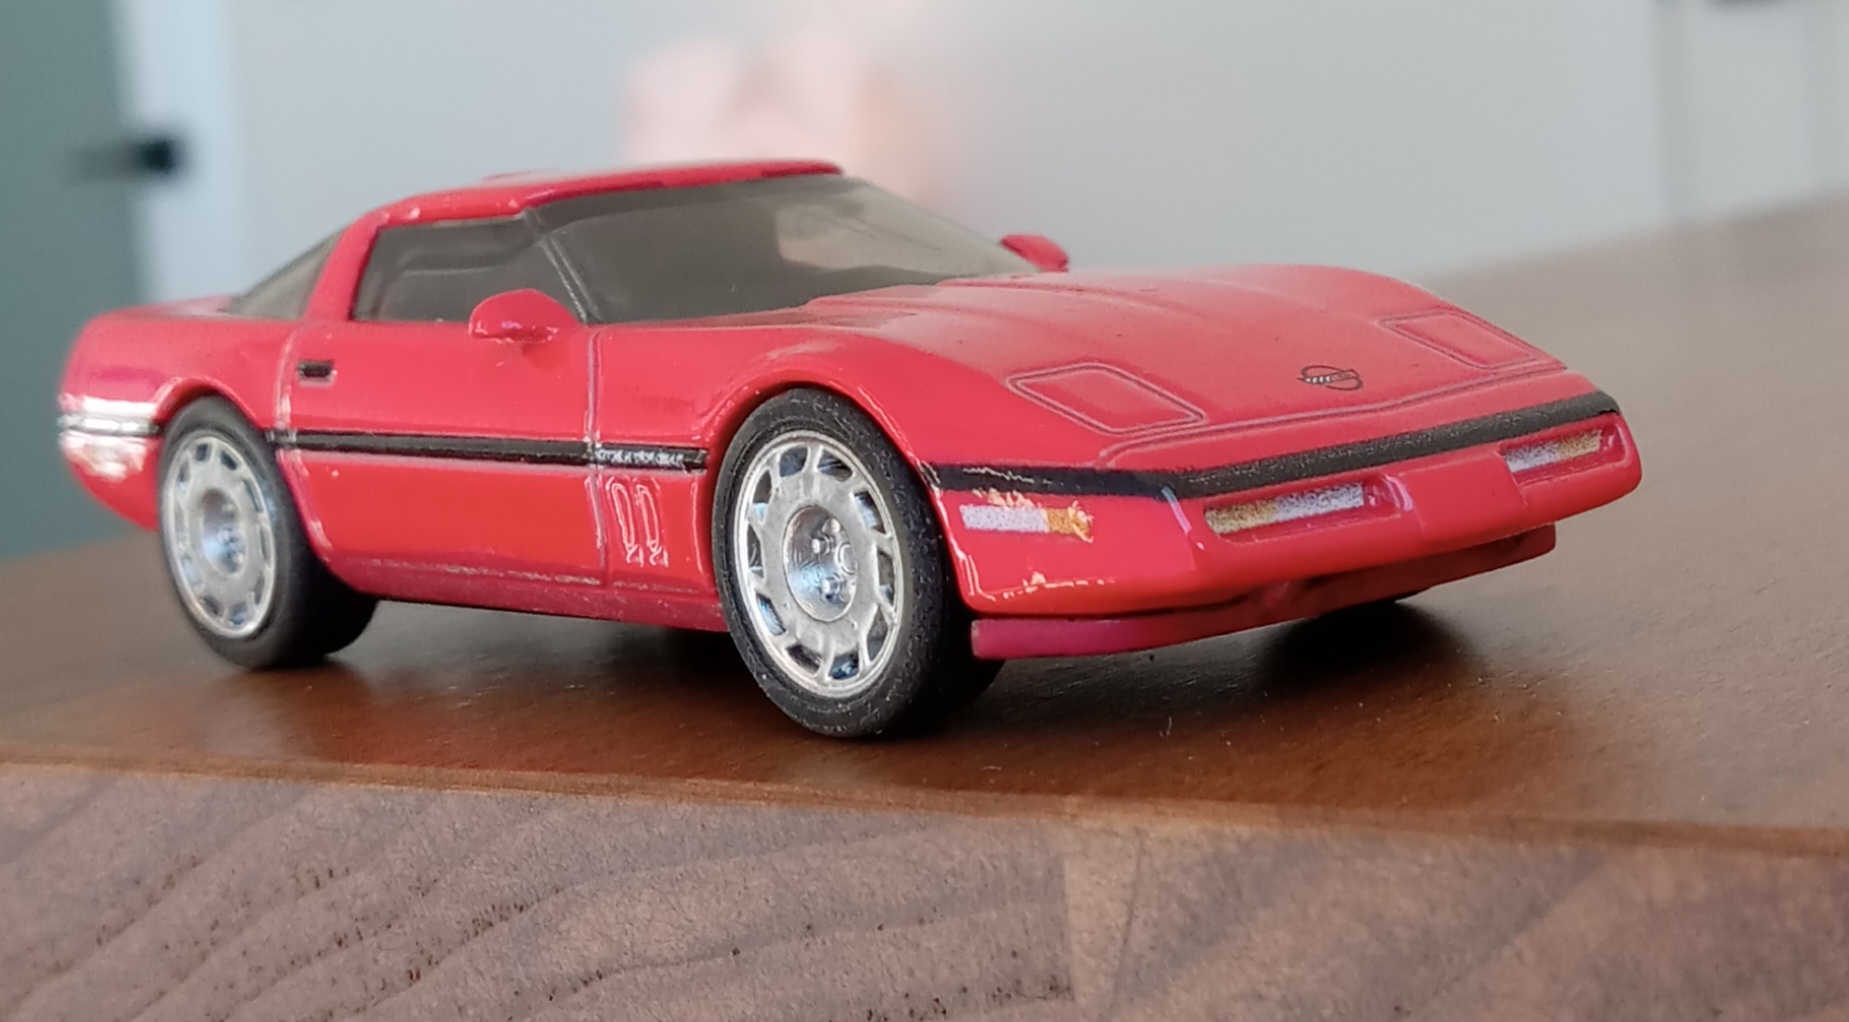
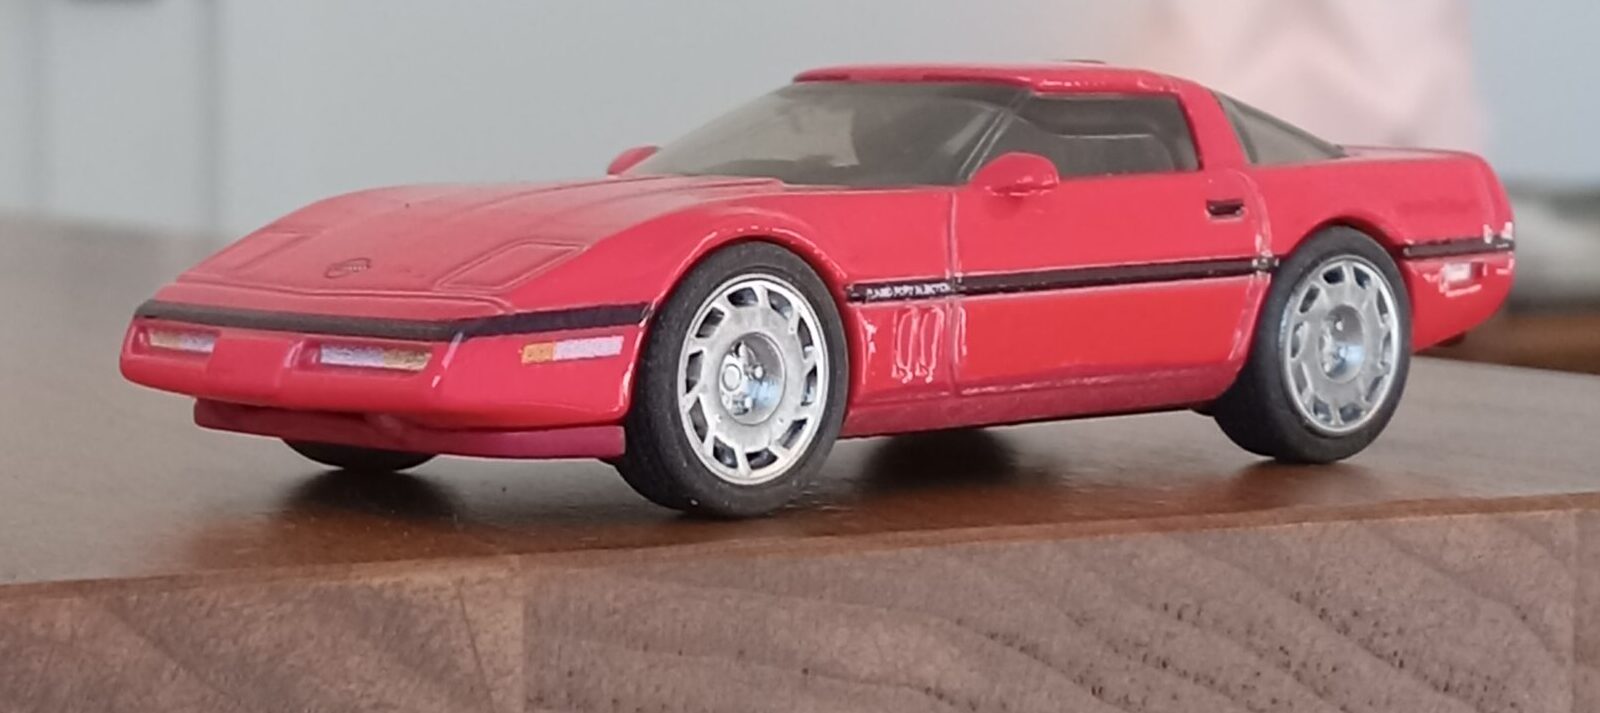
*感想:完成品の写真ギャラリー


今回の改造で、心残りなのは、
3-Dプリントのホイールの出来自体には満足しているのですが、
そのサイズが、15%ほど大きすぎるので、
全体のイメージが
若干おもちゃっぽくなってしまったところです。
そのサイズ感といったところでは、
マッチボックスの商品に付いてきたもののほうが優秀で、
ある意味、
プロポーション的には若干
退化してしまったというのが、
正直な感想です。
しかしながら、
すべてのスケールで抜きんでた傑作が無いに等しい
コルベットC4型に
小さなスケールながら
優秀なミニカーが出現したのは
素晴らしいニュースです。
(もう一台入手して、手元に置いて無改造のまま
触りまくっております)
本ブログと記事内容につきまして:
ブログ記事を書くにあたり私の目標は、立体造形(料理も含めて)とのかかわりを通じて、私個人の特徴的(ネジ曲がり方も含めて)な評価軸を解明することで、「美しさ・美味しさ」に対する好奇心や、探求心を、どのように満足・充足させてきたのかを明記しておくことです。
従いまして、記事の中に出てくる、数字や年号、微細なデータなどには細心の注意を払っておりますが、時に大きな間違いや勘違いを犯していることも考えられます。特に自動車記事における主要諸元や、年号などには紛らわしいものも多く、あくまで参考程度に考えていただければ幸いです。
私としては、記事の中で個人的な外観デザインや味覚の評価、そこから広がる後半部分につなげるための、『流れ』を作るための客観的材料として年号やデータを挿入している感じです。あくまで重視したいのは、私個人の頭の中で起こる、記憶の錯そう的混沌から生まれる新たな『見方』や『情報の予想外のつながり』です。その勢いを作り出す、『流れ』の一環として、諸データが副次的に必要となるわけです。
話がそれますが、大好きな落語の世界に「三題噺」という、その場て会場から募った3つのお題を使って1つのお話に仕立てるといったお遊びがございますが、私はそれに近いことを立体造形の特徴や(料理のお味)をお題にして行っている感じがします。その中で頭の中に去来する数々の着想が、全く予想外で楽しく、次回からの記事内容を大幅に変えたり、新展開につながっています。
当ブロブの仕組み:
『好奇心の点と線 x 気まぐれ脳内回路=予想外の新展開』
こんな自分勝手なブログですが、今後ともよろしくお願いいたします。
追記:上記の『流れ』を作る為に必要な写真はできる限り、個人所有のミニカー・自前の料理などを使い撮影しておりますが、その他の必要最小限の図版や写真を他のブログ主様の記事や諸会社ホームページなどからお借りしております。(記事内容に合うよう加工させていただき、使用時は最小の解像度で載せております。)問題がある場合、ご連絡いただければ直ちに降ろさせていただきます。
追記2:当ブログ記事に掲載のミニカー写真等(個人撮影)は許可なしで、どのようにお使いいただいても結構です。私個人の創造性はこの世のもの、と言う認識の上で記事を製作しています。
!!!!!!!!!!!!!!!!!!!!!!!!!!!!!!!!!!! Translated in English !!!!!!!!!!!!!!!!!!!!!!!!!!!!!!!!!!!
Episode 4: Matchbox 1/64 Corvette ZR-1 (2-Door Coupe) C3, 1967 [Replacing Tires & Wheels with 3D-Printed Parts] Corvette ZR-1, 1990 [Wheel & Tire Swap]
This is Episode 004 of the “3D Modification Project.”
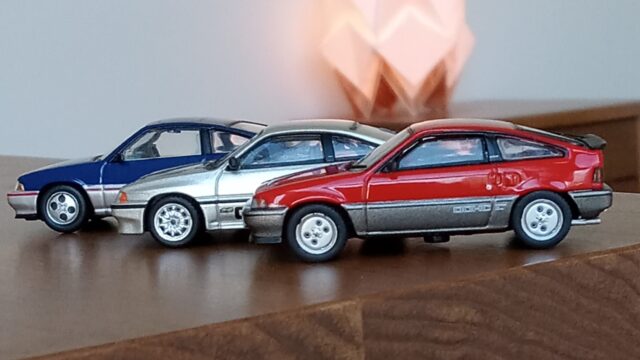
Just like the Hot Wheels model from last time,
we’ll be working on a
Matchbox Collector Series model—
the 1990
“Chevrolet Corvette
ZR-1 Convertible”—
*I’ll be fitting it with 3D-printed tires and wheels,
*making minor adjustments to the axle position,
*and recreating this legendary sports car—
*known as the “King of the Mountain”—
*with a perfect “stance.”
This is the general direction
I’d like to take.
*About this die-cast model:
*Reference photos of the real car:
*Modification project:
*Impressions:
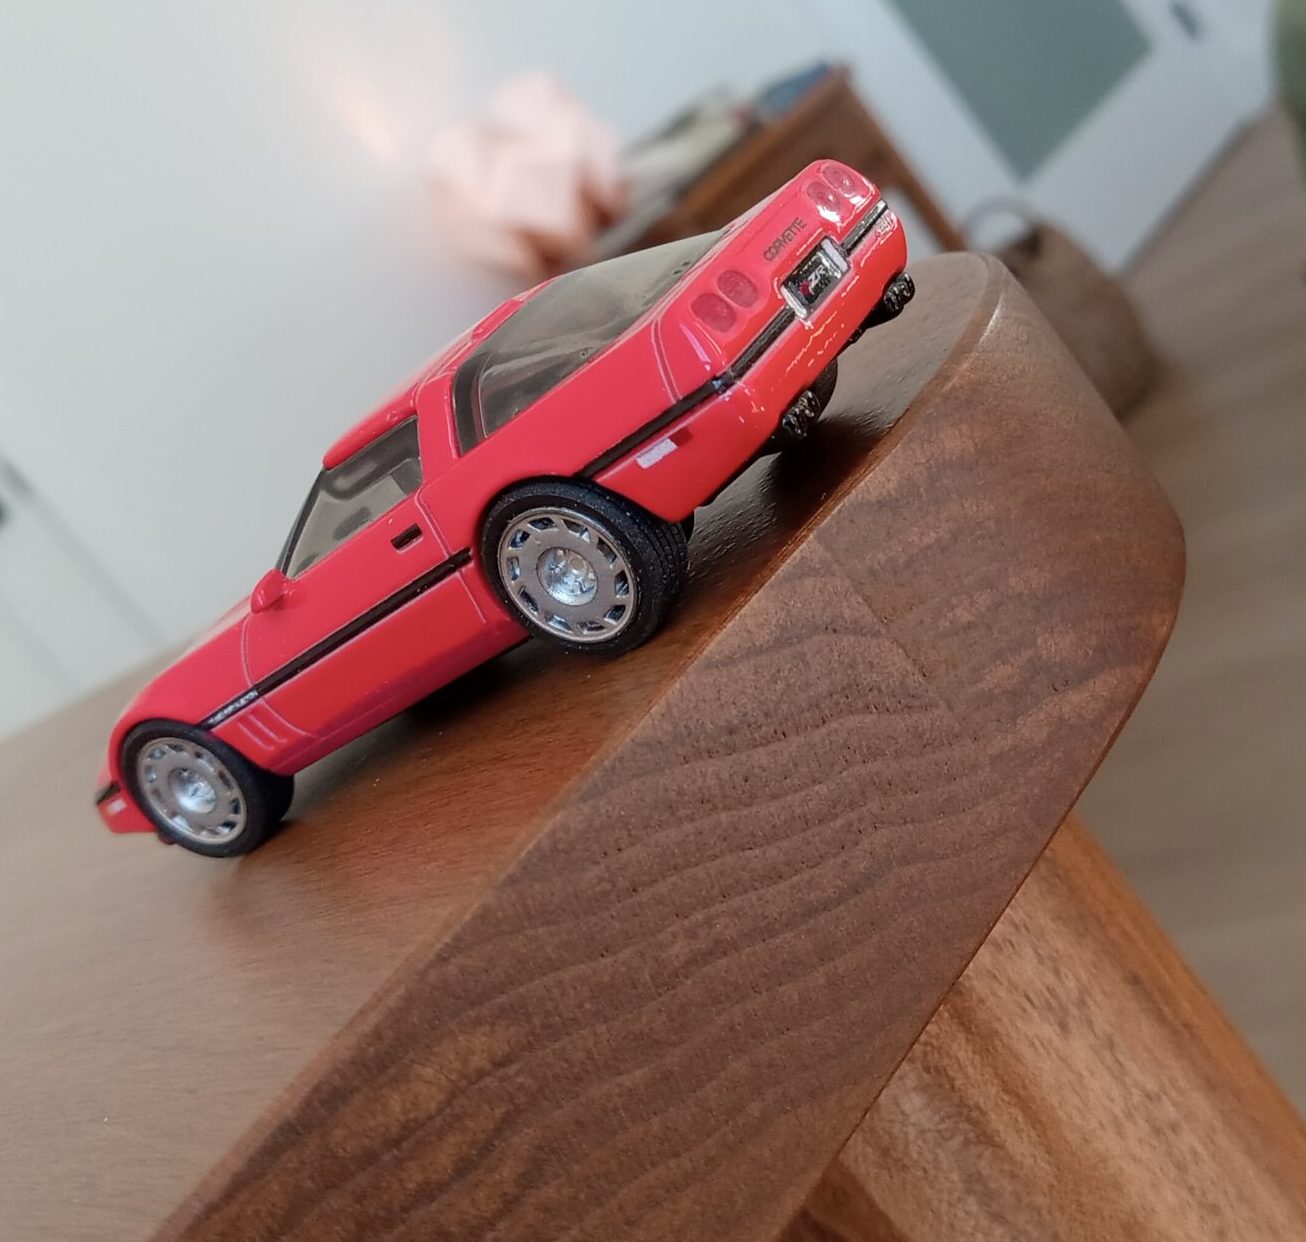
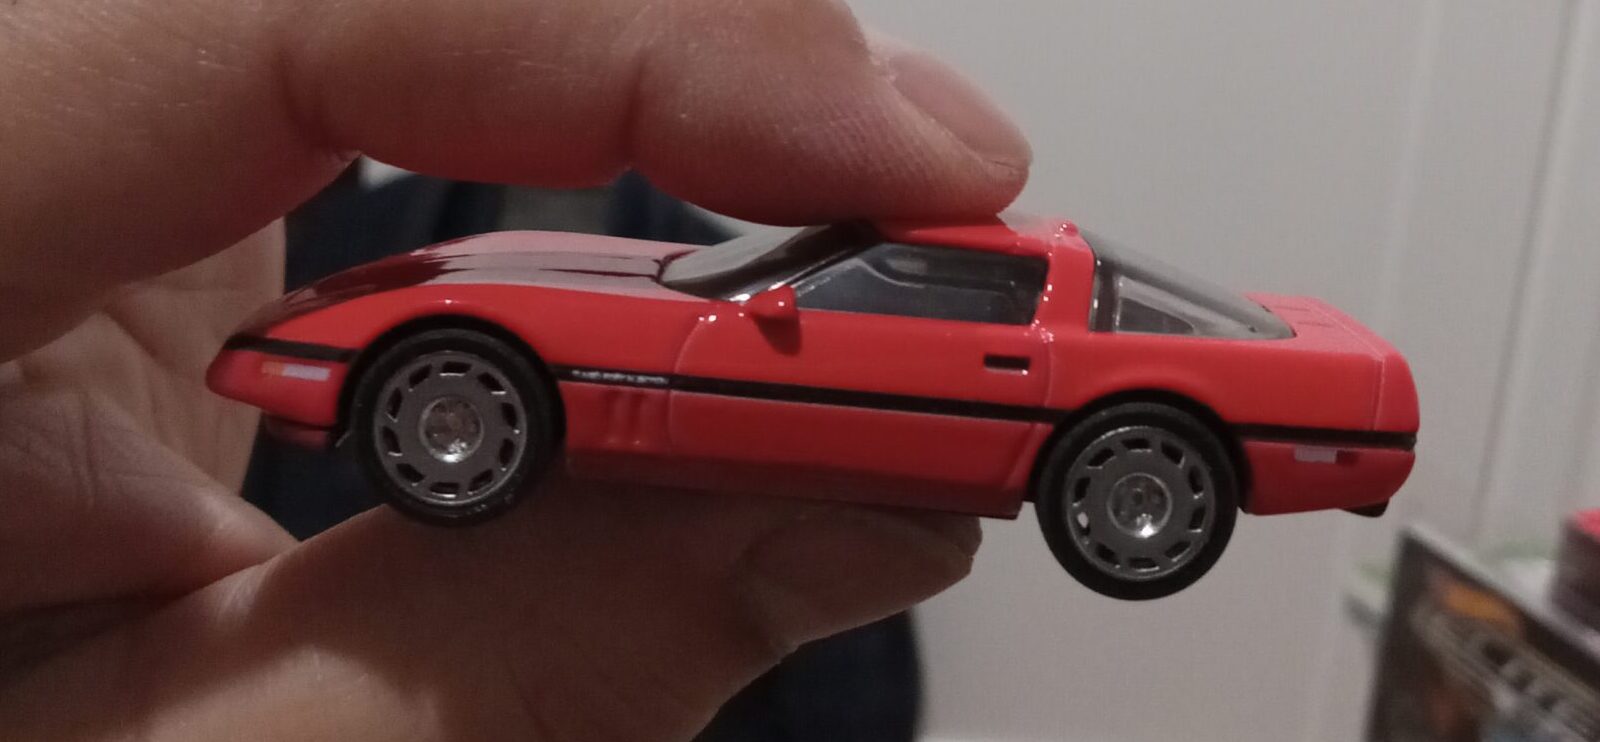
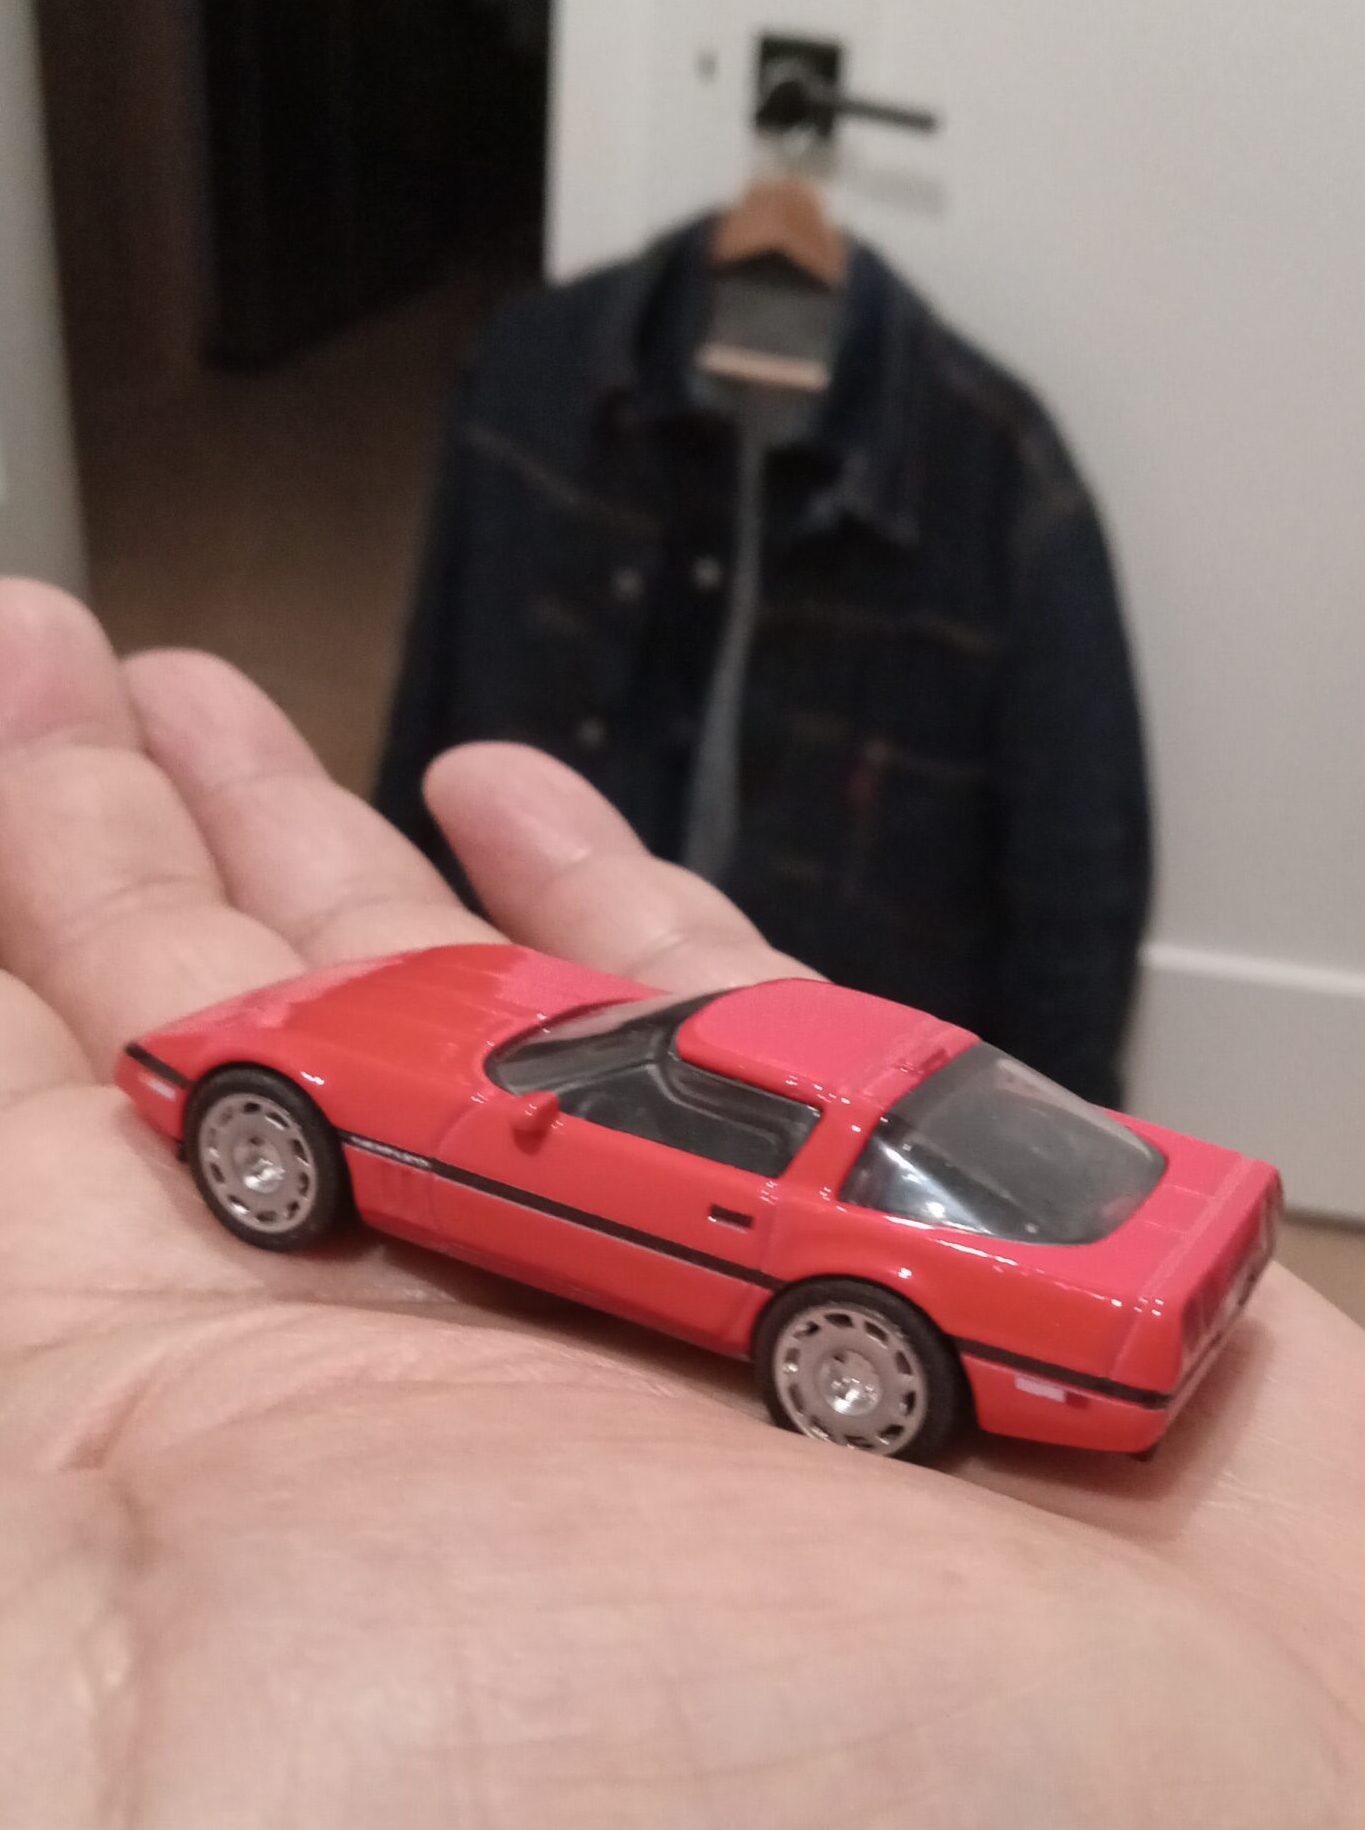
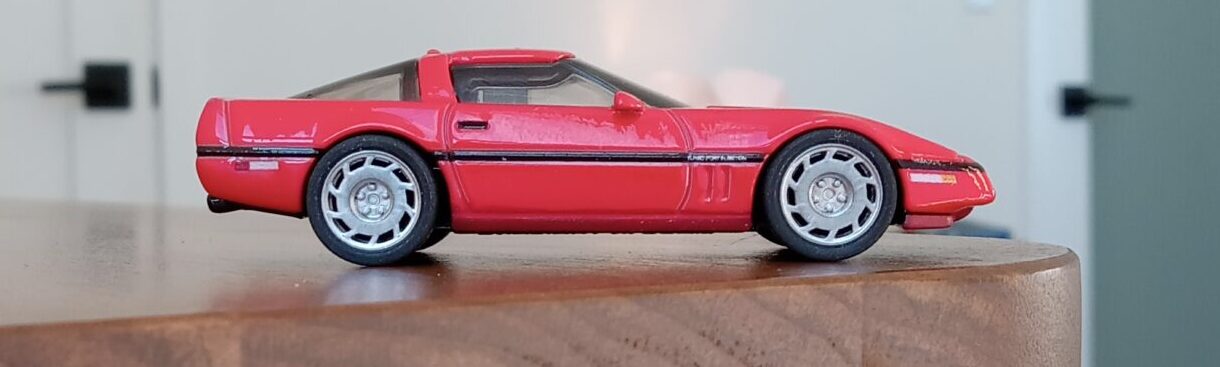
*Features of this die-cast model: A solid, heavy, bright red sports car
Matchbox, Collector’s Series 1/64 1990 Chevrolet Corvette ZR-1 (Bright Red)
#Features of this die-cast model:
Pros:
* Accuracy of overall scale and proportions
* Benefits of modern design: depth of panel lines, paintwork, and sharpness of decals
* A solid, high-quality feel throughout
Cons:
* The tire mounting position is slightly high, resulting in a slightly elevated ride height
* The wheel design differs significantly from that of the 1990 ZR-1
* Reference photo of the real car: 1990 Corvette “ZR-1”
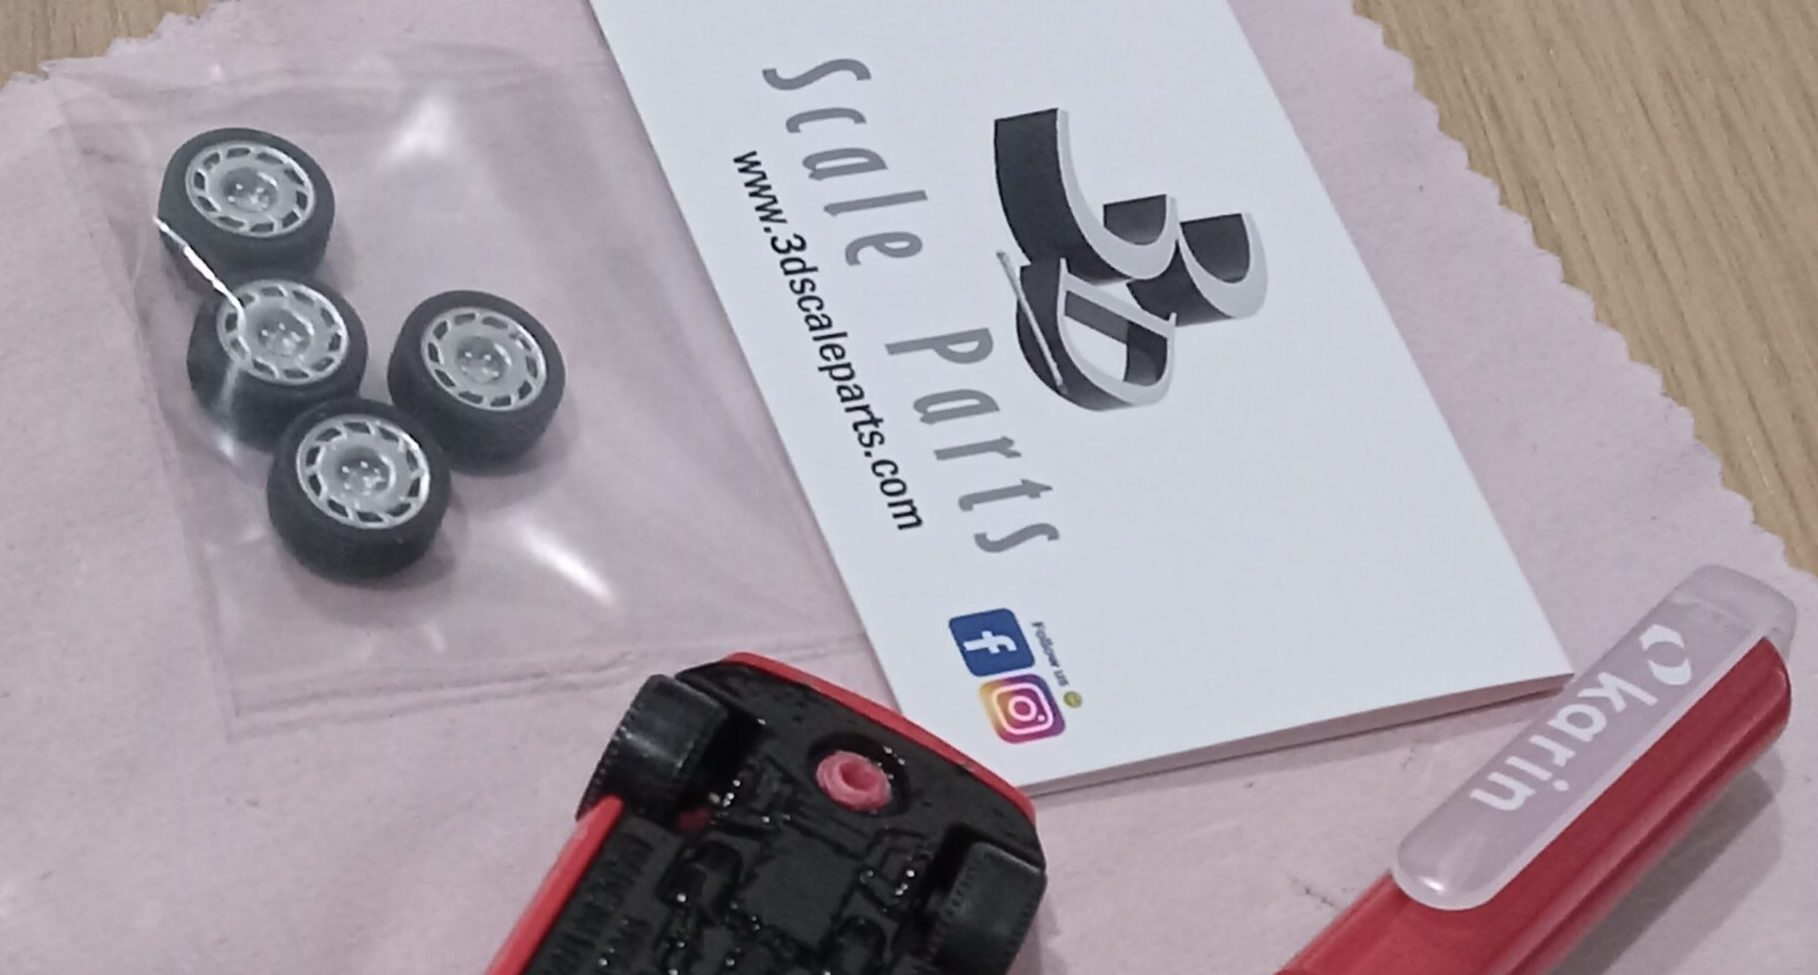
* Start of the build: The 3D-printed tires and wheels I found on eBay were the deciding factor!
I was just browsing aimlessly, not really expecting much,
when I stumbled upon
3D-printed parts for the “windmill-style” wheels and ultra-low-profile tires from the 1980s to 1990s models. (It did say they were designed for Hot Wheels, though…)
Using these parts,
I’m going to try upgrading
my Matchbox
bright red ZR-1.
#3D-Printed Wheel & Tire Set
1:64 C4 Corvette wheels. 3D-printed with chrome wheels and tires
by “3DScaleParts” on eBay
<https://www.ebay.com/itm/146580799739?mkevt=1&mkpid=0&emsid=e11051.m43.l1123& mkcid=7&ch=osgood&euid=f659e5b82ad748b2b7f00ef20fa0474b&bu=43168566588&osub=-1%7E1&crd=20260213224624&segname=11051>
#Modification Project:
#Workflow:
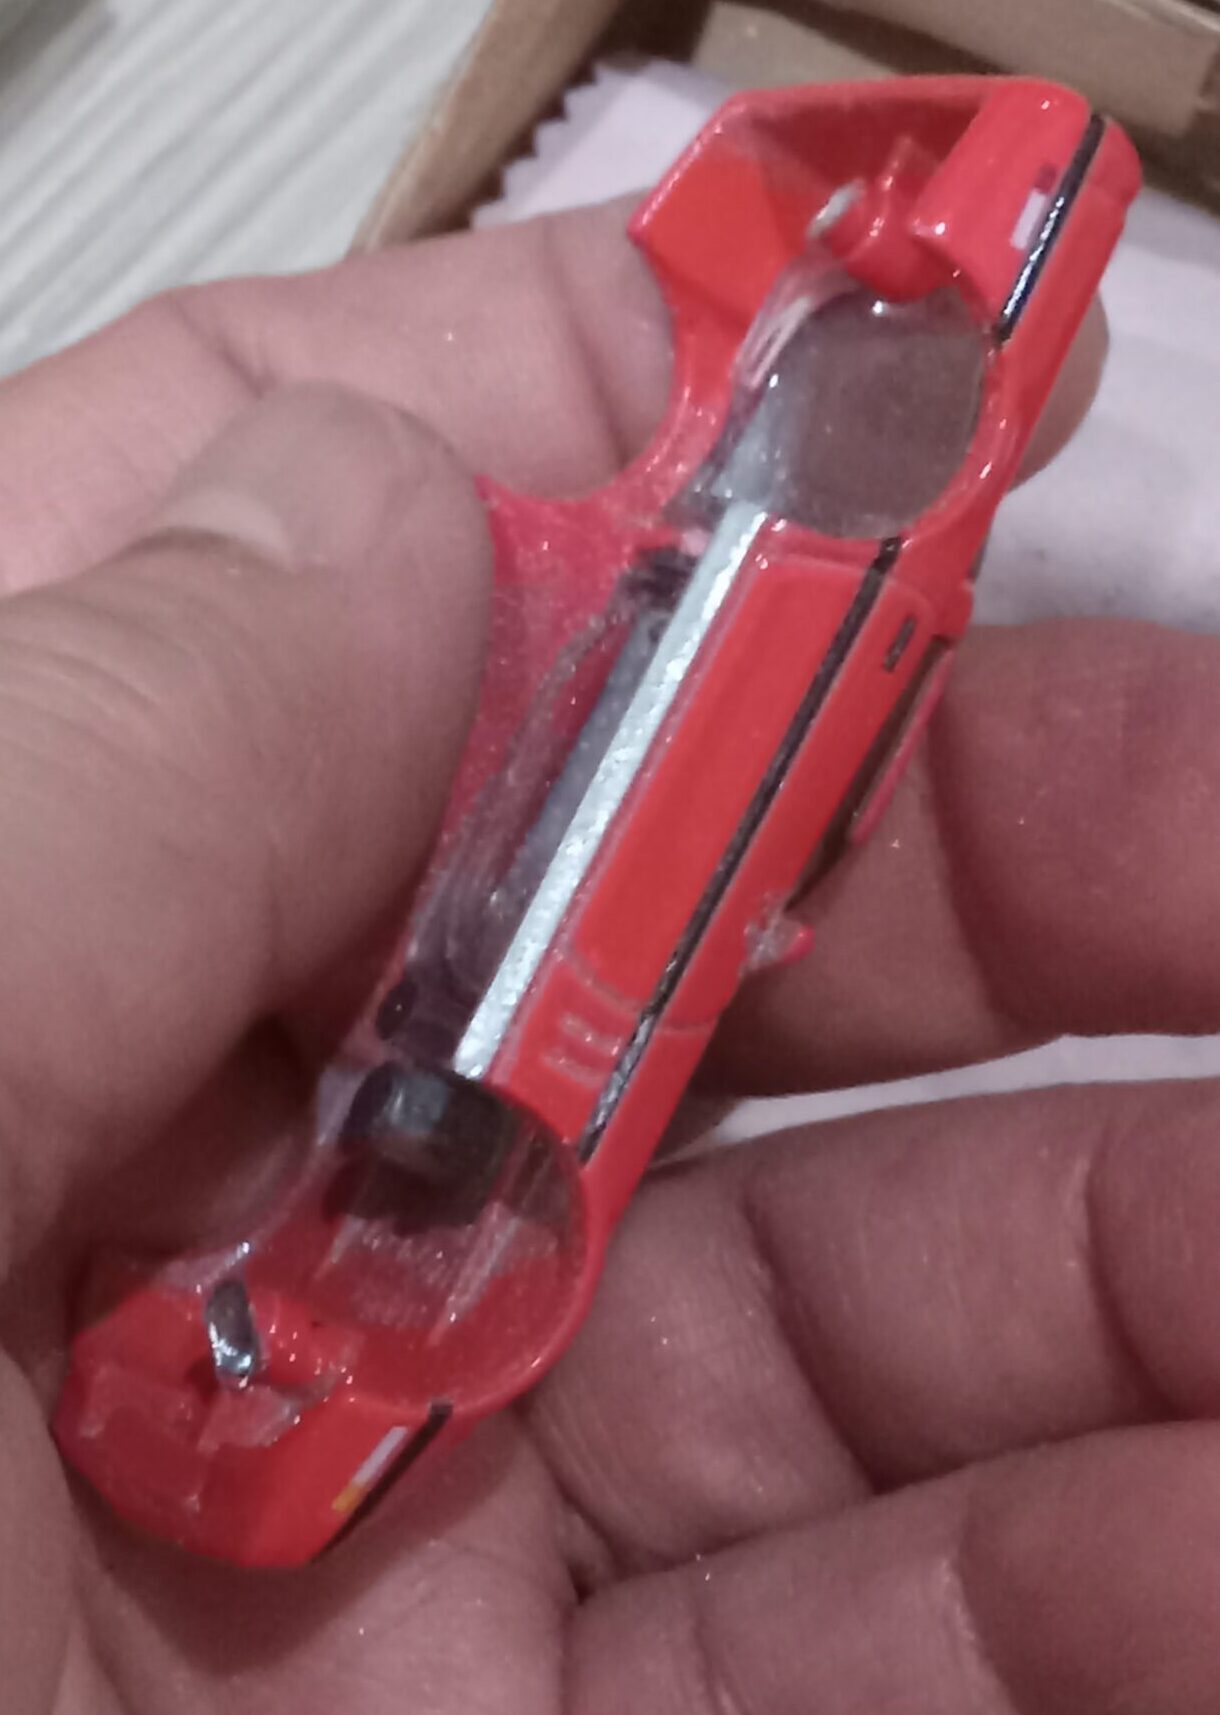
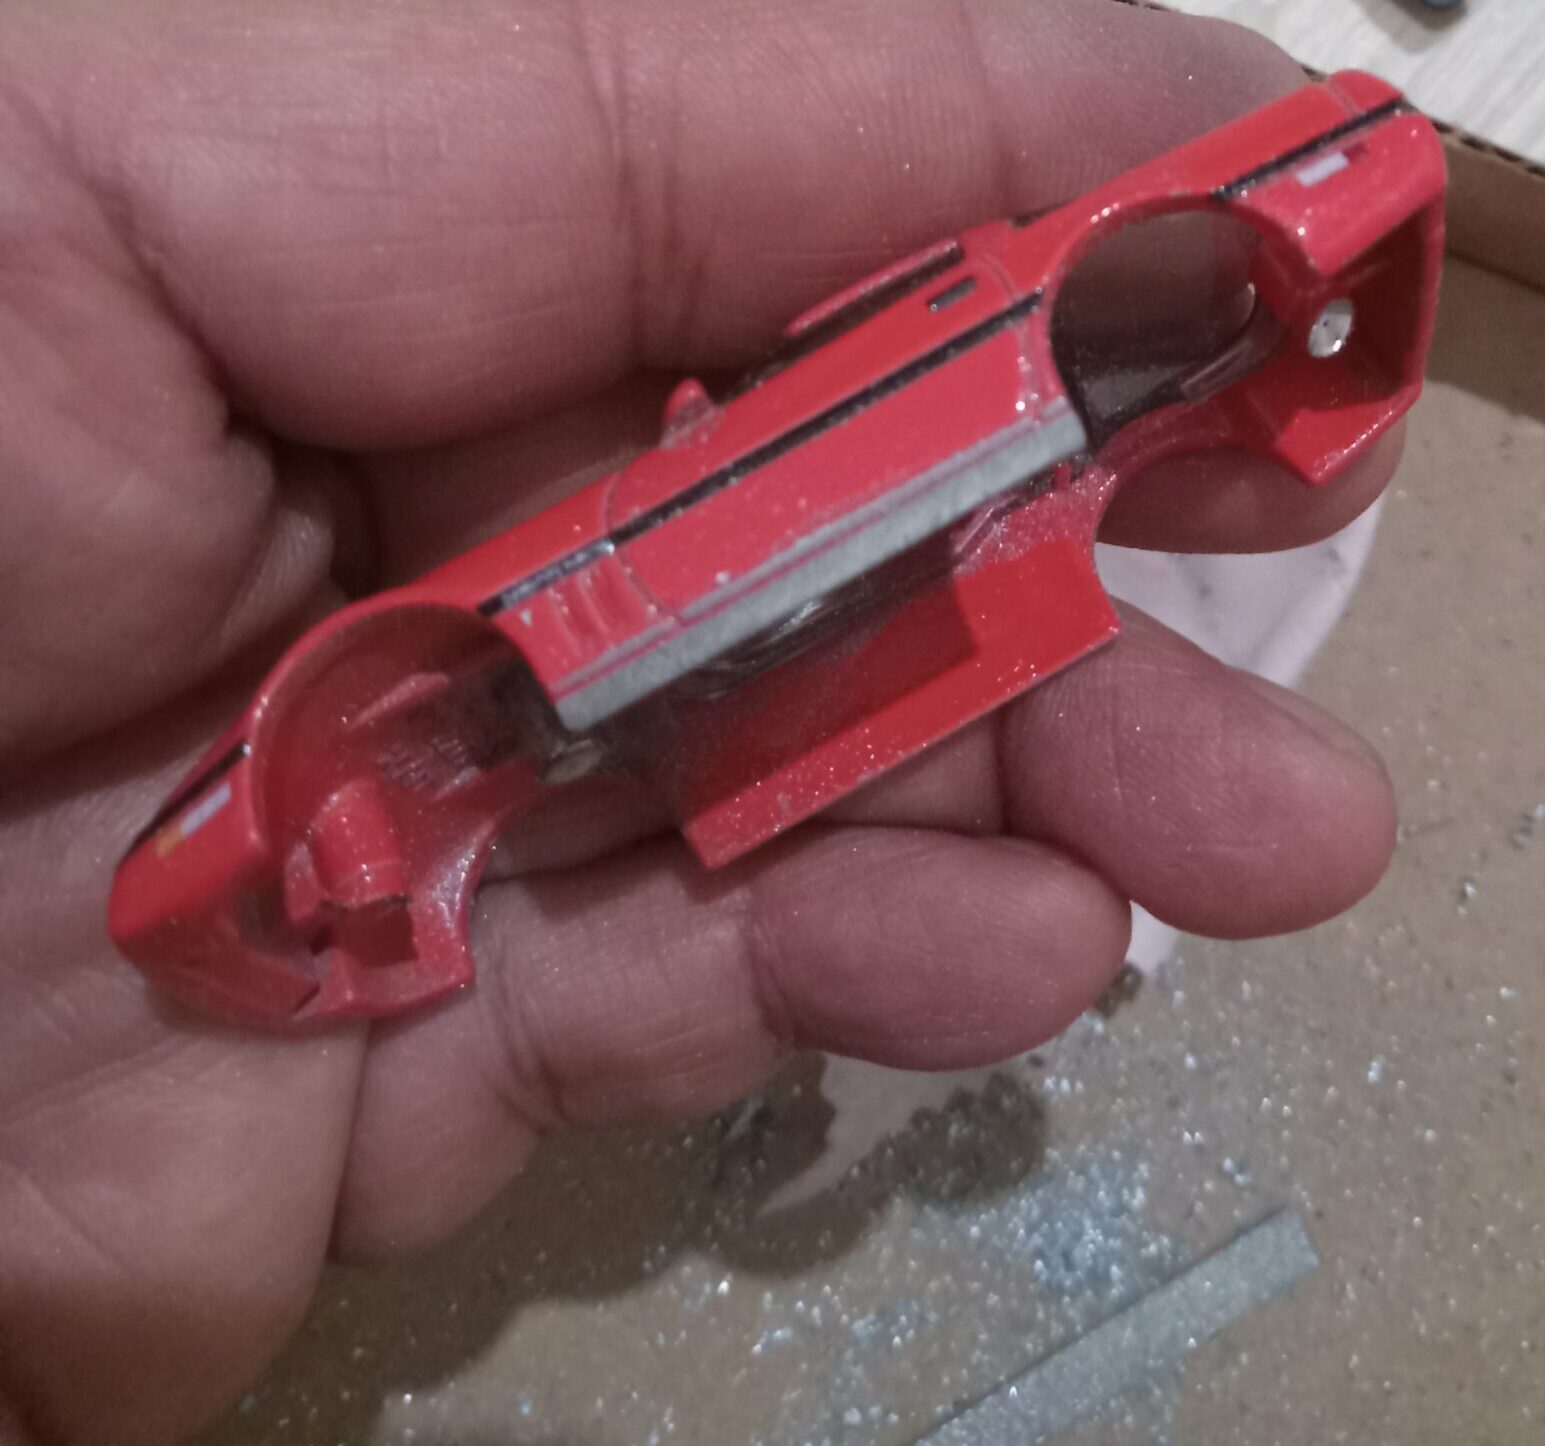
Body Shaping & Painting:
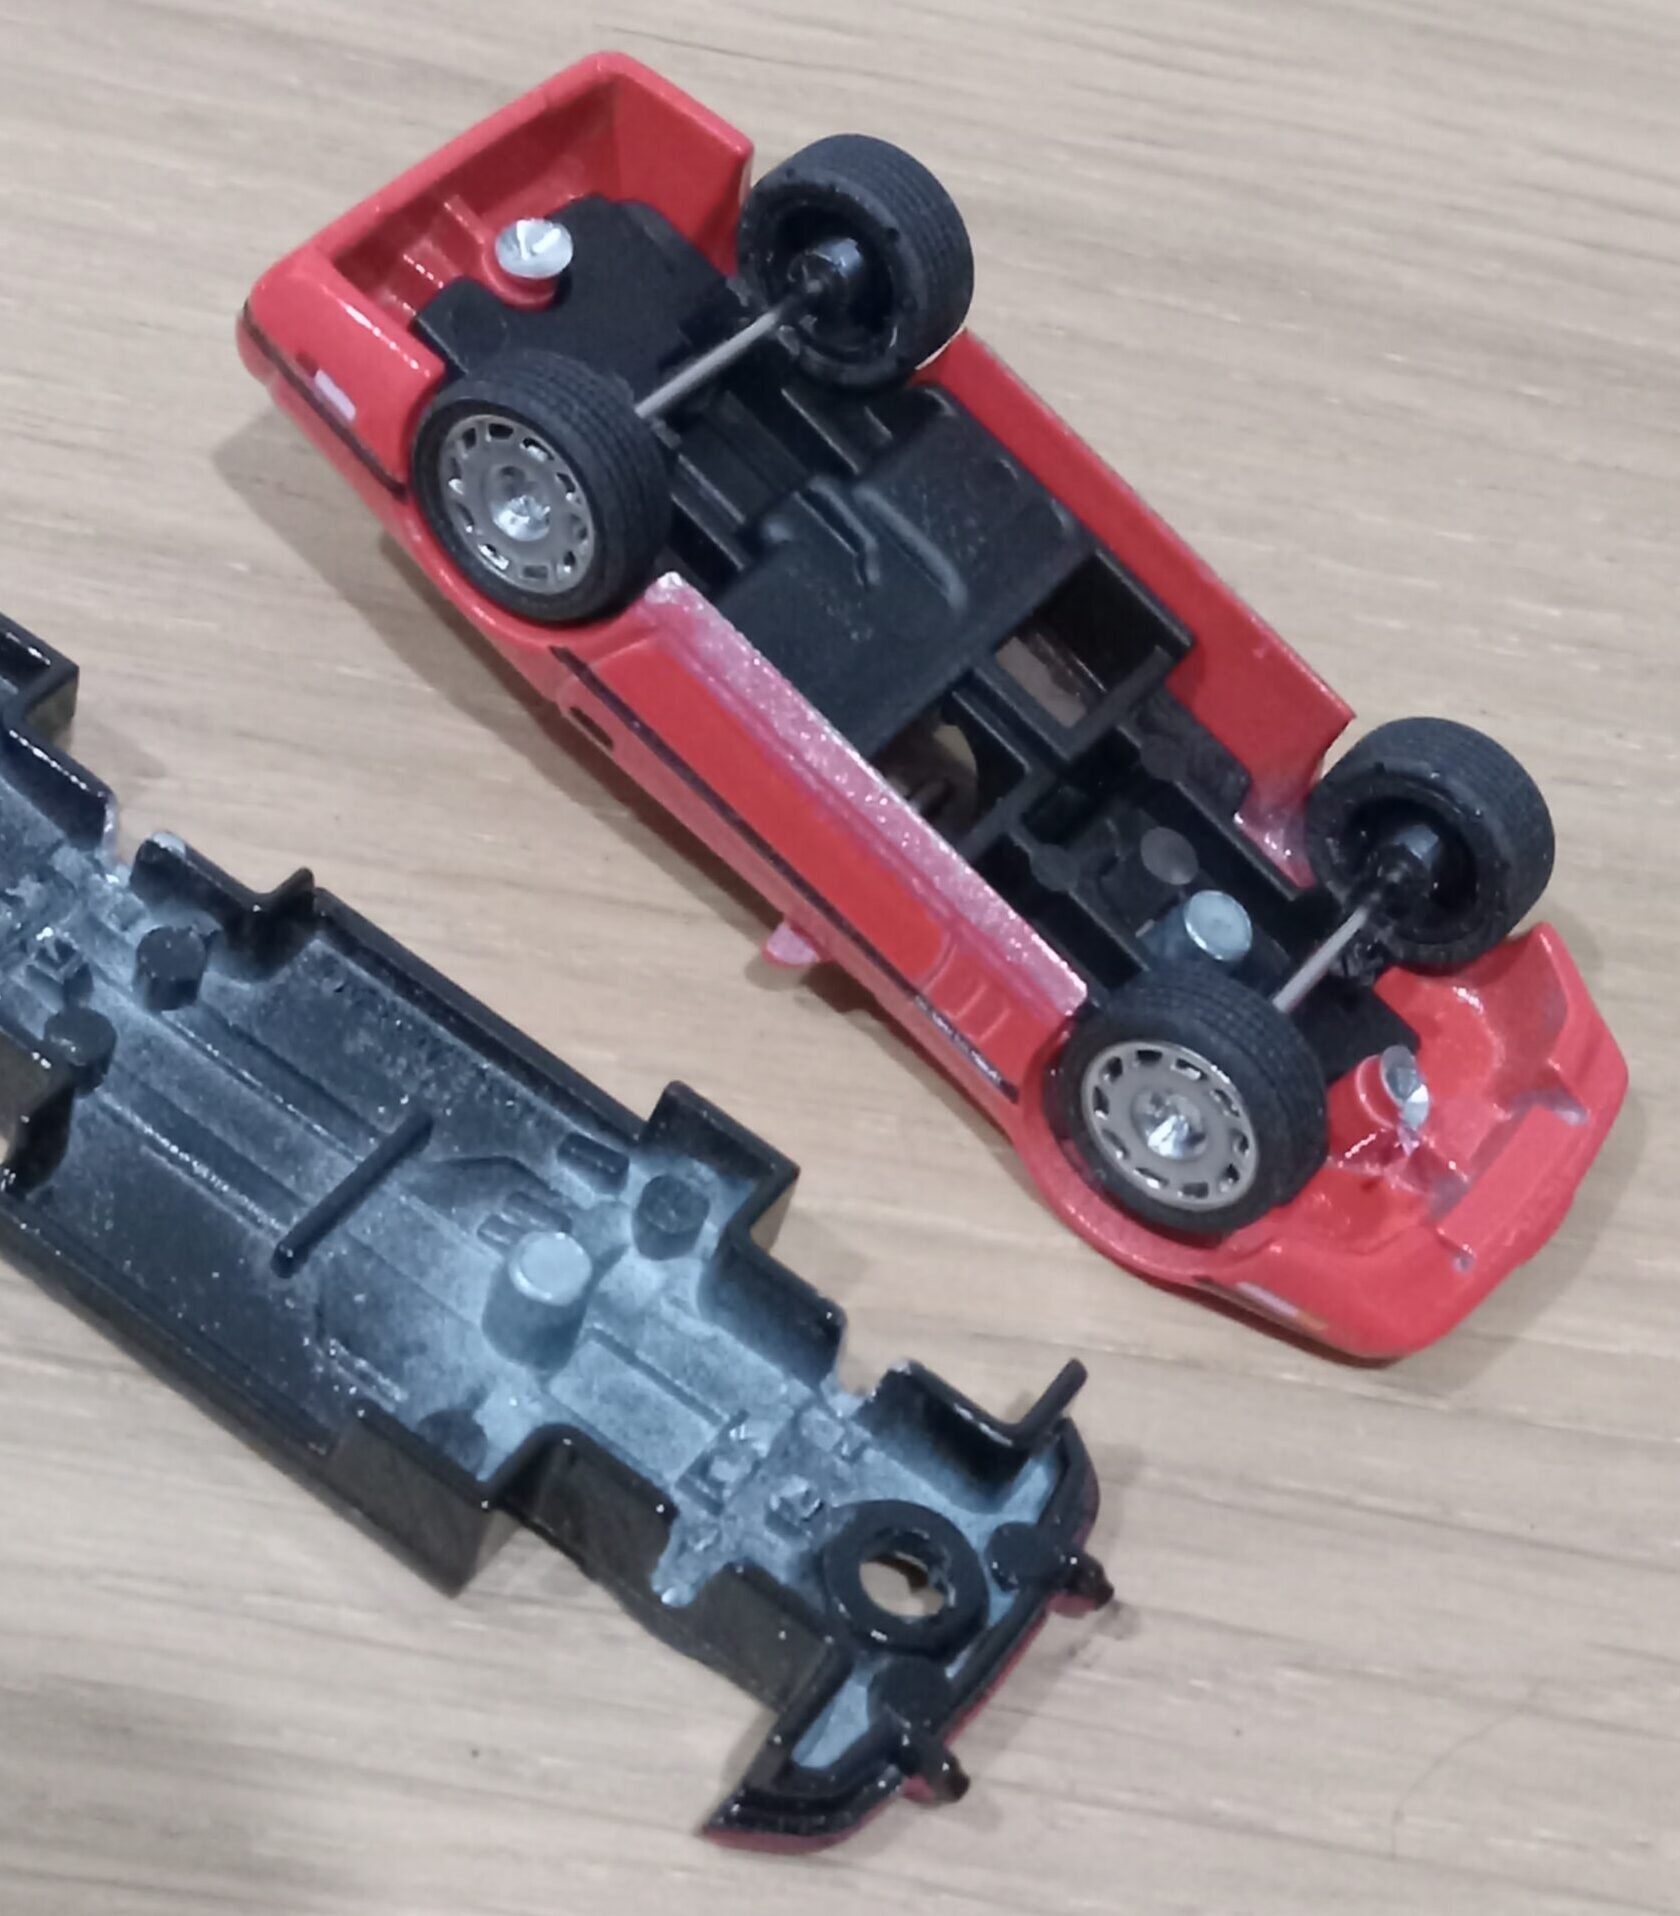
1: Use an electric drill to separate the chassis from the underside of the body and disassemble them
2: Using a metal file, file the area below the door cut line on the side of the body inward at an angle of about 15 degrees to shape it
3: After sanding smoothly, paint with an acrylic-based marker that does not show through the body
3’: Use a drill to lightly shave the inner side of the front fender (body side) to adjust the fit
Tire & Wheel Replacement:
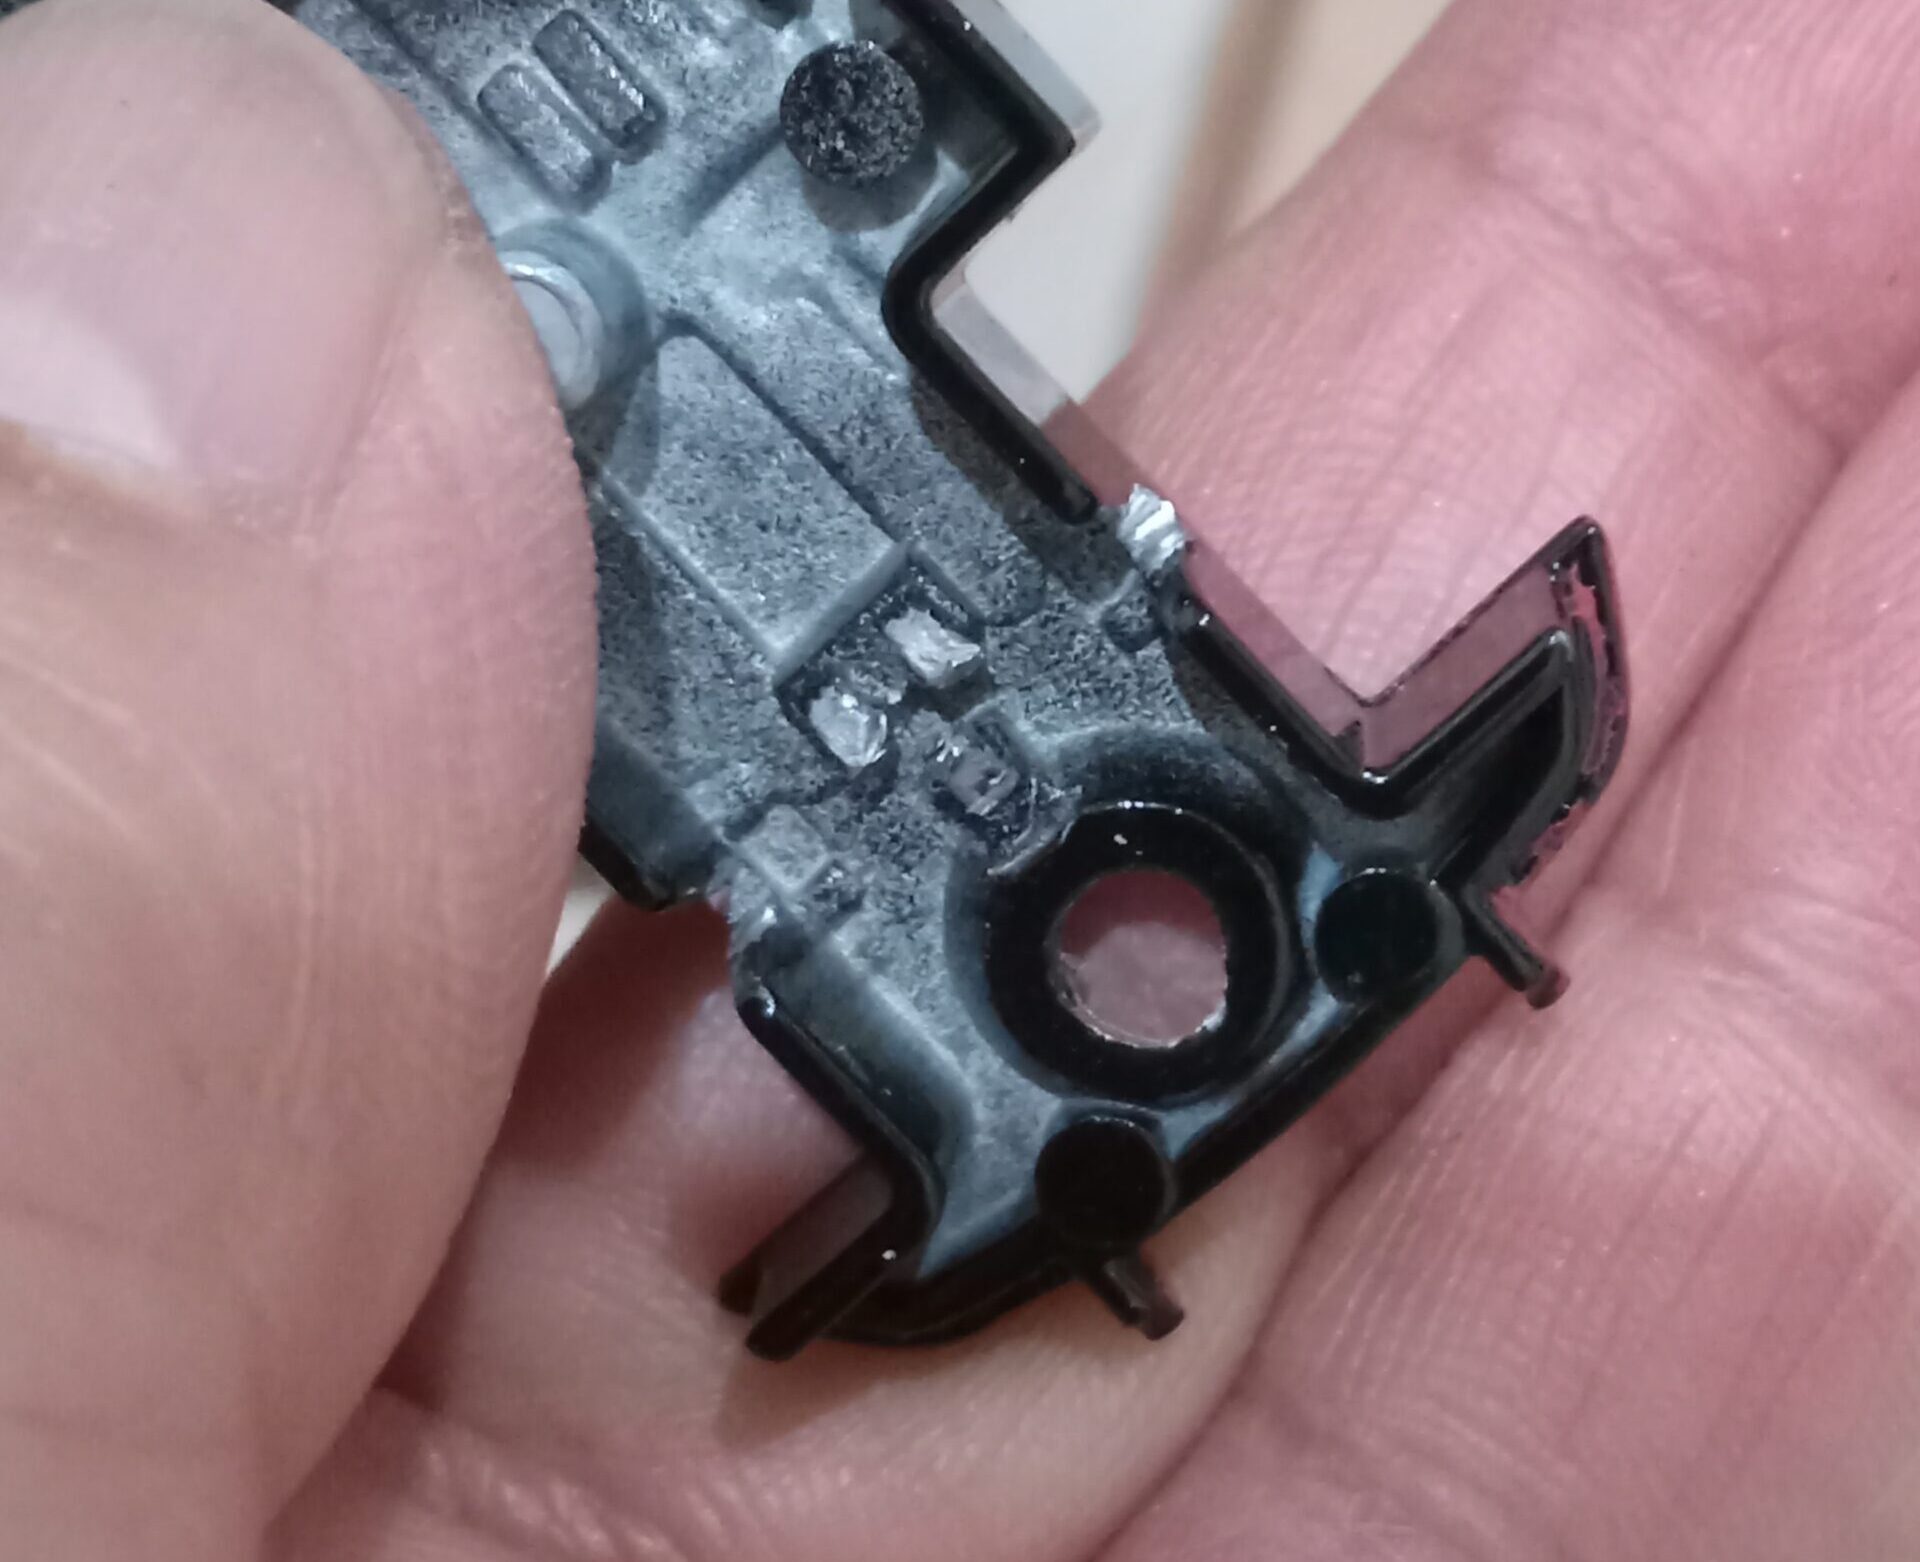
4: Use metal nippers or similar tools to break and remove the metal brackets securing the tires and wheels
5: Use a drill to enlarge the bearing area to fit a thicker shaft
6: Fit the 3D-printed wheels and tires onto a metal shaft of appropriate thickness
7: While fitting the shaft into the bearing, fine-tune the shaft position using masking tape
Finishing:
8: Paint the inside of the wheel wells on the chassis with a black marker and apply ink to the panel lines
9: After carefully fine-tuning the position of the tires, wheels, and shaft, glue the chassis and body together
Complete!
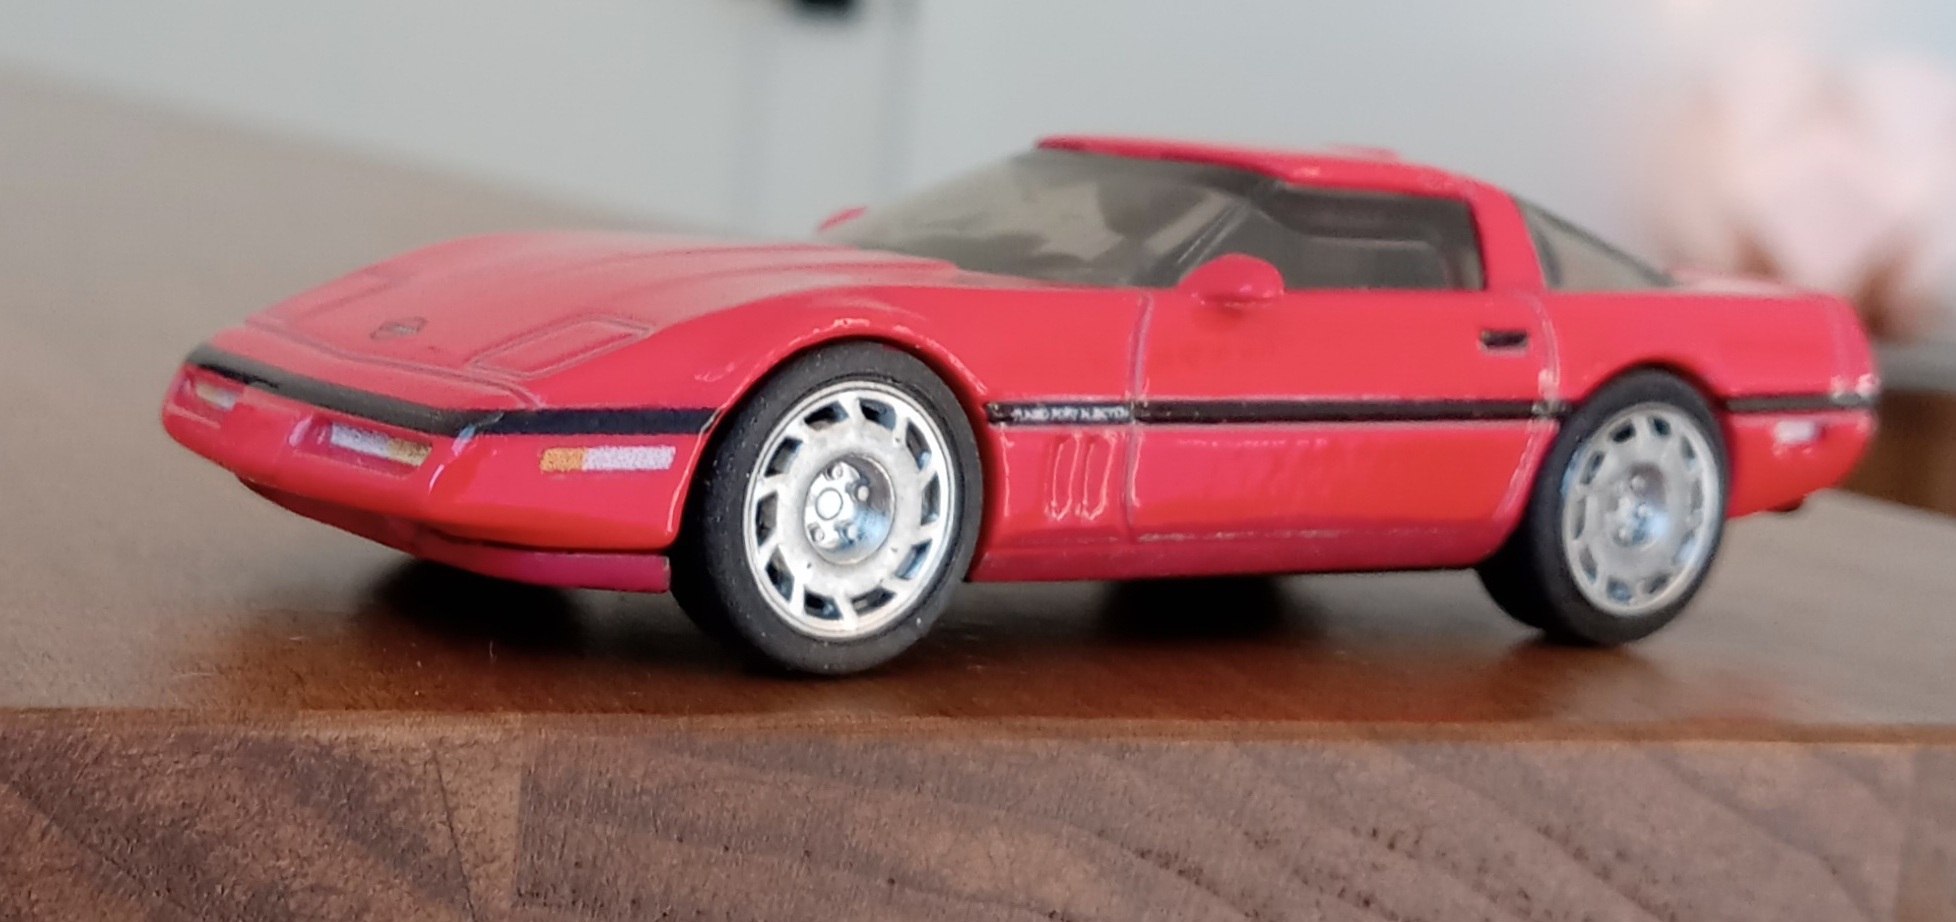
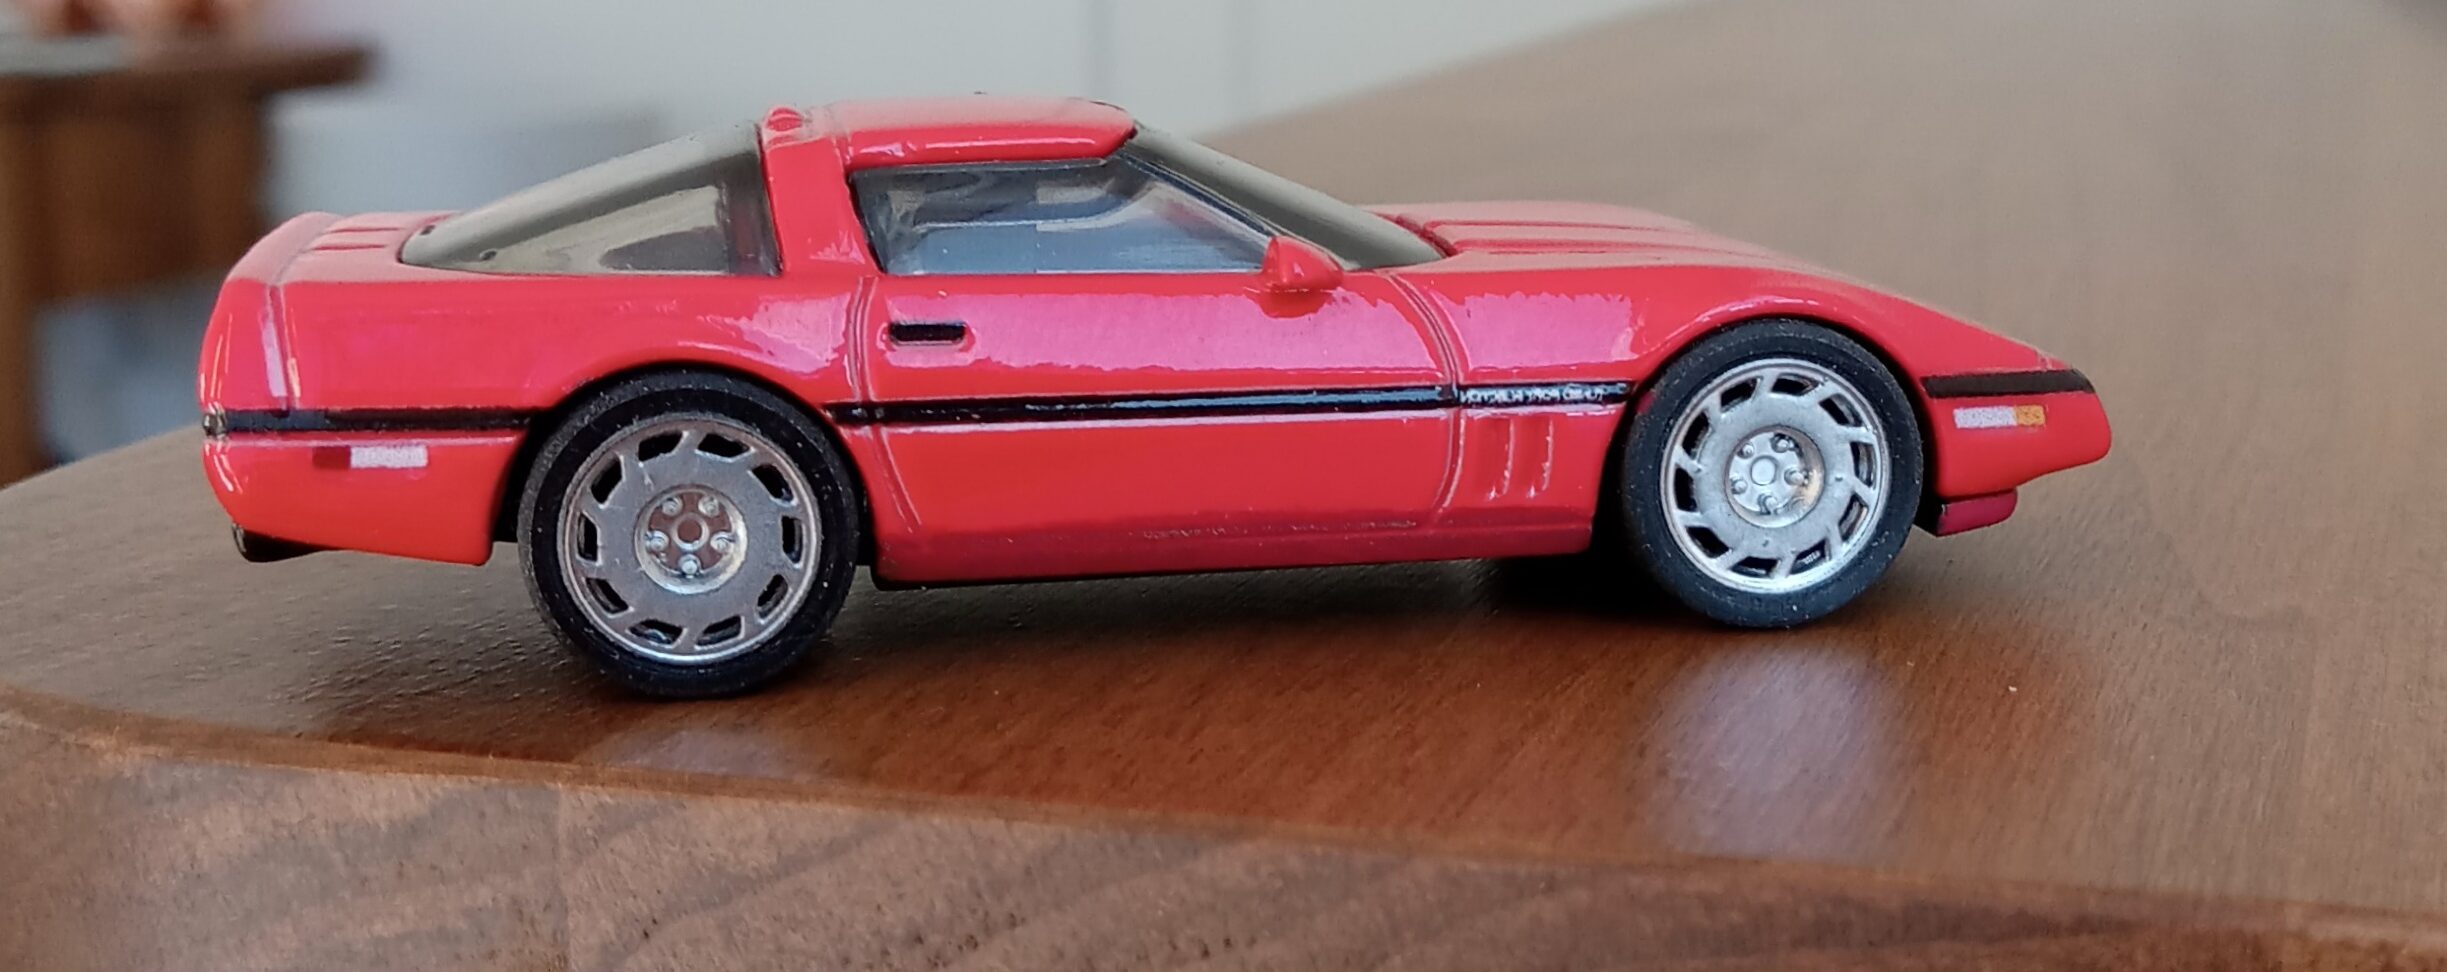
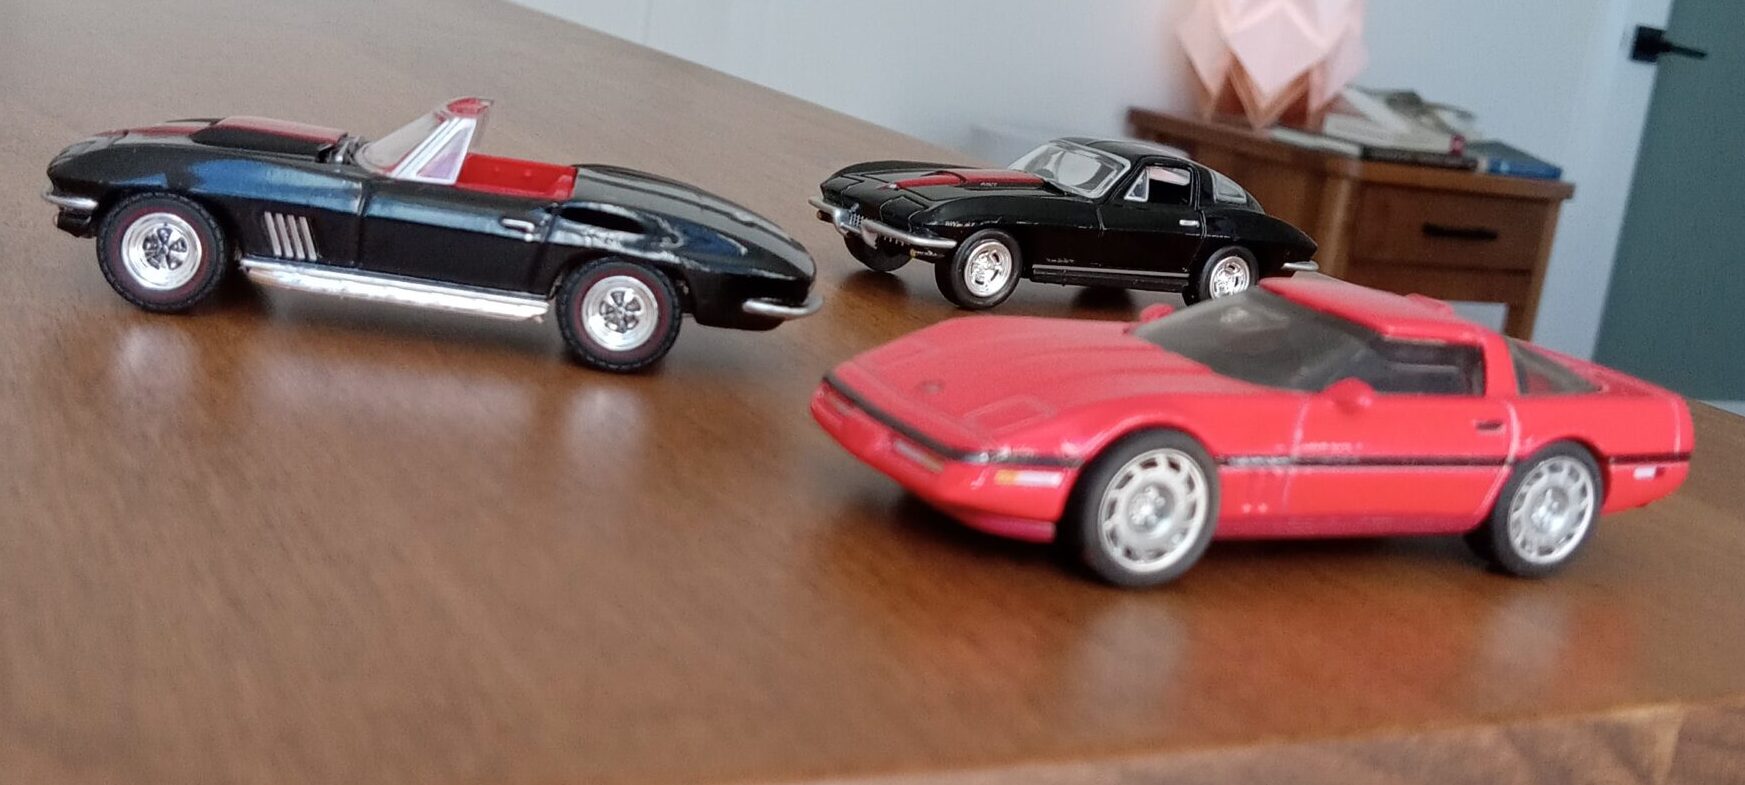
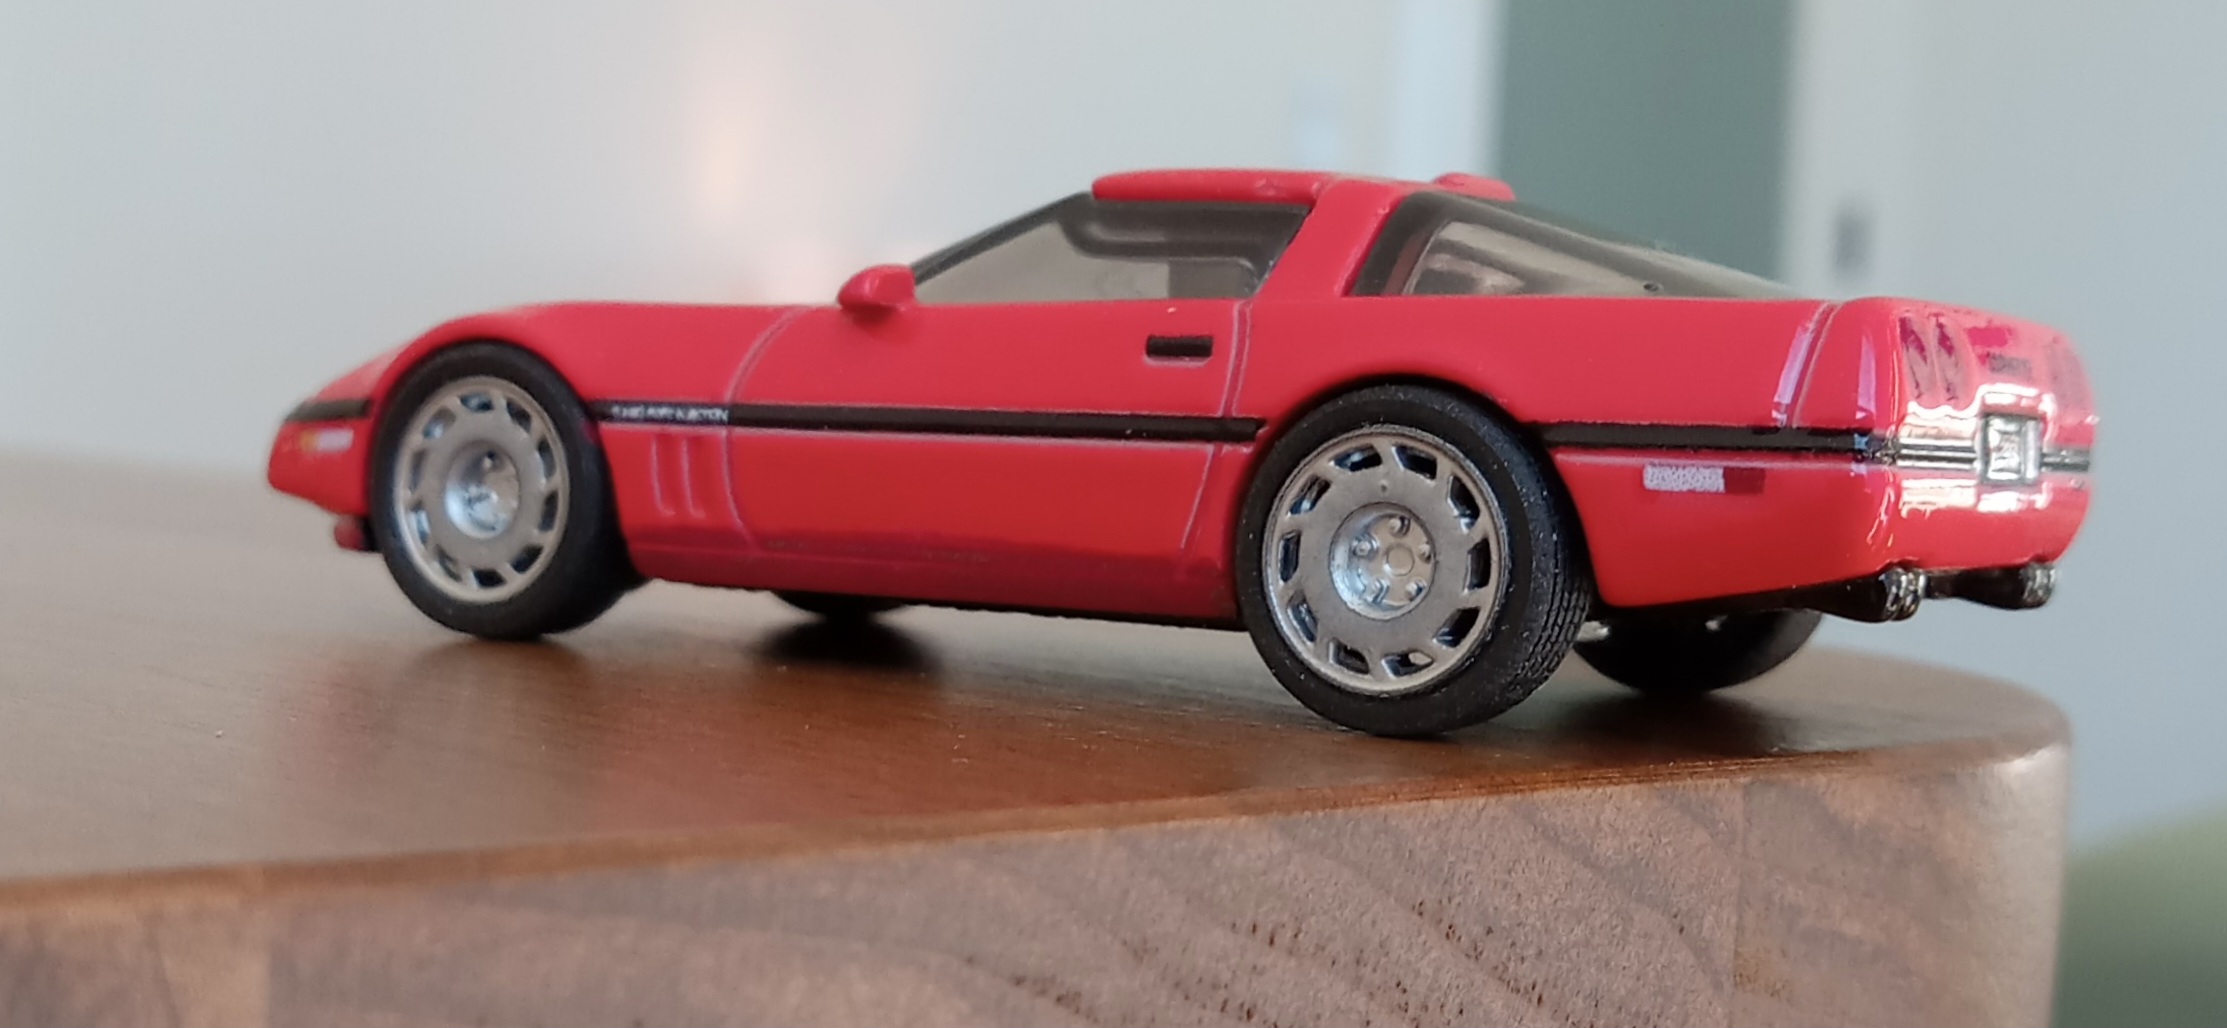
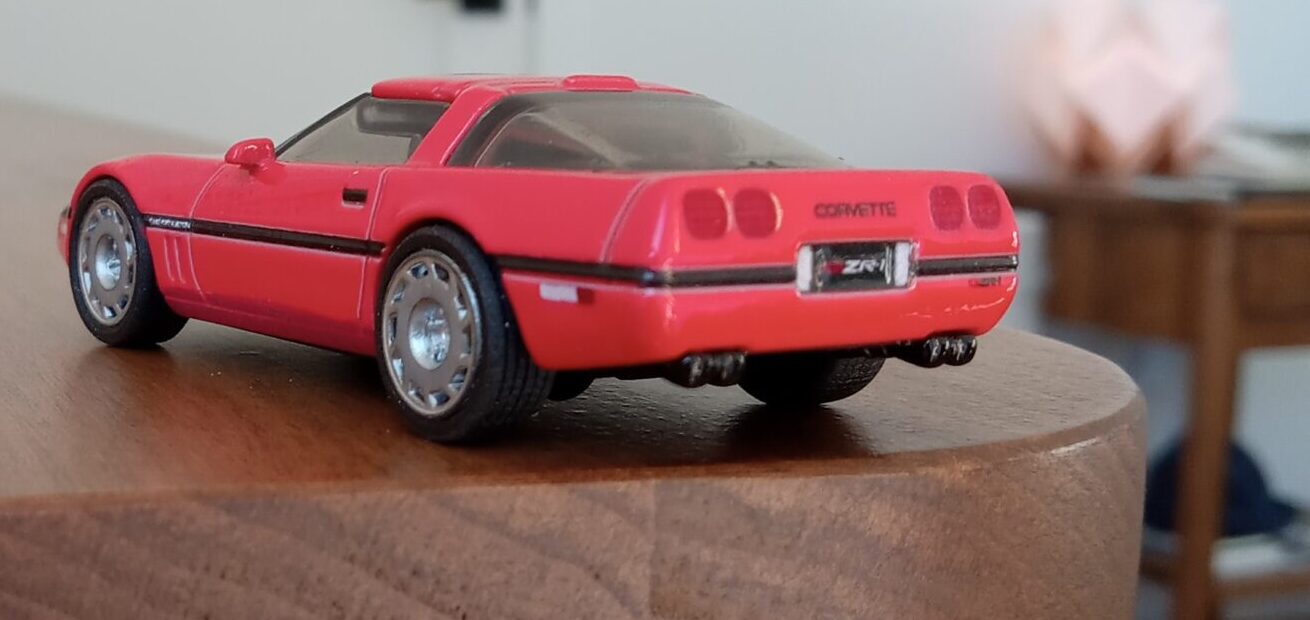
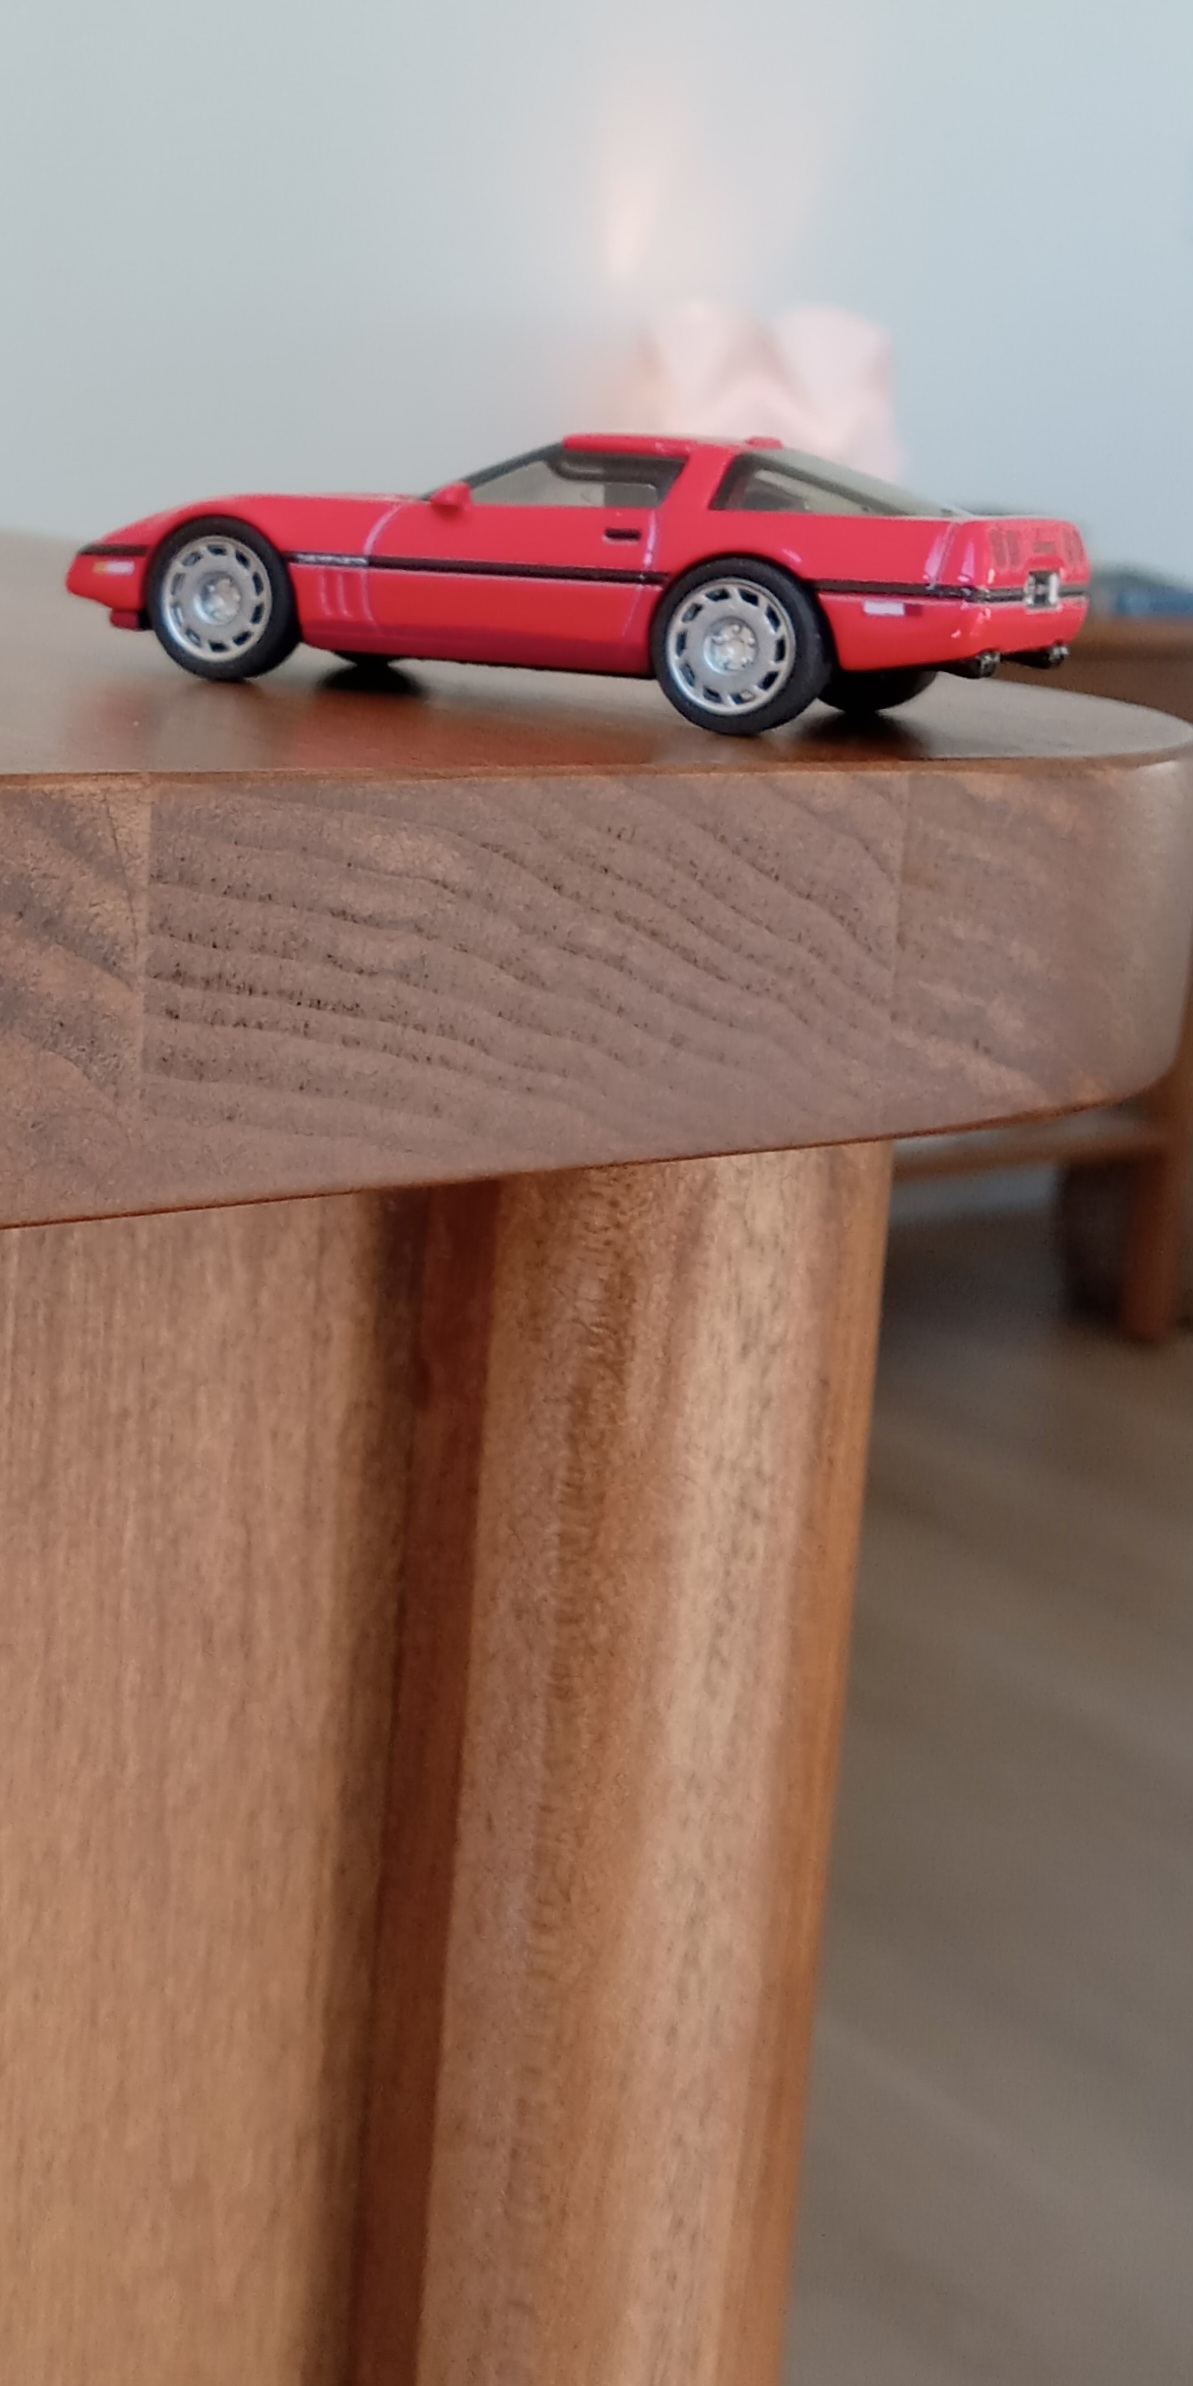
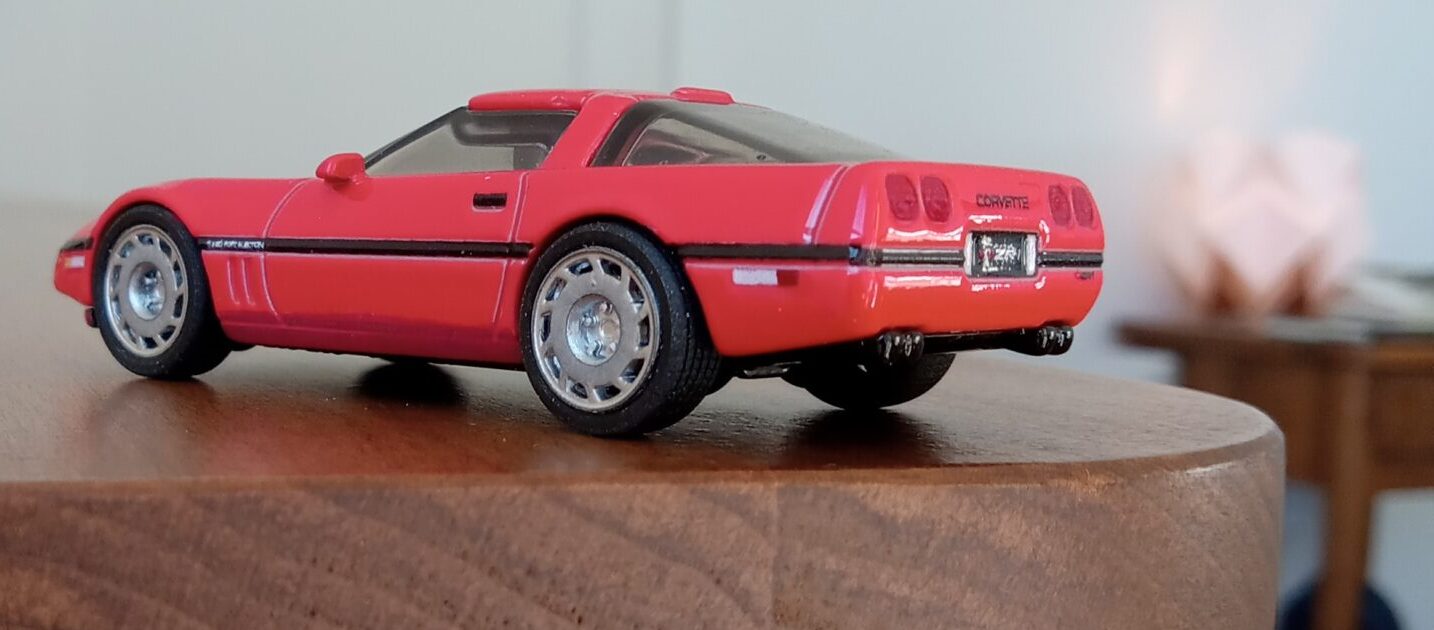
*Impressions: Photo gallery of the finished product
My only regret with this modification is that,
while I’m satisfied with the quality of the 3D-printed wheels themselves,
their size is about 15% too large,
which makes the overall look
feel a bit too toy-like.
In terms of that sense of scale,
the Matchbox products I’ve used in the past were superior,
and in a sense,
proportionally speaking, it’s
a slight step backward—
that’s my honest impression.
However,
considering that there are virtually no masterpieces that stand out across all scales
for the Corvette C4,
the fact that an excellent die-cast model has appeared,
albeit in a small scale,
is typical of Suga.
(I’ve already acquired another one and am keeping it on my desk,
playing with it endlessly without making any modifications.)
Regarding this blog and its content:
My goal in writing these blog posts is to document how I have satisfied and fulfilled my curiosity and desire to explore “beauty and deliciousness” by elucidating my personal, distinctive (including my quirky) criteria for evaluation through my involvement with three-dimensional forms (including cooking).
Consequently, while I pay the utmost attention to the numbers, dates, and detailed data appearing in my articles, it is possible that I may occasionally make significant errors or misunderstandings. In particular, key specifications and dates in automotive articles can often be confusing, so I would appreciate it if you treated them strictly as a reference.
For my part, I feel that I insert dates and data into the articles as objective material to create a “flow” that connects my personal evaluations of exterior design and taste to the broader themes explored in the latter half. What I ultimately prioritize are the new “perspectives” and “unexpected connections between information” that emerge from the chaotic jumble of memories in my own mind. The various data points are needed secondarily as part of that “flow” to generate that momentum.
As a slight digression, in the world of rakugo—a form of storytelling I love—there is a playful tradition called “sandaibana,” where a performer weaves a single story using three topics solicited from the audience on the spot. I feel like I’m doing something similar here, using the characteristics of three-dimensional forms and (the taste of food) as my prompts. The countless ideas that flit through my mind during this process are completely unexpected and delightful, often leading me to drastically change the content of future articles or sparking new developments.
How this blog works:
“Spots and lines of curiosity x whimsical mental circuits = unexpected new developments”
This blog may be a bit self-indulgent, but I hope you’ll continue to follow along.
Note: To create the “flow” described above, I use my own miniature cars and home-cooked meals for photos whenever possible. However, I do borrow the absolute minimum necessary illustrations and photos from other bloggers’ articles and company websites. (I edit them to fit the article’s content and post them at the lowest possible resolution.) If there are any issues, please contact me and I will remove them immediately.
Update 2: You are free to use the photos of die-cast cars and other images (taken by me) featured in this blog’s posts in any way you like without permission. I create these posts with the understanding that my personal creativity belongs to me alone.
Translated with DeepL.com
これはCTAサンプルです。
内容を編集するか削除してください。